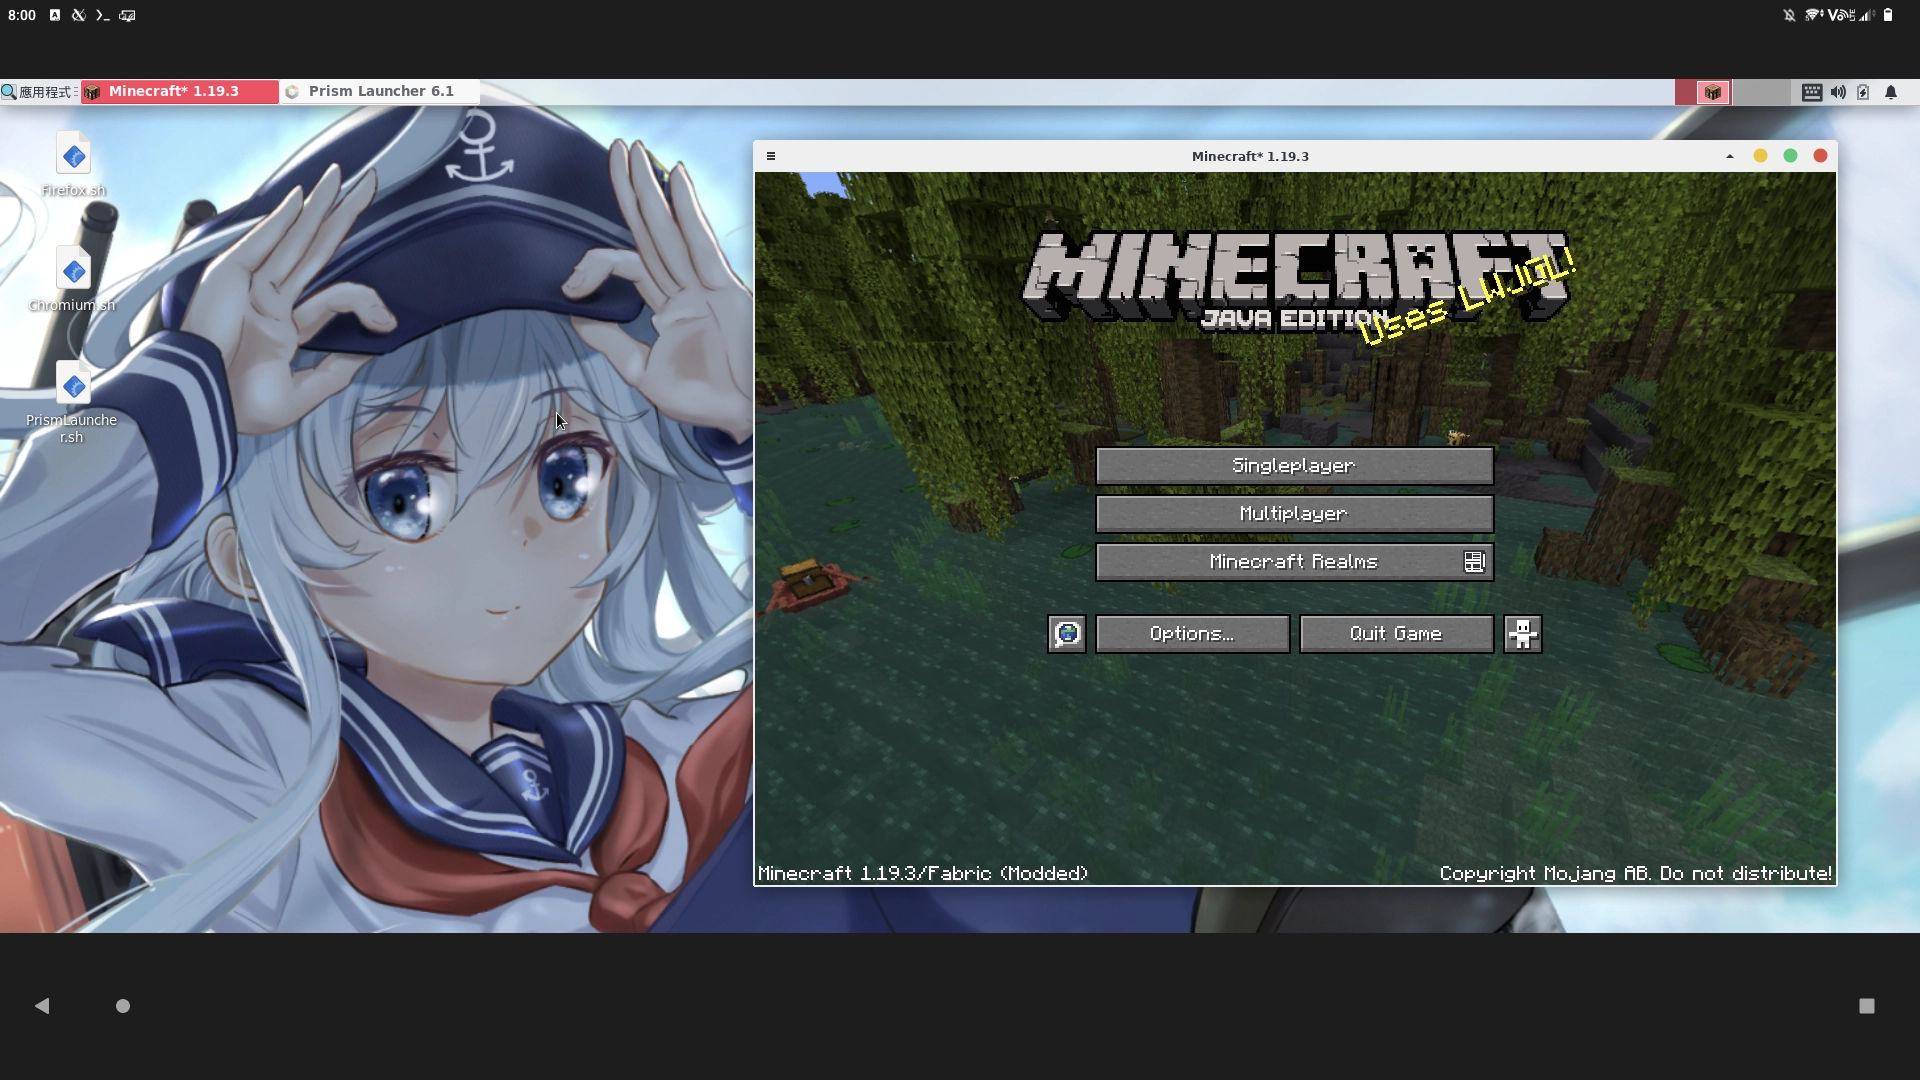
This tutorial is for those who want to install Anaconda on Android phone.
The benefit of Anaconda is that you could have multiple Python versions installed on the same device. And you can switch to different environments quickly.
An example of OpenCV program running on Termux on Android phone.
Because most Android devices are 64bit (aarch64), the Anaconda and Miniconda installers from official website will not work on Termux, therefore we have to use miniforge. The commands are almost as same as original Anaconda.
1. Setup Termux and Proot Linux #
-
Install Termux
-
Though Termux does provide python packages, however the installer only works in Linux environment. Thus, we must setup a Proot Debian. You can skip installing desktop environment parts if you just want to run Python scripts.
2. Install miniforge3 #
- Log into Proot Debian as root.
proot-distro login debian- Install dependencies of miniforge3
apt update
apt install wget python3 python3-pip vim- When executing python commands you would notice that it would use Python from Termux instead of Proot, so you have to execute follwoing commands to specify the path of Python installation
alias python=/usr/bin/python3
alias python3=/usr/bin/python3
alias pip=/usr/bin/pip
alias pip3=/usr/bin/pip- Download installer from miniforge repository
wget https://github.com/conda-forge/miniforge/releases/latest/download/Miniforge3-Linux-aarch64.sh
bash Miniforge3-Linux-aarch64.sh-
Press Enter. Press Q. Then type
yesto confirm the license.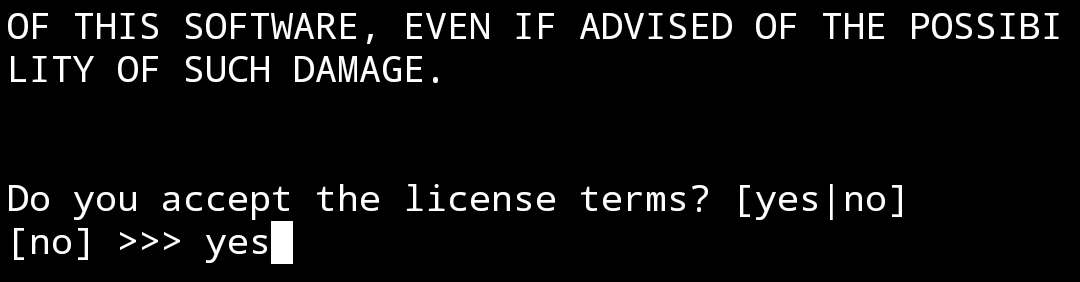
-
By default miniforge will be installed to
/root/miniforge3 -
Type
yesto initialize conda environment.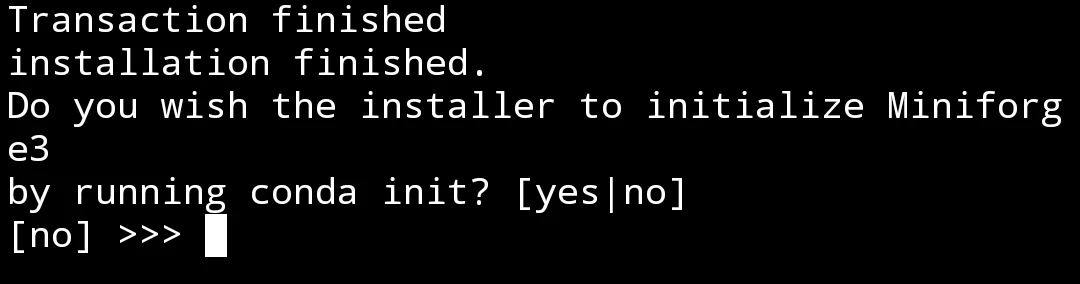
-
Relogin to Proot Debian.
exit
proot-distro login debian-
You will see the prompt become
(base),that means you are in conda environments. Typeconda deactivateto exit.
-
If you want to disable auto activatation of conda environment, type
conda config --set auto_activate_base falseto disable it.
3. Usage of conda commands #
When you are in conda environment, you can install Pyhton packages with conda install or pip install.
You can also create multiple virtual enviornments with different Python installed.
For example, you can create a environment with old Pyhton 3.6:
conda create --name test1 python=3.6Then activate the enviornment.
conda activate test1Now you can install Python packages which only work on old Pyhton versions.
4. An example of OpenCV program #
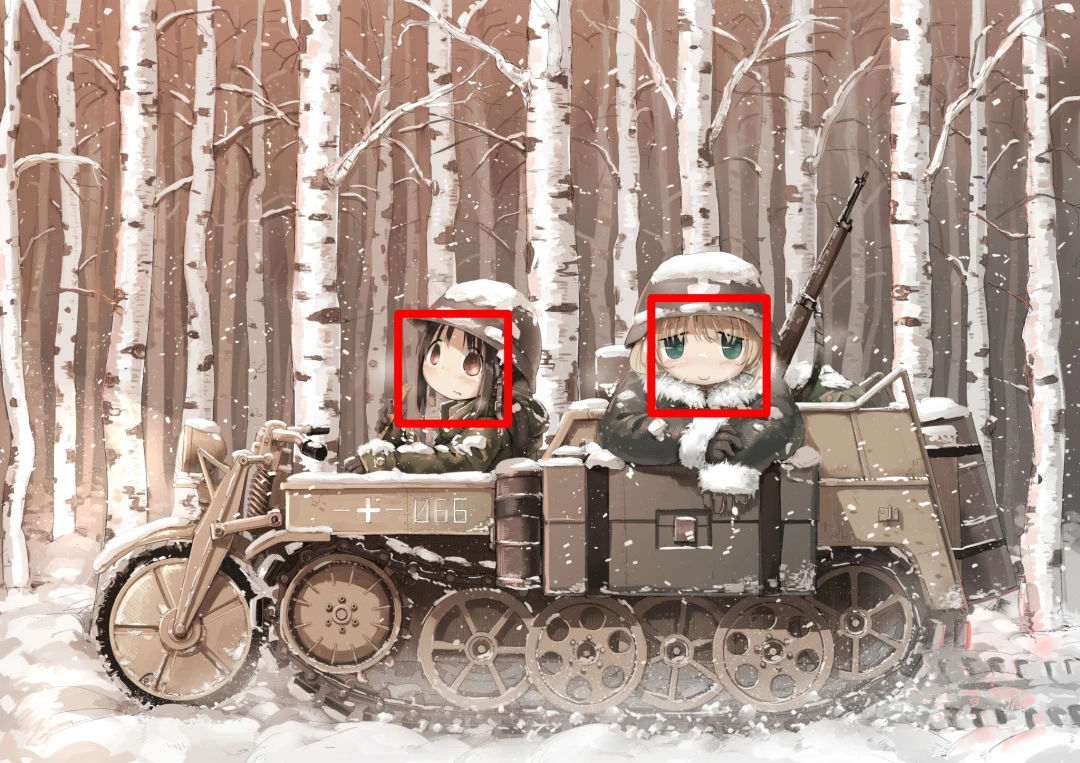
Let’s detect the faces of two girls from Girls’ Last Tour from the image below. We will use codes from lbpcascade_animeface

- Create conda environment
conda create --name facedetection python=3.10.9
conda activate facedetection- Install required packages
conda install -c conda-forge opencv
wget https://raw.githubusercontent.com/nagadomi/lbpcascade_animeface/master/lbpcascade_animeface.xml- Create a python script
vim detectface.py- The script will detect faces from
input.jpgand create aoutput.jpg
import cv2
def detectFace(filename):
    cascade = cv2.CascadeClassifier("./lbpcascade_animeface.xml")
    image = cv2.imread(filename, cv2.IMREAD_COLOR)
    gray = cv2.cvtColor(image, cv2.COLOR_BGR2GRAY)
    gray = cv2.equalizeHist(gray)
    color = (0, 0, 255)
    faces = cascade.detectMultiScale(gray,
                                     scaleFactor = 1.1,
                                     minNeighbors = 5,
                                     minSize = (24, 24))
    for (x, y, w, h) in faces:
        cv2.rectangle(image, (x, y), (x + w, y + h), (0, 0, 255), 20)
    cv2.waitKey(0)
    cv2.imwrite("output.jpg", image)

detectFace('input.jpg')- You may wonder how to move pictures into Proot Debian? Don’t forget that internal storage is mounted at
/sdcard, so just type:
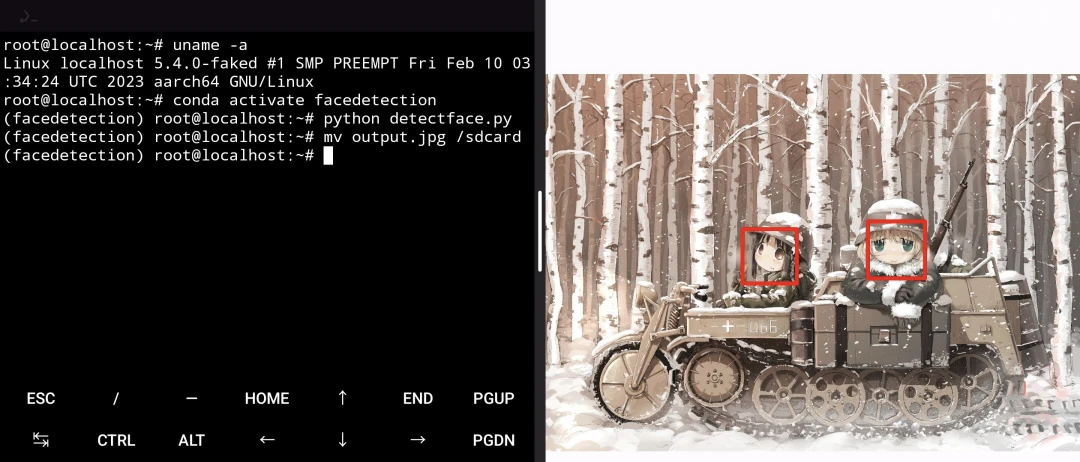
mv /sdcard/Downloads/input.jpg ~/- Run the script
python detectface.py- Move the output.jpg back to sdcard
mv output.jpg /sdcard/Downloads/- The result.