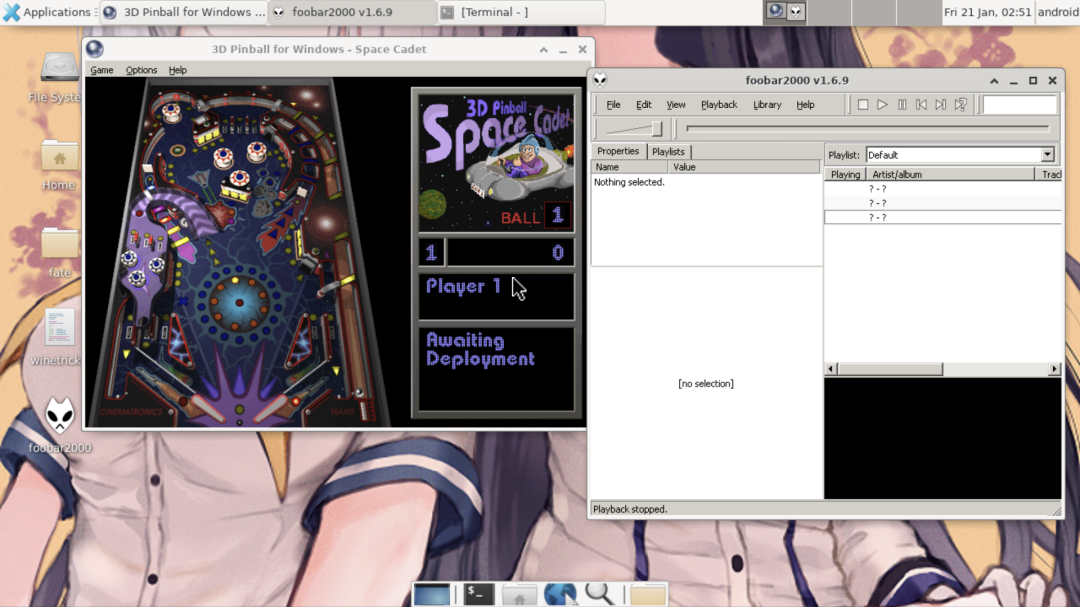
After installing Ubuntu proot-distro in Termux, you open Real VNC Viewer to connect to the vncserver, however it says: The connection closed unexpectedly. Then you go back to Termux, see a message [Process completed (signal 9) - press Enter] and Termux is forced to quit.
That means the Termux processes are killed by Android OS. This will occur on Android 12+ devices. Fortunately this could be solved by executing some commands.
In this article, I will discuss the causes and solutions for Termux proceesses killing.
1. The causes of signal 9 error #
According to agnostic-apollo’s article Phantom, Cached And Empty Processes, on Android 12 a new mechanism was added for Android system to monitor forked processes by the apps. They were named “Phantom processes”. And DEFAULT_MAX_PHANTOM_PROCESSES (default=32, all apps combined, not per app) defines how many processes are allowed to run before got killed by the system.
They were named “Phantom” because they were designed to give android devs nightmares when then saw them (allegedly of course).
Such feature could prevent apps from using excessive CPU powers. However it is harmful to Termux commands. While running services in the background, Termux is likely to be killed by system by anytime. That is why vncserver got terminated when you try to connect to the vncserver.
After that, Google added a new flag settings_enable_monitor_phantom_procs for disabling Phantom Processes Killing, though it was enabled by default on all Android devices.
The Phantom Processes Killing could be dsiabled by executing ADB commands. These commands are provided by agnostic-apollo.
2. How to solve signal 9 error #
Use these commands at your own risks! Disabling Phantom Processes Killing may cause bootloop or make some apps in background lost control.
It is assumed that Google Services Framework is installed on your phone. We will disable its auto config syncing to prevent GMS from overriding the configs.
Here is a video for your reference
2.1. For non-rooted devices #
For Android 14+ devices: Open Settings → Developer Options → Disable child process restrictions. Reboot. Then you are good to go.
If you are on Android 14 below, keep reading.
Note: These steps require a PC. If you don’t have a PC, try running ADB in Termux instead. See this Reddit post
-
Download Platform tools for Windows at Android Developers. Extract the archive.
-
Open terminal in
platform_toolsdirectory. (SHIFT + Right click → Open Windows Terminal or Powershell) -
Open System Settings on Android, go to “About phone”, click five times on “build number”. Search “Developer options” and enable ADB debugging there.
-
Connect the phone to PC. Execute this command and agree ADB debugging on Android phone.
./adb devices- Execute commands according to your Android version. Then reboot.
# For Android 12L & Android 13+
./adb shell "settings put global settings_enable_monitor_phantom_procs false"

# For Android 12:
./adb shell "/system/bin/device_config set_sync_disabled_for_tests persistent; /system/bin/device_config put activity_manager max_phantom_processes 2147483647"
2.2. For rooted devices #
- Open Termux, switch to
suand grant root permission.
su- Execute commands according to your Android version. Then reboot.
# For Android 12L & Android 13+
su -c "settings put global settings_enable_monitor_phantom_procs false"

# For Android 12:
su -c "/system/bin/device_config set_sync_disabled_for_tests persistent; /system/bin/device_config put activity_manager max_phantom_processes 2147483647"