We can run AUTOMATIC1111’s Stable Diffusion WebUI (SD WebUI) on Google Colab for free. This allows us to generate 512x512 pixels of AI art in 10 seonds. And, for those who have a potato PC but want to train LoRa and other models, Google Colab is a good choice for you.
Although there are already many great notebooks ready to use on Github, we can write our own notebook and customize the code to suit personal needs.
In this article I will show you my peronal Notebook code of SD WebUI.
What I want to do are:
-
Install whole SD WebUI to my Google Drive so it will be faster to launch in the next time.
-
Make it easy to add new models. After installing SD WebUI, we can upload new models to the
modelsfolder to add models. -
Keep it minimal. I want to install SD WebUI without any extensions, even no ControlNet, unless the extension is merged on upstream. If we want to add more extensions, we can upload the folder to Google drive or install them from WebUI. There is no need to install them in the first place.
Therefore, we would need at least 10GB of Google Drive storage to store the program of SD WebUI and models.
1. Example code of installing SD WebUI #
-
Go to Google Colab, click add new notebook
-
Here is my code. First we mount the Drive to
/content/drive. And create a folder for storing files.
from google.colab import drive
drive.mount('/content/drive')
!mkdir /content/drive/MyDrive/sd-webui-files- Install dependencies
!pip install torch==1.13.1+cu116 torchvision==0.14.1+cu116 torchaudio==0.13.1 --extra-index-url https://download.pytorch.org/whl/cu116 -U
!pip install -q xformers==0.0.16
!pip install -q triton==2.0.0- Clone SD WebUI directly from AUTOMATIC1111’s repo
!git clone --depth=1 https://github.com/AUTOMATIC1111/stable-diffusion-webui.git /content/drive/MyDrive/sd-webui-files/stable-diffusion-webui- Download checkpoint models from Hugging Face. I prefer to use Anything model for generating anime art. Or you can use original Stable Diffusion model for generating realistic arts.
!wget -nc -P /content/drive/MyDrive/sd-webui-files/stable-diffusion-webui/models/Stable-diffusion https://huggingface.co/andite/anything-v4.0/resolve/main/anything-v4.5-pruned.safetensors- There are some issues of switching branches after launching SD WebUI. Thus, add these lines to fix them.
%cd /content/drive/MyDrive/sd-webui-files/stable-diffusion-webui/
!git reset --hard
!git pull
!sed -i -e 's/checkout {commithash}/checkout --force {commithash}/g' launch.py- Finally, launch the WebUI. We use
--xformersto decrease the consumption of VRAM. By adding--enable-insecure-extension-accesswe can install extensions from URL in WebUI without gettingAssertionError: extension access disabed.
!python launch.py --share --xformers --enable-insecure-extension-access --theme light- Here is the full code
# Mount our drive
from google.colab import drive
drive.mount('/content/drive')

# Create a folder for storing files
!mkdir /content/drive/MyDrive/sd-webui-files

# Install dependencies
!pip install torch==1.13.1+cu116 torchvision==0.14.1+cu116 torchaudio==0.13.1 --extra-index-url https://download.pytorch.org/whl/cu116 -U
!pip install -q xformers==0.0.16
!pip install -q triton==2.0.0

# Clone SD WebUI from AUTOMATIC1111's repo
!git clone --depth=1 https://github.com/AUTOMATIC1111/stable-diffusion-webui.git /content/drive/MyDrive/sd-webui-files/stable-diffusion-webui

# Download checkpoint models to /stable-diffusion-webui/models/Stable-diffusion
!wget -nc -P /content/drive/MyDrive/sd-webui-files/stable-diffusion-webui/models/Stable-diffusion https://huggingface.co/andite/anything-v4.0/resolve/main/anything-v4.5-pruned.safetensors

# Fix change branch issues
%cd /content/drive/MyDrive/sd-webui-files/stable-diffusion-webui/
!git reset --hard
!git pull
!sed -i -e 's/checkout {commithash}/checkout --force {commithash}/g' launch.py

# Launch WebUI
!python launch.py --share --xformers --enable-insecure-extension-access --theme light-
Click Edit → Runtime →Change runtime type and select GPU as Hardware accelerator.
-
Run the cell, wait for 5 minutes. Click generated Gradio links (expired after 72 hours).
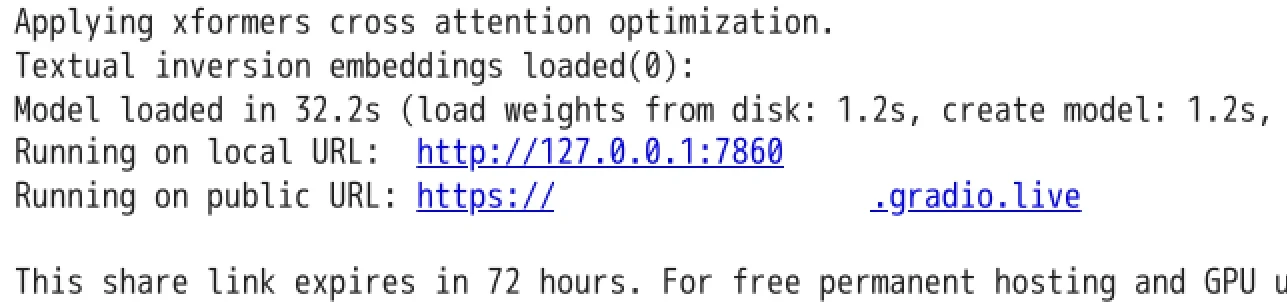
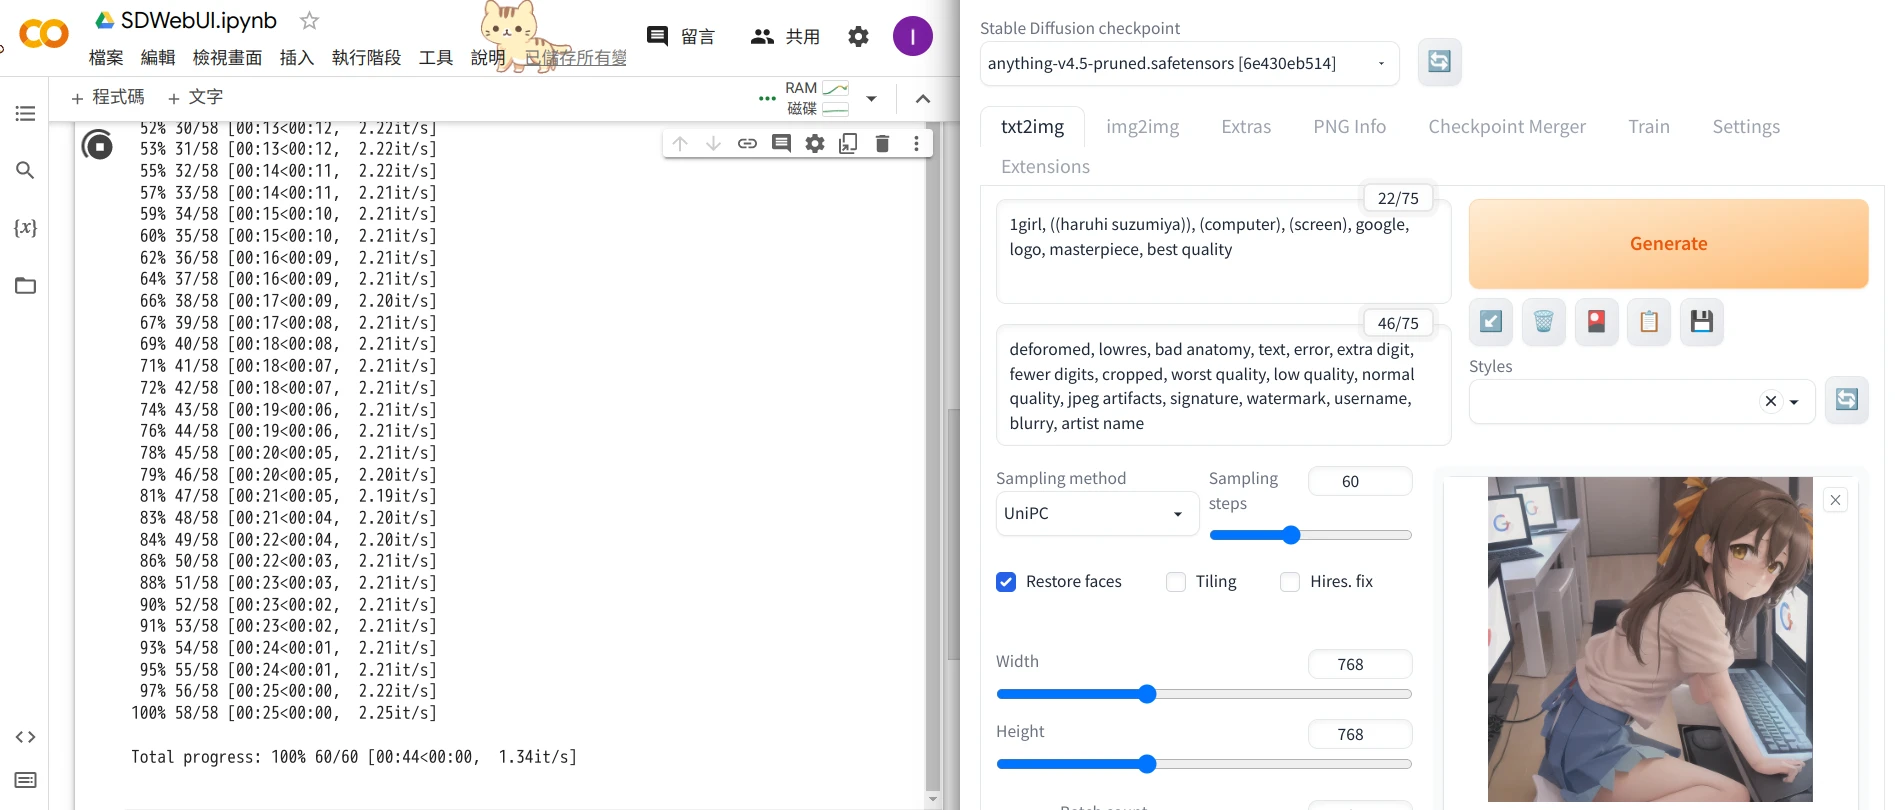
-
Now we are ready to use Stable Diffusion WebUI.

2. Make SD WebUI launching faster #
Now we have installed SD WebUI on Google drive. Now top the cell. Don’t worry, your data and progress will be stored on the Google Drive.
Because we had downloaded all required files, replace the code in the cell with these lines:
from google.colab import drive
drive.mount('/content/drive')
!pip install torch==1.13.1+cu116 torchvision==0.14.1+cu116 torchaudio==0.13.1 --extra-index-url https://download.pytorch.org/whl/cu116 -U
!pip install -q xformers==0.0.16
!pip install -q triton==2.0.0
%cd /content/drive/MyDrive/sd-webui-files/stable-diffusion-webui/
!python launch.py --share --xformers --enable-insecure-extension-access --theme light
This will install requirements while running SD WebUI and start SD WebUI from our Google Drive. The Gradio link should be ready in 2 minutes.
3. How to add new models and extensions #
SD WebUI would be installed to sd-webui-files folder on Google Drive.
There are some important folders under stable-diffusion-webui:
extensions: As the name suggested, upload any extensions folder to this folder (Click Code button on Github repository of extesnions and download zip). Or you can install extensions by clicking Extensions → Install from URL in WebUI.models/Stable-duffusion/: Upload new checkpoint models to this foldermodels/Lora: Upload LoRa models to this folder
All changes would be applied after restarting SD WebUI.