Proot-distro of Termux allows you to install Linux distributions on your Android phone. No root required. Proot-distros are containers, which are limited but still possible to run some dekstop appliations in it.
Arch Linux is a Linux distribution that emphasizes simplicity, requiring users to install the system according to their own needs, so the installation process requires manual command-line input. Here, Arch Linux ARM is being installed, a branch of the original Arch Linux. The original version focuses on the x86 architecture, and some x86-based packages may not be available on ARM, but the AUR is still available.
In this article, I will guide you to install Proot Arch Linux ARM with a Desktop Environment from scratch (kind of) in Termux.
You would have to install the whole system from command lines.
1. Prerequisites #
Make sure your device has 10GB+ storage and 4GB+ RAM.
My Device:Sony Xperia 10 V (Android 16)
-
Install Termux
-
Install Termux X11
-
Install virglrenderer
2. Install Proot Arch Linux base system #
Scroll down the top menu, press ACQUIRE WAKELOCK to keep Termux running in the background.
- Install proot-distro, pulseaudio, vim
pkg update
pkg install proot-distro pulseaudio vim- Install Proot Arch Linux (base system)
proot-distro install archlinux/archlinux:latest- Login to Arch Linux
proot-distro login archlinux --user root --shared-tmp3. Switch mirrors and update system pacakges #
-
(Optional) Go to mirror list to pick a fastest mirror in your country. Then edit
/etc/pacman.d/mirrorlistwithvi. Replace every link before$repoto the mirror link. -
Update system
pacman -Syu4. Add a normal user #
- Change password of root
passwd- Add a new user
user. Then add him to groupwheeland change his password.
pacman -S sudo vim
useradd -m -g users -G wheel,audio,video,storage -s /bin/bash user
passwd user- Add user
userto sudoers. Edit/etc/sudoerswithvi, add following lines beneath"root ALL=(ALL) ALL":
user ALL=(ALL) ALL- Make sure you login to Arch as a normal user. Never login as root.
su user
cd
5. Install a Desktop Environment and common tools #
- Install Firefox, Noto Fonts, SSH and other common tools
sudo pacman -S vim firefox networkmanager xorg xorg-server pulseaudio noto-fonts git openssh fakeroot base-devel- Install yay - the AUR helper:
sudo pacman -S --needed git base-devel && git clone https://aur.archlinux.org/yay.git && cd yay && makepkg -si-
Edit
/etc/makepkg.confwith vim. UncommentMAKEFLAGS="-j2". Change-j2to-j+ (2 x phone processor cores). This could speed up AUR compiling time. -
Install XFCE4 Desktop environment
sudo pacman -S xfce4 xfce4-goodies lightdm6. Timezone & hostname & locales #
- Setup timezone
sudo ln -sf /usr/share/zoneinfo/America/New_York /etc/localtime-
Edit
/etc/hostnameand/etc/hoststo rename your machine. -
Edit
/etc/locale.gen, uncomment your language, for exampleen_US.UTF-8 -
Generating locales
sudo locale-gen
echo "LANG=en_US.UTF-8" >> /etc/locale.conf
7. Start desktop enviornment manually #
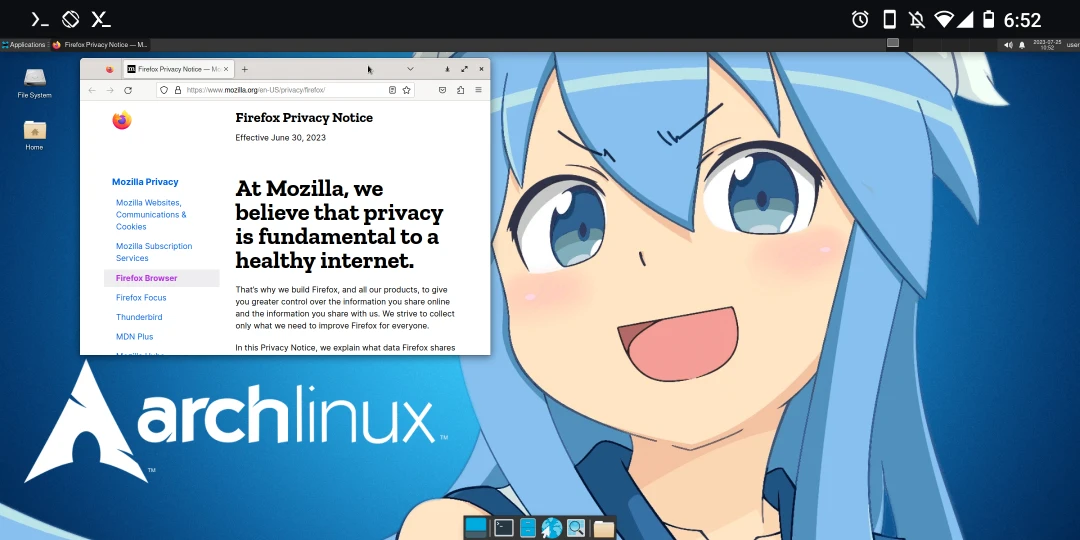
Congrats! Now you have installed Arch Linux on your Android phone! Read below to learn how to desktop enviornment manully.
-
Relaunch Termux
-
Launch Termux X11 app, keep it opening in the background. Go back to Termux and type the following commands to run Termux X11.
pulseaudio --start --exit-idle-time=-1
pacmd load-module module-native-protocol-tcp auth-ip-acl=127.0.0.1 auth-anonymous=1

export DISPLAY=:0
termux-x11 :0 &

virgl_test_server_android &- Login to Arch Linux as a normal user.
proot-distro login archlinux --user user --shared-tmp- Start desktop environment
export DISPLAY=:0
PULSE_SERVER=tcp:127.0.0.1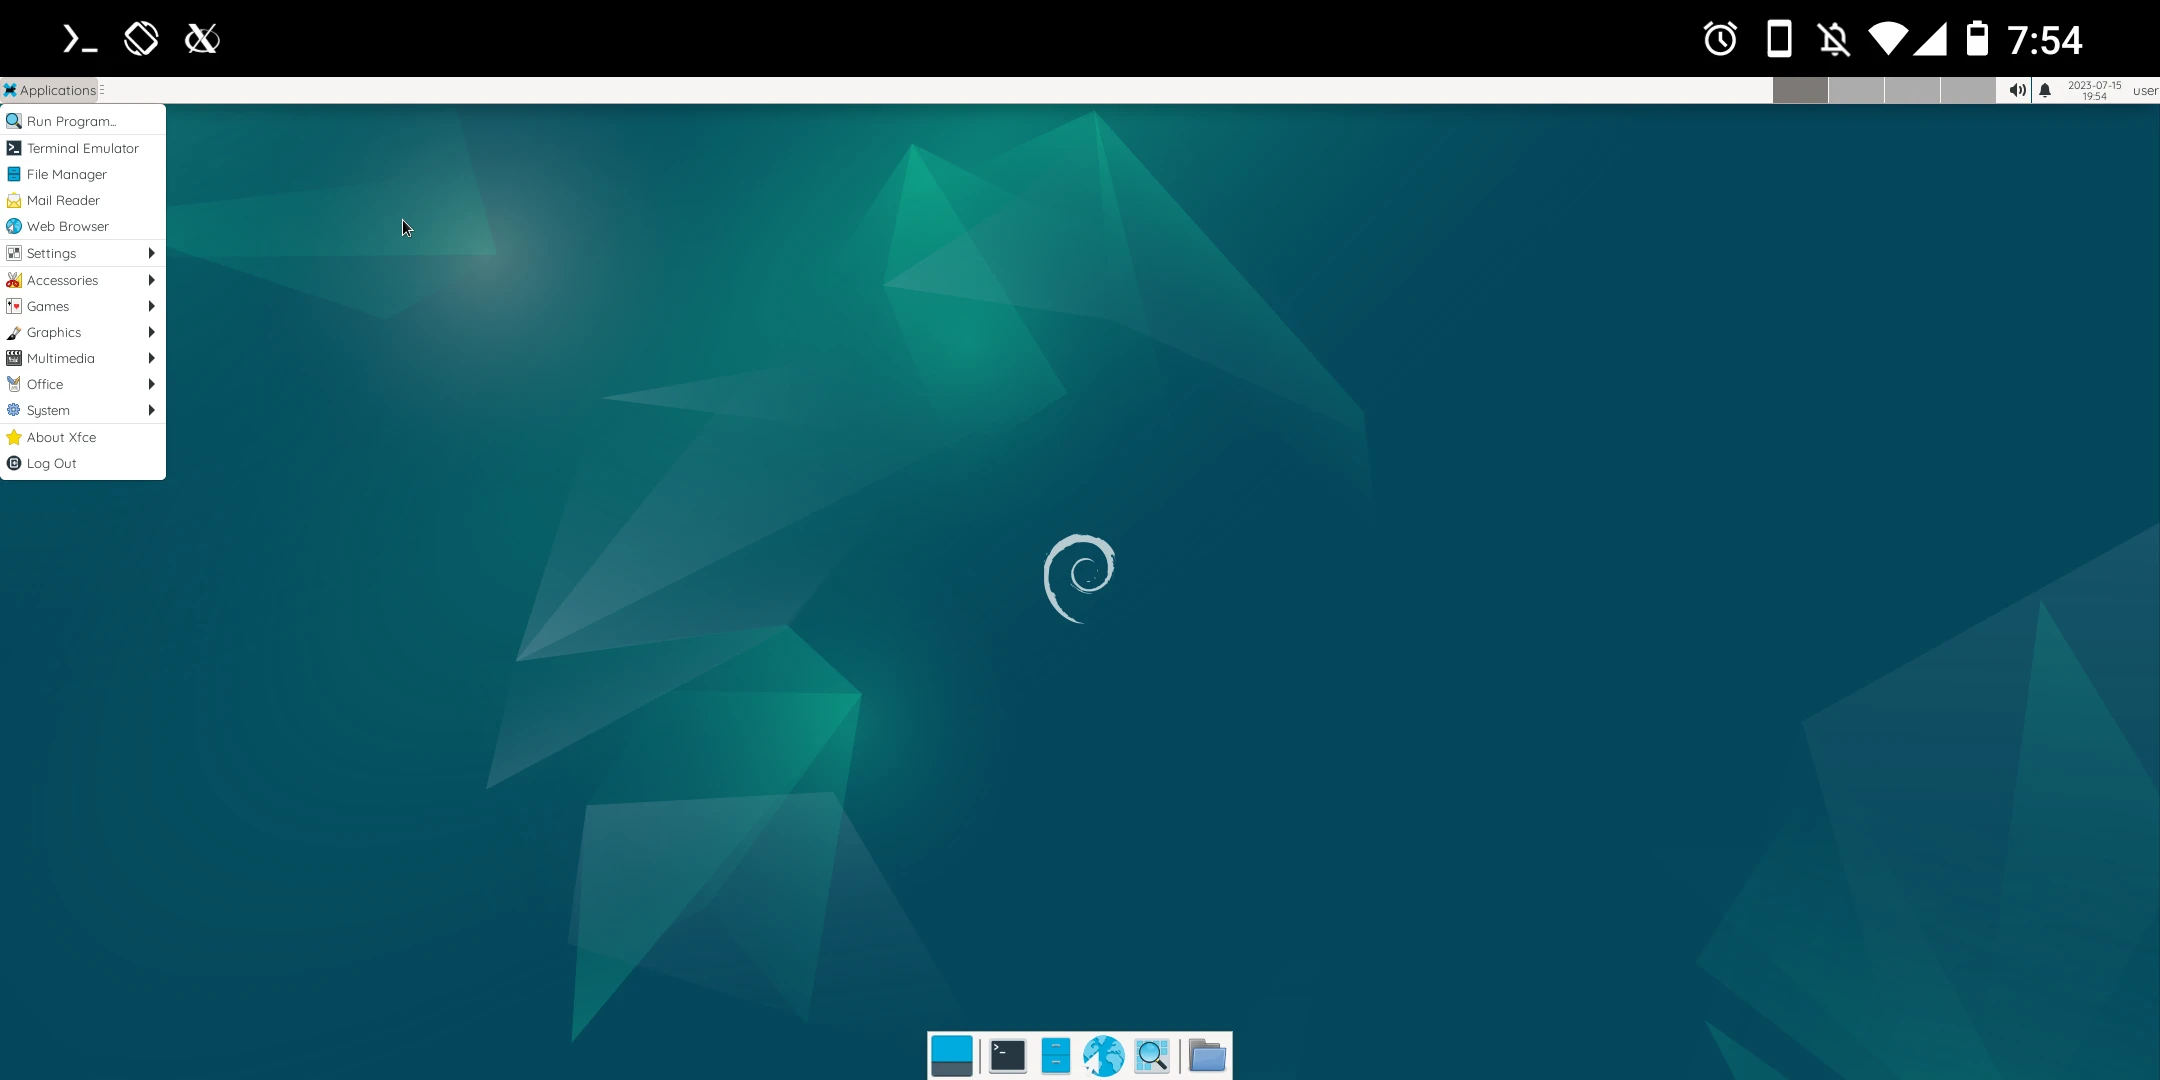
dbus-launch --exit-with-session startxfce4 &- You shall see XFCE4 desktop showing at Termux X11. Tap floating window and revoke permission to make it go full screen.
8. Start desktop environment in one-click #
We can use Termux Widget to start everything automatically. Thanks to Korean developers’ tutorial!
-
Install Termux Widget
-
Go to system settings → all apps, turn on “Permit Drawing Over Other Apps” for Termux.
-
Restart Termux. Create a shortcut in Termux (not in proot-distro)
mkdir .shortcuts
vim .shortcuts/startproot_arch.sh- Type these
#!/bin/bash

killall -9 termux-x11 pulseaudio virgl_test_server_android termux-wake-lock

am start --user 0 -n com.termux.x11/com.termux.x11.MainActivity
XDG_RUNTIME_DIR=${TMPDIR}
termux-x11 :0 -ac &
sleep 3

pulseaudio --start --exit-idle-time=-1
pacmd load-module module-native-protocol-tcp auth-ip-acl=127.0.0.1 auth-anonymous=1

virgl_test_server_android &

proot-distro login archlinux --user user --shared-tmp -- bash -c "export DISPLAY=:0 PULSE_SERVER=tcp:127.0.0.1; dbus-launch --exit-with-session startxfce4"- Make it executable.
chmod +x .shortcuts/startproot_arch.sh-
Go to your home screen, long press and add widgets → select “Termux Widget”. You would see the shortcut we made is on the list.
-
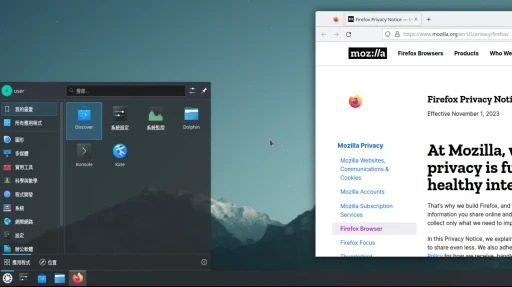
Click “startproot_arch.sh” then the XFCE desktop would opened automatically.
-
Swipe down the notification bar, click
Preferencesof Termux X11. Then you can switch touch screen mode to simulating touchpad. -
To use soft keyboard of phone in Termux X11, swipe the bar at the bottom and you will see a field for inputing texts.
-
If the fonts are too small in Termux X11, click Settings Manager at top-left → Appearance and change font size or select 2x window scaling.
-
To stop the XFCE session, press CTRL+C in Termux. Then logout of proot Arch Linux.
exit