In this article I will tell you how to install proot Debian manually.
Step by step, I will install proot Debian from minimum rootfs provided by Temux maintainers and setup a XFCE desktop with audio. Root permission is not required. After setting up the system, I will tell you how to start dekstop environment in one-click, without typing commands in terminal.
The reason that I choose Debian over Ubuntu is Snaps. On Ubuntu 20.04 or higher, more and more packages will be redirected to install snap packages when running apt install commands, while snapd does not work on Termux proot. I would use a snap-free distro rather than disabling snapd on Ubuntu.
Note: If you don’t want to install everything step by step, use automated scripts made by Termux community instead.
1. Prerequisites #
RAM >= 6GB
Storage > 10GB
My Device: Xiaomi Poco F1, Lineage OS 20 (Android 13)
-
Install Termux from F-Droid.
-
Then setup Termux X11.
-
Setup virglrenderer
2. Download Debian rootfs #
- Install proot-distro and pulseaudio
pkg update
termux-setup-storage
pkg install proot-distro pulseaudio vim- Edit
.profilewith VIM:
vim ~/.profile- Download Debian rootfs using proot-distro
proot-distro install debian- Log into Debian proot.
--userwill make you directly login to the specific user (only root available in the fresh installation).--shared-tmpwill mount Termux’stmpdirectory in proot.
proot-distro login debian --user root --shared-tmp- Install sudo, vim, Firefox in proot
apt update
apt install sudo vim firefox-esr
3. Change Debian mirrors #
(Optional) This would make APT downlaoading faster.
Find mirrors on Debian mirrors
- Edit sources.list
vim /etc/apt/sources.list- Replace each line with new links(note currently the codename is
bookworm)
deb http://opensource.nchc.org.tw/debian/ bookworm main contrib non-free
deb-src http://opensource.nchc.org.tw/debian/ bookworm main contrib non-free
deb http://opensource.nchc.org.tw/debian/ bookworm-updates main
deb-src http://opensource.nchc.org.tw/debian/ bookworm-updates main
deb http://security.debian.org/debian-security bookworm/updates main contrib non-free
deb http://opensource.nchc.org.tw/debian bookworm-backports main- Refresh packages list
apt update4. Add a regular user #
It is recommended to create a regular user for your security. Don’t do everything in root.
- Change root password
passwd- Add group “wheel” and “video”
groupadd storage
groupadd wheel
groupadd video- Add new regular user named “user” and change his password
useradd -m -g users -G wheel,audio,video,storage -s /bin/bash user
passwd user- We need to add regular users to sudoers. Type
visudothen find something likeroot ALL=(ALL:ALL) ALL. Add this in the next line of it.
user ALL=(ALL:ALL) ALL- Switch to
user
su user
cd
5. Install desktop environment #
GNOME (package name:gnome) may not work in proot. And KDE (kde-full) is too heavy for smartphone.
Therefore, I choose XFCE4, a lightweight desktop environment.
Install XFCE4 desktop environment. Type “0” when apt asking for the keyboard layout.
apt install xfce4 xfce4-goodies dbus-x116. Setup locales #
- Setup timezone. For example, Asia/Taipei.
ln -sf /usr/share/zoneinfo/Asia/Taipei /etc/localtime- Install locales
apt install locales fonts-noto-cjk- Edit /etc/locale.gen with vim:
vim /etc/locale.gen. Uncomment (remove “#”) your langauge. For example en_US.UTF-8
en_US.UTF-8 UTF-8- Generating locales and set the language of system.
locale-gen
echo "LANG=en_US.UTF-8" > /etc/locale.conf
7. Start desktop environment (manually) #
-
Relaunch Termux
-
Launch Termux X11 app, keep it opening in the background. Go back to Termux and type the following commands to run Termux X11.
pulseaudio --start --exit-idle-time=-1
pacmd load-module module-native-protocol-tcp auth-ip-acl=127.0.0.1 auth-anonymous=1

export DISPLAY=:0
termux-x11 :0 &

virgl_test_server_android &- Log into Debian as
user.
proot-distro login debian --user user --shared-tmp- Start desktop environment
export DISPLAY=:0
PULSE_SERVER=tcp:127.0.0.1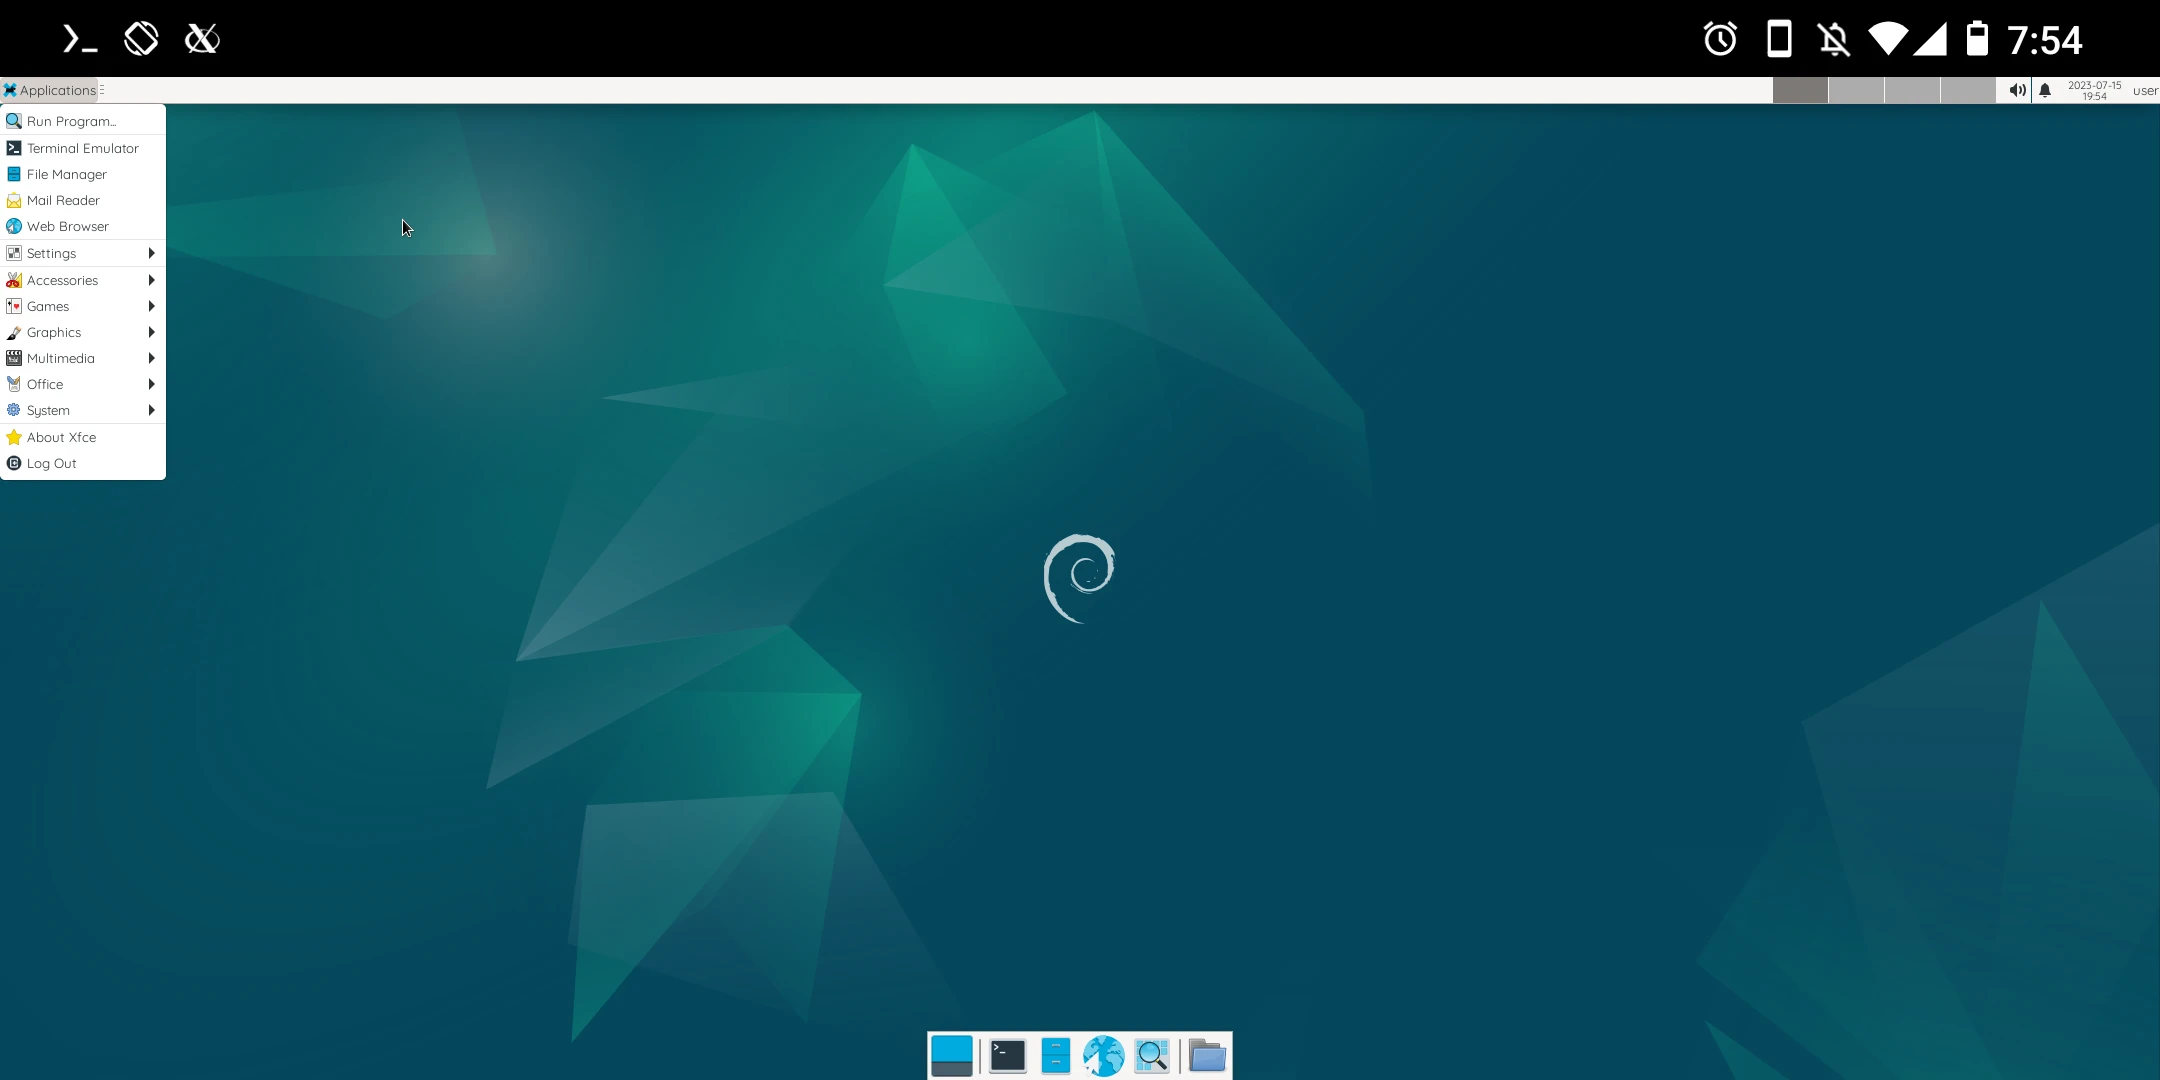
dbus-launch --exit-with-session startxfce4 &- You shall see XFCE4 desktop showing at Termux X11. Tap flaoting window and revoke permission to make it go full screen.
8. Start desktop environment in one-click #
We can use Termux Widget to start everything automatically. Thanks to Korean developers from clien.net!
-
Install Termux API and Termux Widget
-
Go to system settings → all apps, turn on “Permit Drawing Over Other Apps” for Termux.
-
Restart Termux. Create a shortcut in Termux (not in proot-distro)
mkdir .shortcuts
vim .shortcuts/startproot_debian.sh- Type these
#!/bin/bash

killall -9 termux-x11 pulseaudio virgl_test_server_android termux-wake-lock

termux-toast "Starting X11"
am start --user 0 -n com.termux.x11/com.termux.x11.MainActivity
XDG_RUNTIME_DIR=${TMPDIR}
termux-x11 :0 -ac &
sleep 3

pulseaudio --start --exit-idle-time=-1
pacmd load-module module-native-protocol-tcp auth-ip-acl=127.0.0.1 auth-anonymous=1

virgl_test_server_android &

proot-distro login debian --user user --shared-tmp -- bash -c "export DISPLAY=:0 PULSE_SERVER=tcp:127.0.0.1; dbus-launch --exit-with-session startxfce4"- Make it executable.
chmod +x .shortcuts/startproot_debian.sh-
Go to your home screen, long press and add widgets → select “Termux Widget”. You would see the shortcut we made is on the list.
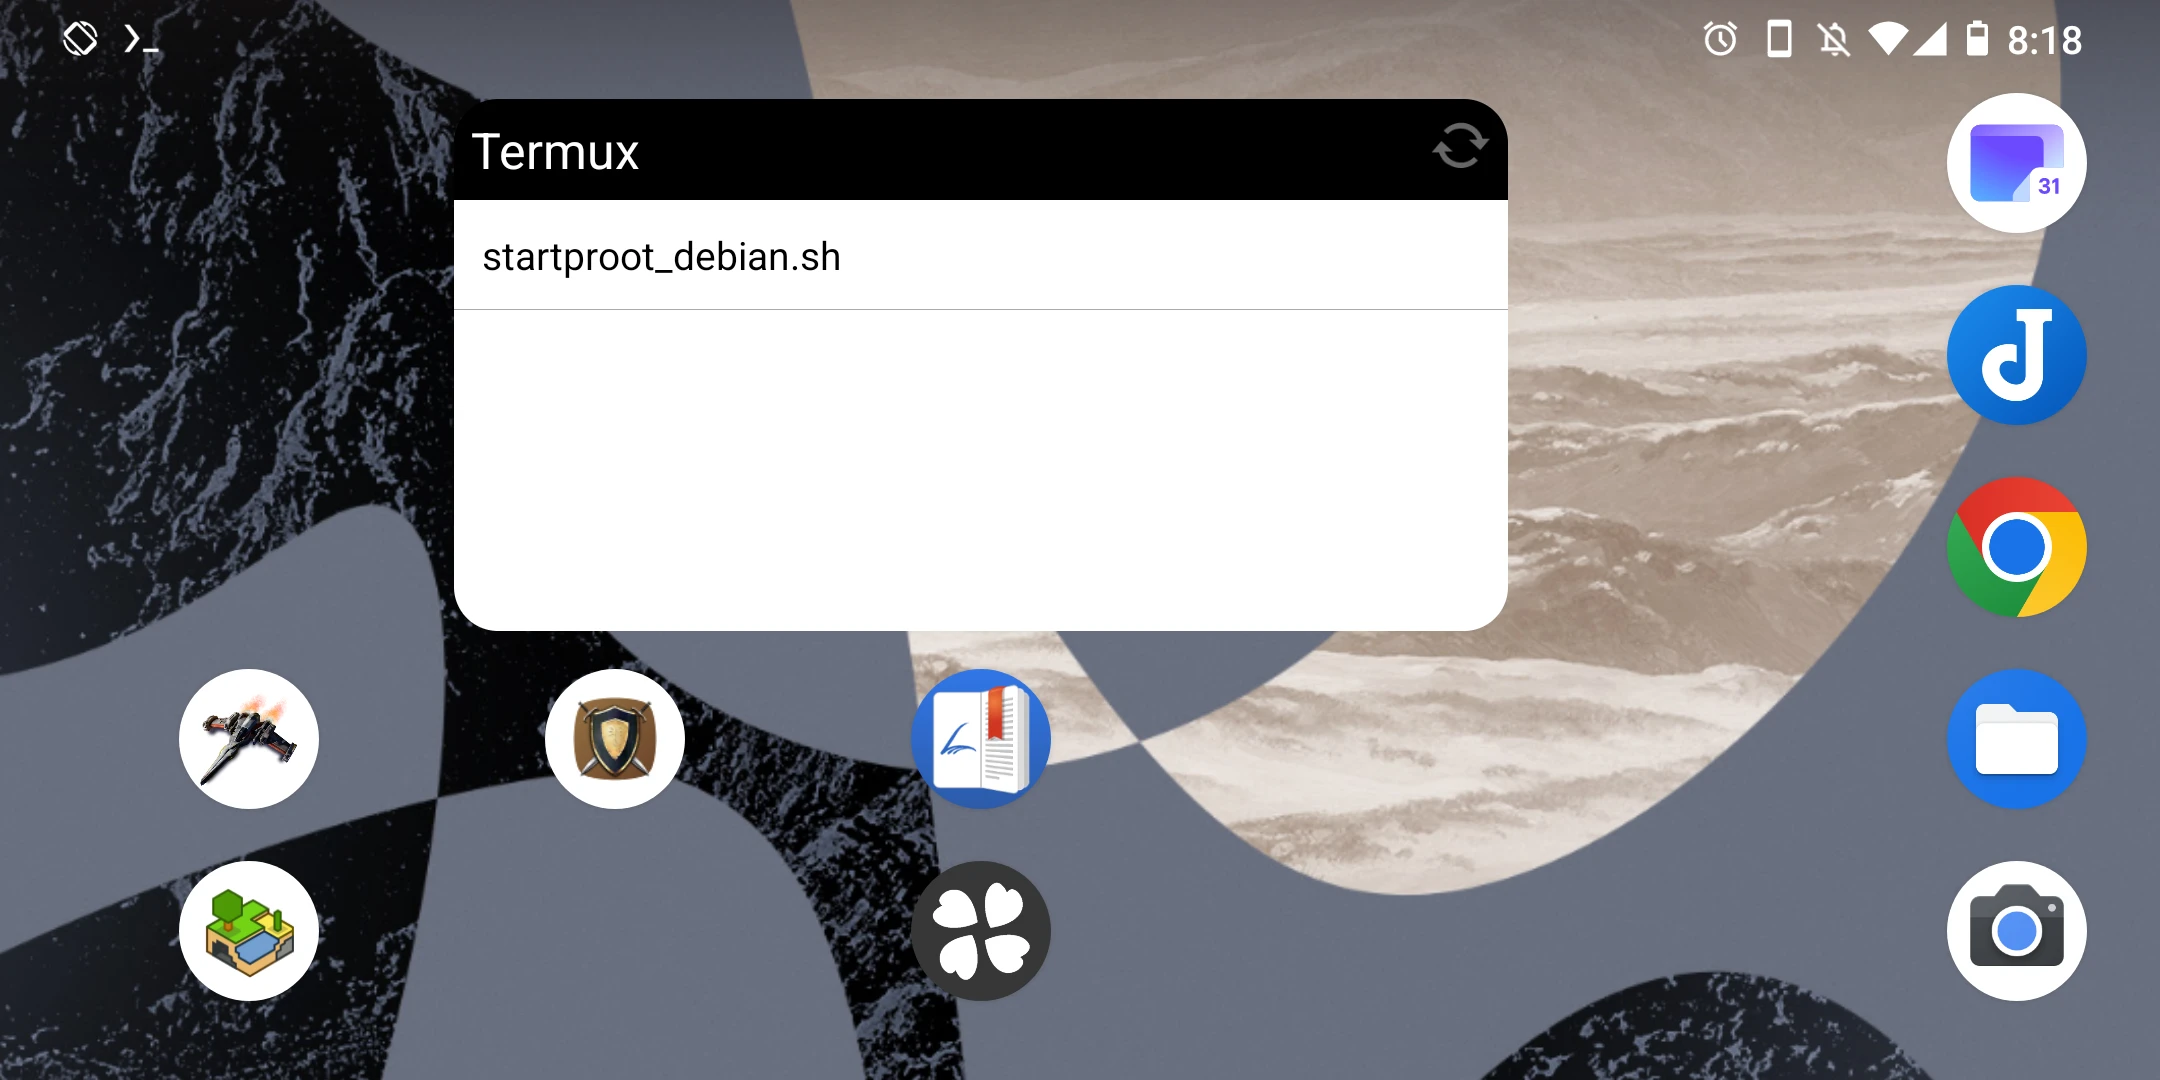
-
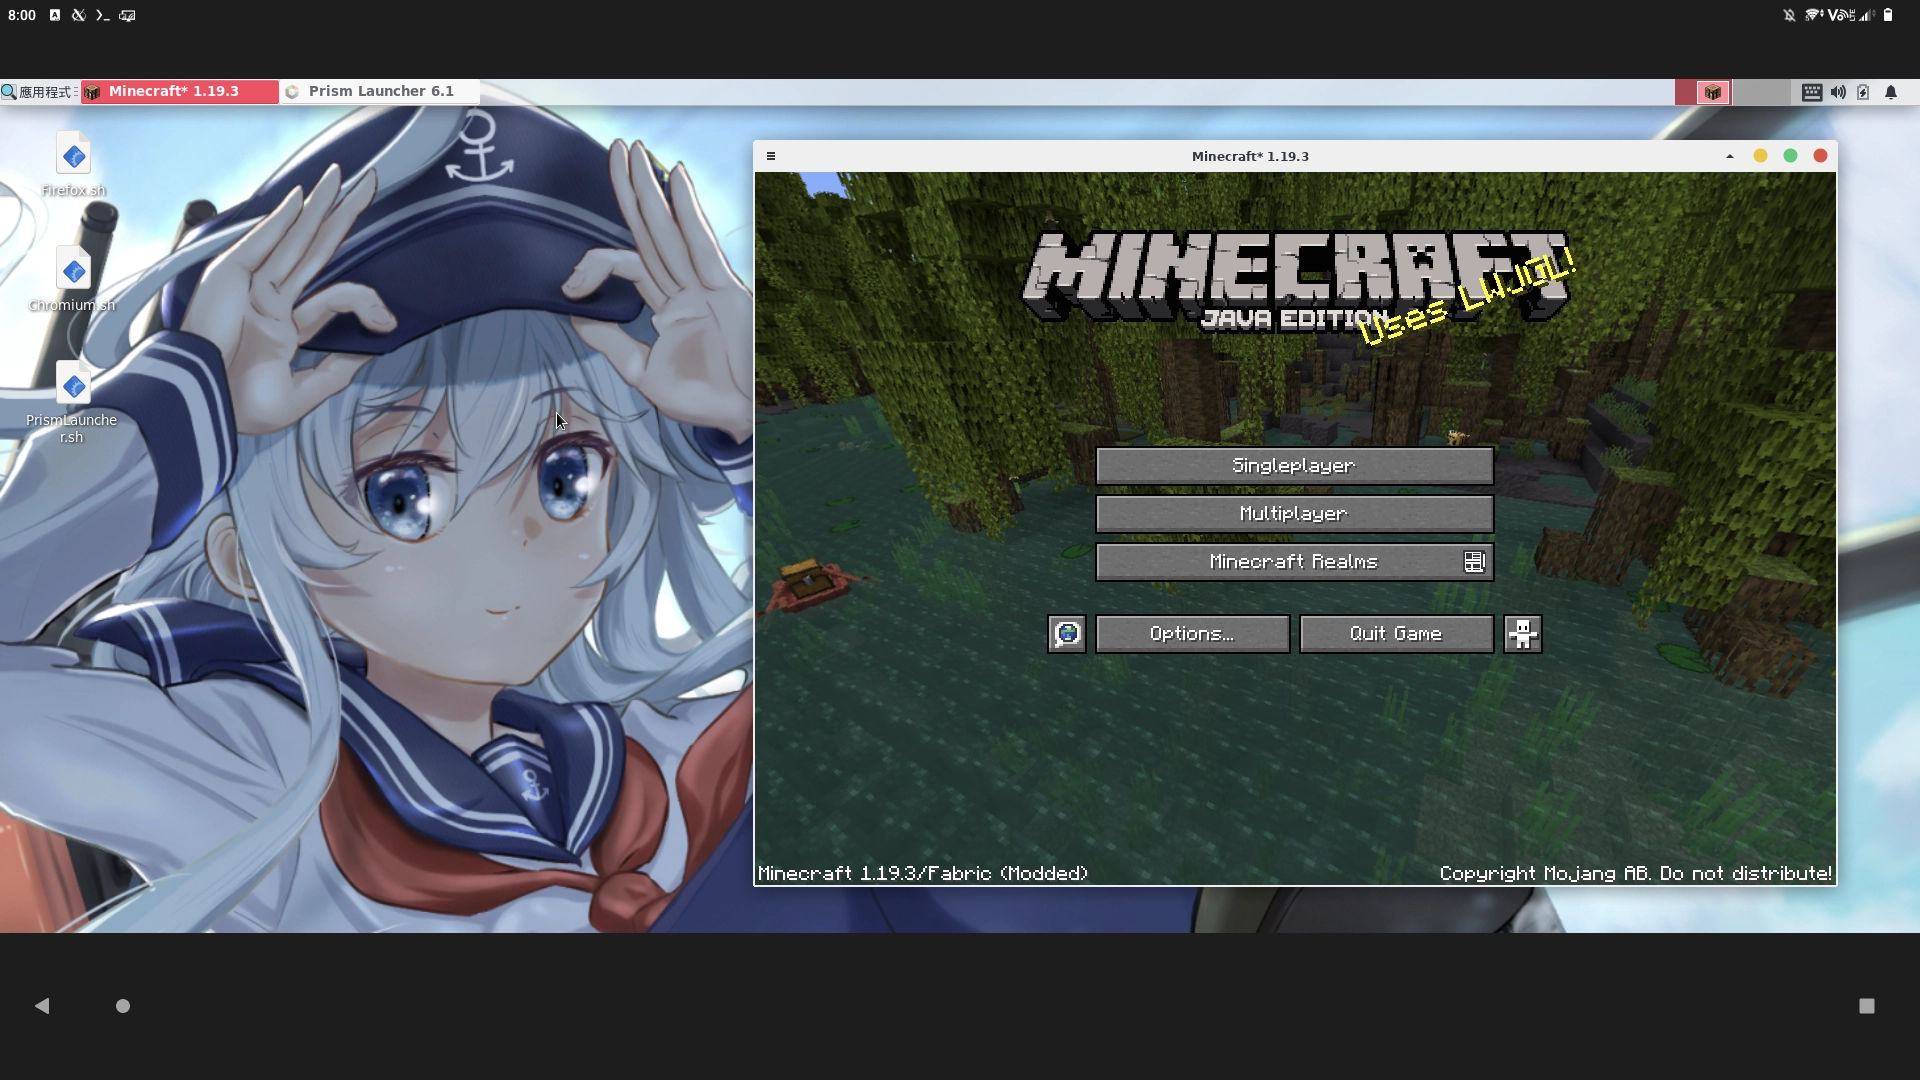
Click “startproot_debian.sh” then the XFCE desktop would start automatically.
-
Swipe down the notification bar, click
Preferencesof Termux X11. Then you can switch touch screen mode to simulating touchpad.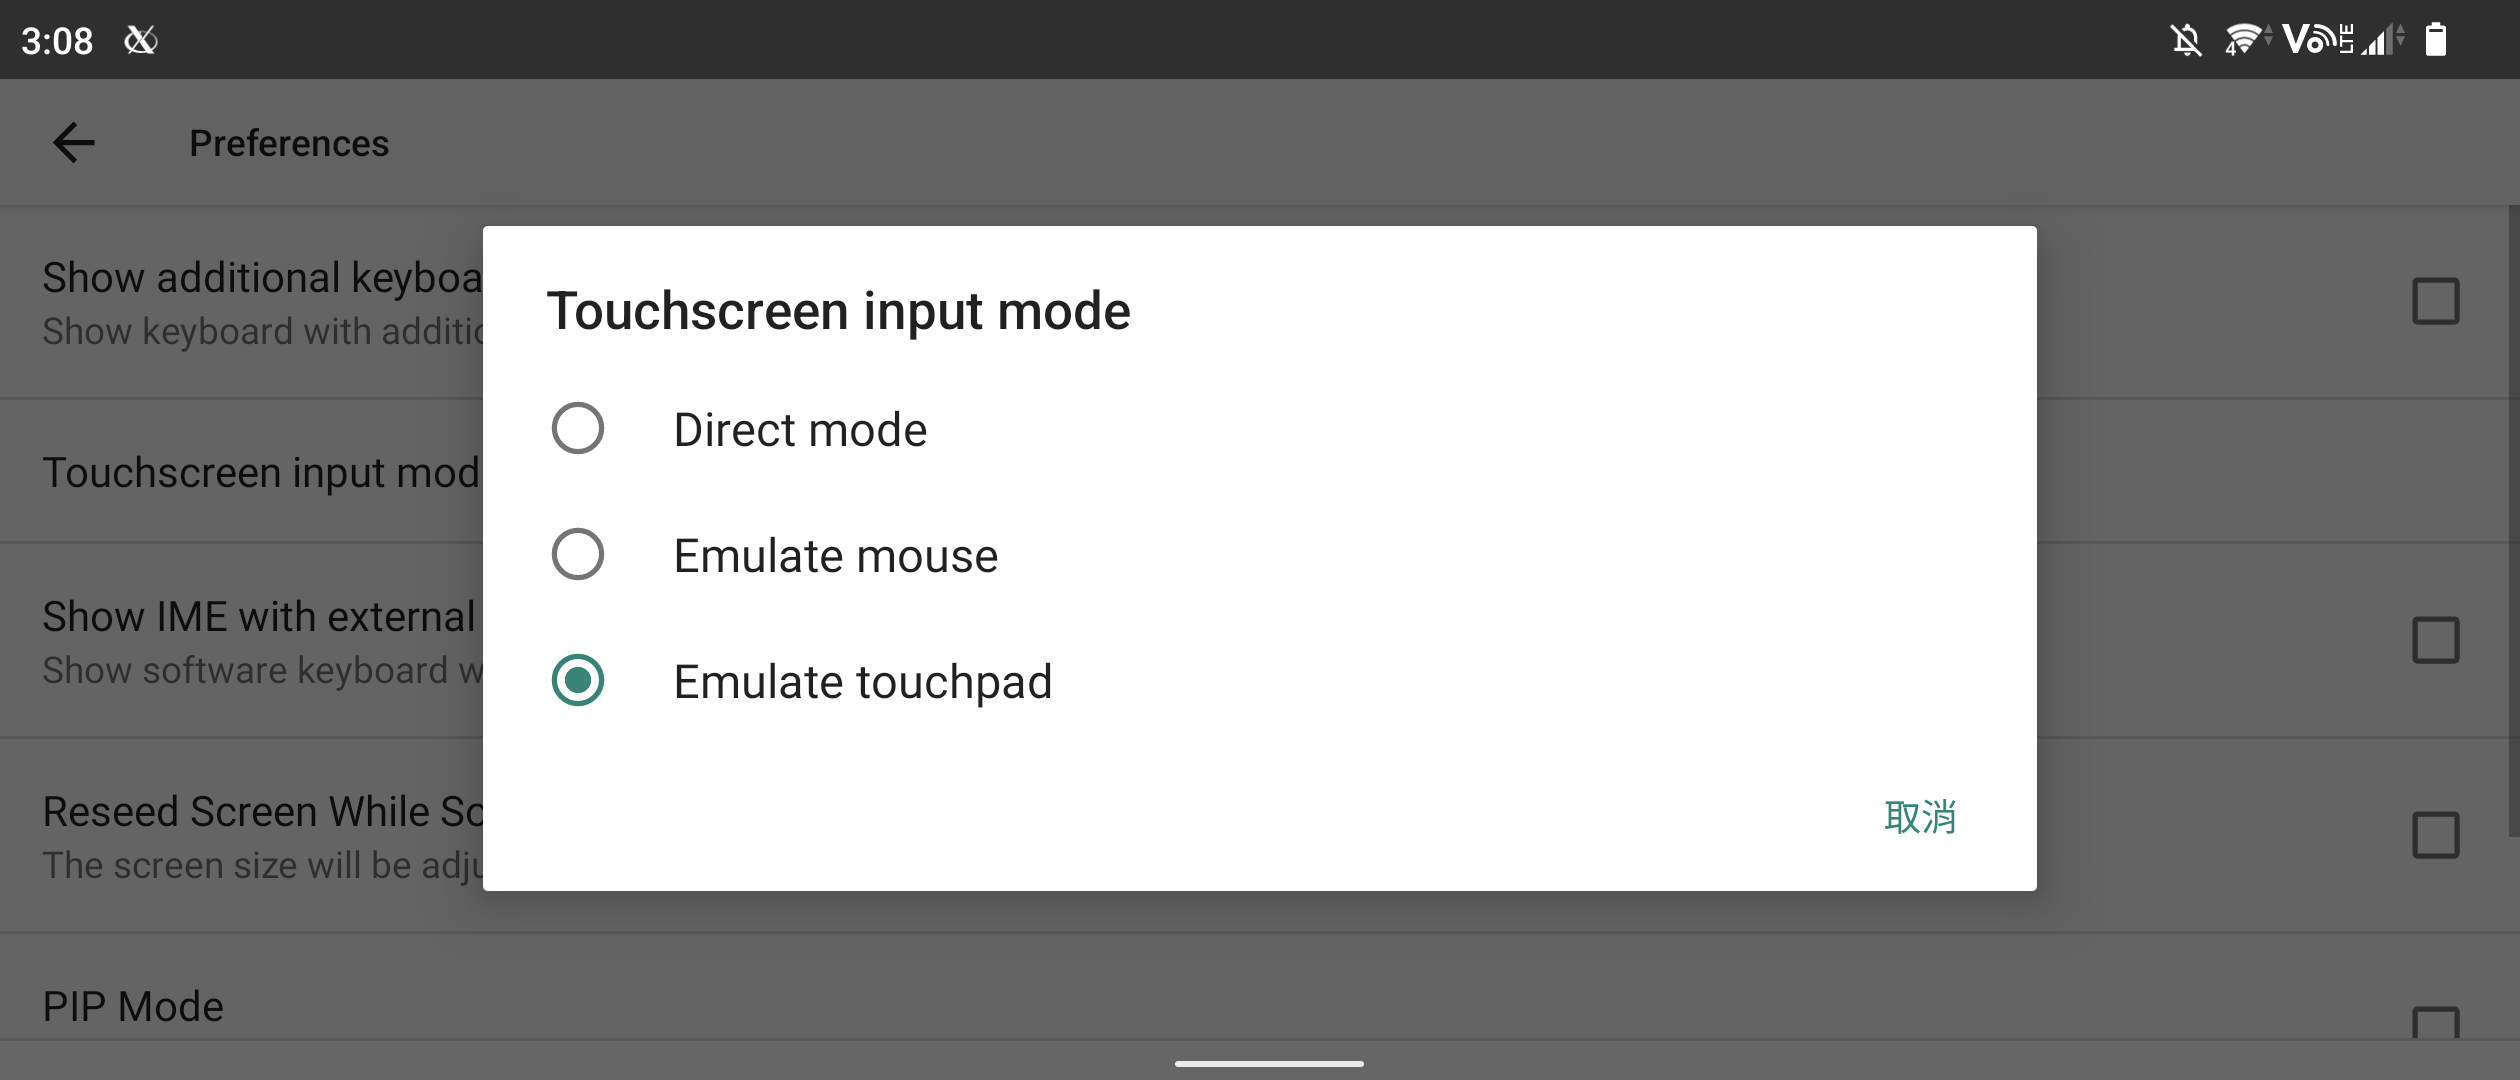
-
To use soft keyboard of phone in Termux X11, swipe the bar at the bottom and you will see a field for inputing texts.
-
If the fonts are too small in Termux X11, click Settings Manager at top-left → Appearance and change font size or select 2x window scaling.
-
To stop the XFCE session, press CTRL+C in Termux. Then logout of proot Debian.
exit