This article introduces how to install Ubuntu with desktop environment on Android mobile phones without Root permissions.
We will use the proot-distro provided by Termux to manually create the Ubuntu desktop environment. After everything is ready, we will setup a one-click startup script at the end of the article.
If you don’t want to manually configure Ubuntu, please use the community scripts to install it automatically.
1. Prerequisites #
Your phone needs at least 6GB of RAM to run the Ubuntu desktop environment.
The processor is recommended to be Qualcomm Snapdragon 845 or above.
Storage space must be at least 10GB.
My device: Sony Xperia 10 V, Android 13
-
Install Termux
-
Install Termux X11
-
Set up GPU hardware acceleration virglrenderer
2. Install Ubuntu minimal file system #
The minimal file system here refers to the rootfs provided by the maintainer of proot-distro. The rootfs they maintain does not have an LTS version and is always the latest version of Ubuntu of the year.
- Open Termux and install Proot-distro and PulseAudio
pkg update
termux-setup-storage
pkg install proot-distro pulseaudio vim- Install root Ubuntu
proot-distro install ubuntu- Log in to Ubuntu. The
--userparameter indicates logging in as root.--shared-tmpmounts the Termux tmp directory into proot so that X server resources can be shared later.
proot-distro login ubuntu --user root --shared-tmp- After logging in, install sudo, vim, and PPA tools. It may ask for your time zone during installation, enter a number to answer.
apt update
apt install sudo vim software-properties-common- Because Android does not support Systemd, please enter the following commands to disable Ubuntu’s Snap
cat <<EOF | sudo tee /etc/apt/preferences.d/nosnap.pref
# To prevent repository packages from triggering the installation of Snap,
# this file forbids snapd from being installed by APT.
# For more information: https://linuxmint-user-guide.readthedocs.io/en/latest/snap.html
Package: snapd
Pin: release a=*
Pin-Priority: -10
EOF- Then install Firefox through Mozilla’s ppa:
sudo add-apt-repository ppa:mozillateam/ppa
sudo apt-get update
sudo apt-get install firefox-esr- To exit the proot, enter
exitto log out.
3. Change mirrors #
This is an optional step. Changing mirrors can speed up package downloads.
For a list of global mirrors, please see Official Archive Mirrors for Ubuntu
- For example, use the following command to replace all the
ports.ubuntu.comURLs in/etc/apt/sources.listwith the URL of the NCHC, Taiwan:
sudo sed -i 's/ports.ubuntu.com/free.nchc.org.tw/g' /etc/apt/sources.list- Update the package list again
apt update4. Create a regular user #
Usually we do not use the root acount operating system. For this purpose, we need to create a regular user account and add the sudo command to temporarily increase the permissions when the system needs to be changed (such as executing the apt command).
- Change root password
passwd- Added wheel and video groups
groupadd storage
groupadd wheel
groupadd video- Add a new regular account “user” and change the password.
useradd -m -g users -G wheel,audio,video,storage -s /bin/bash user
passwd user- Add user to the sudo group. Execute the
visudocommand, findroot ALL=(ALL:ALL) ALL, and add the following content to the next line:
user ALL=(ALL:ALL) ALL- Switch to the regular user
su user
cd
5. Install desktop environment #
If you konw how to use the text-only interface, you don’t need to install the desktop environment.
As for the choice of desktop environment, choose one of the three.
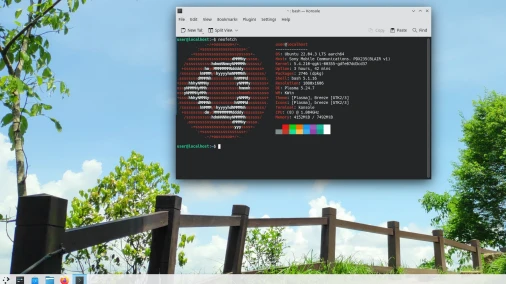
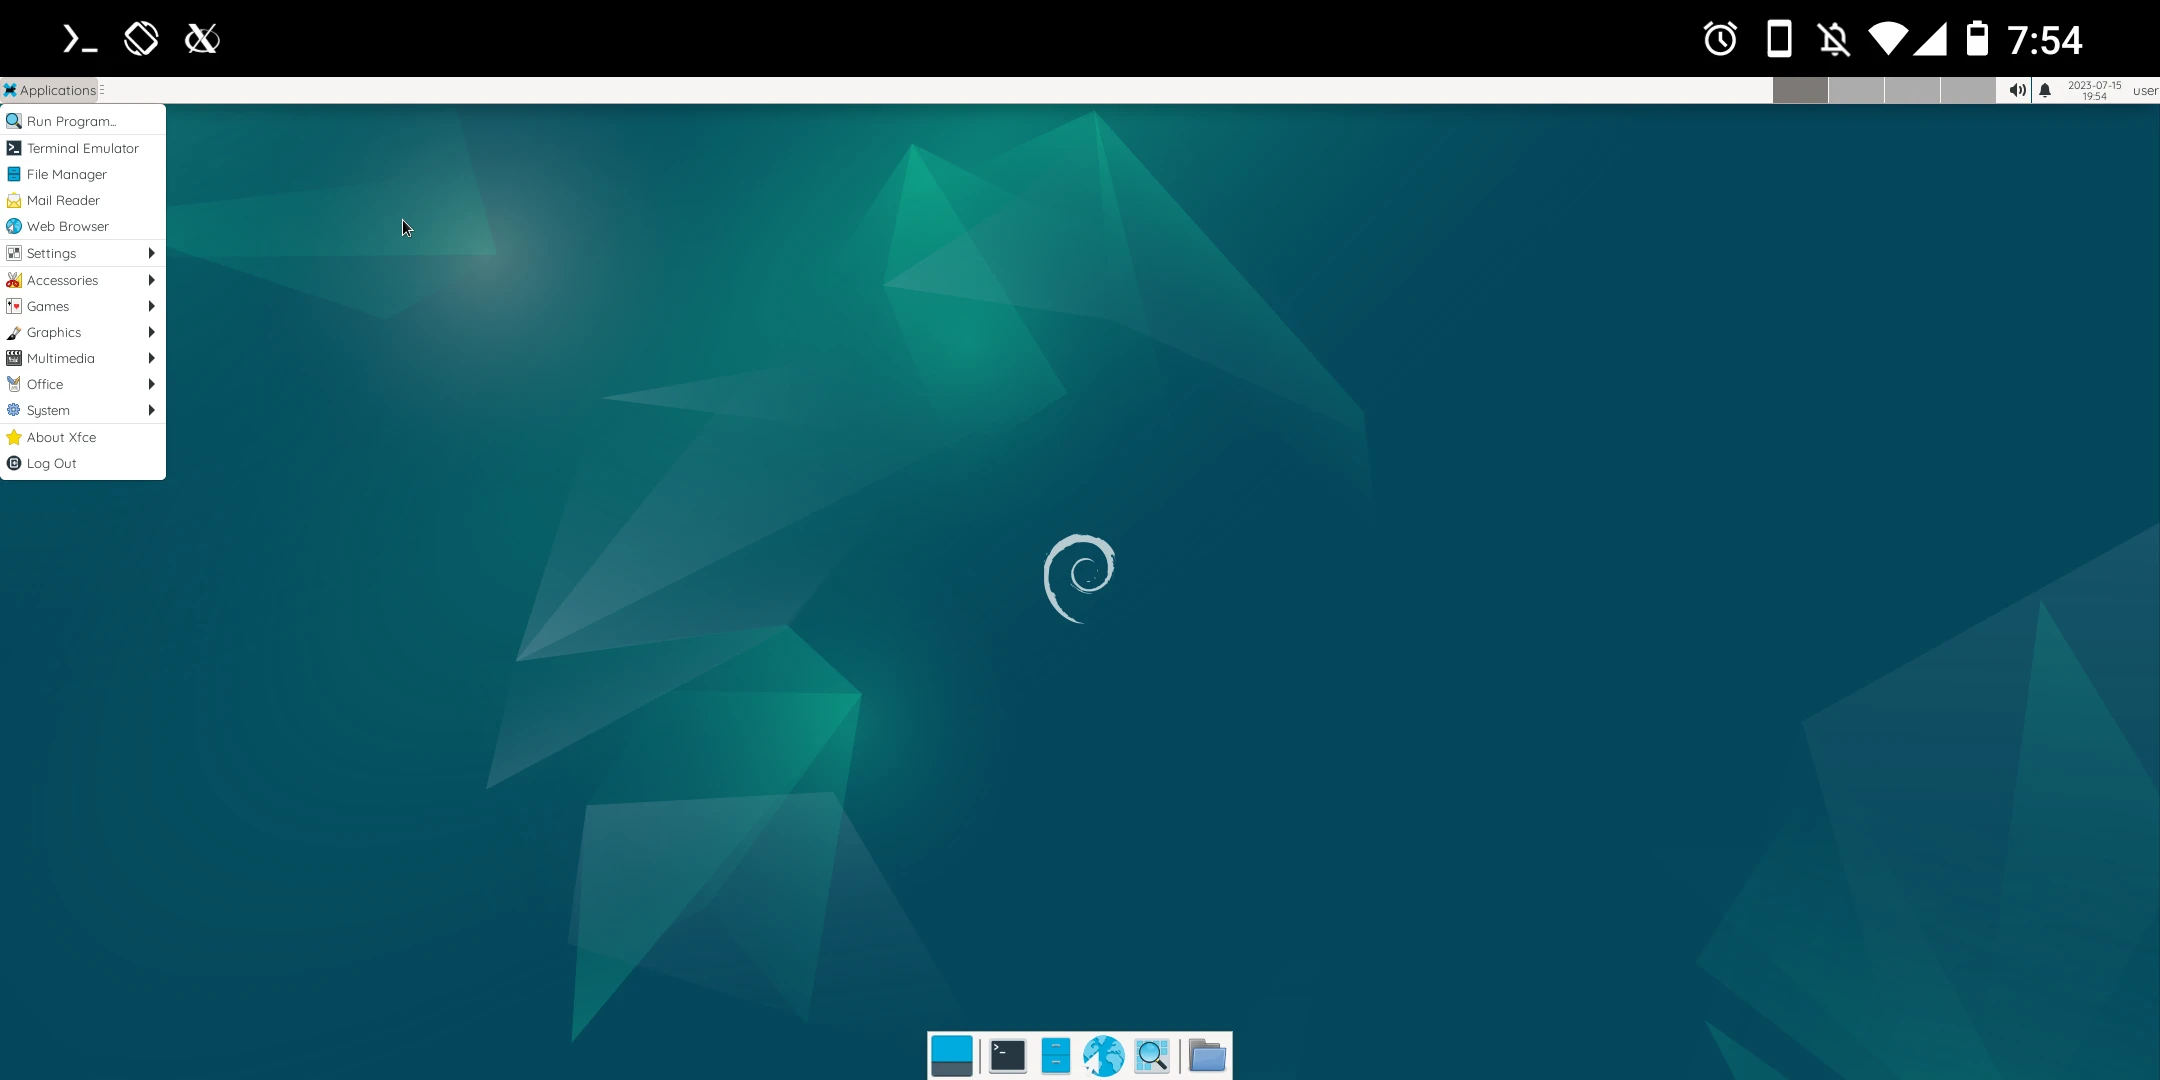
XFCE #
- Install XFCE (Xubuntu configuration).
sudo apt install xubuntu-desktop- Set the default terminal emulator and enter the number of
xfce4-terminal
sudo update-alternatives --config x-terminal-emulatorThe command to start with dbus is startxfce4. This will be discussed below.
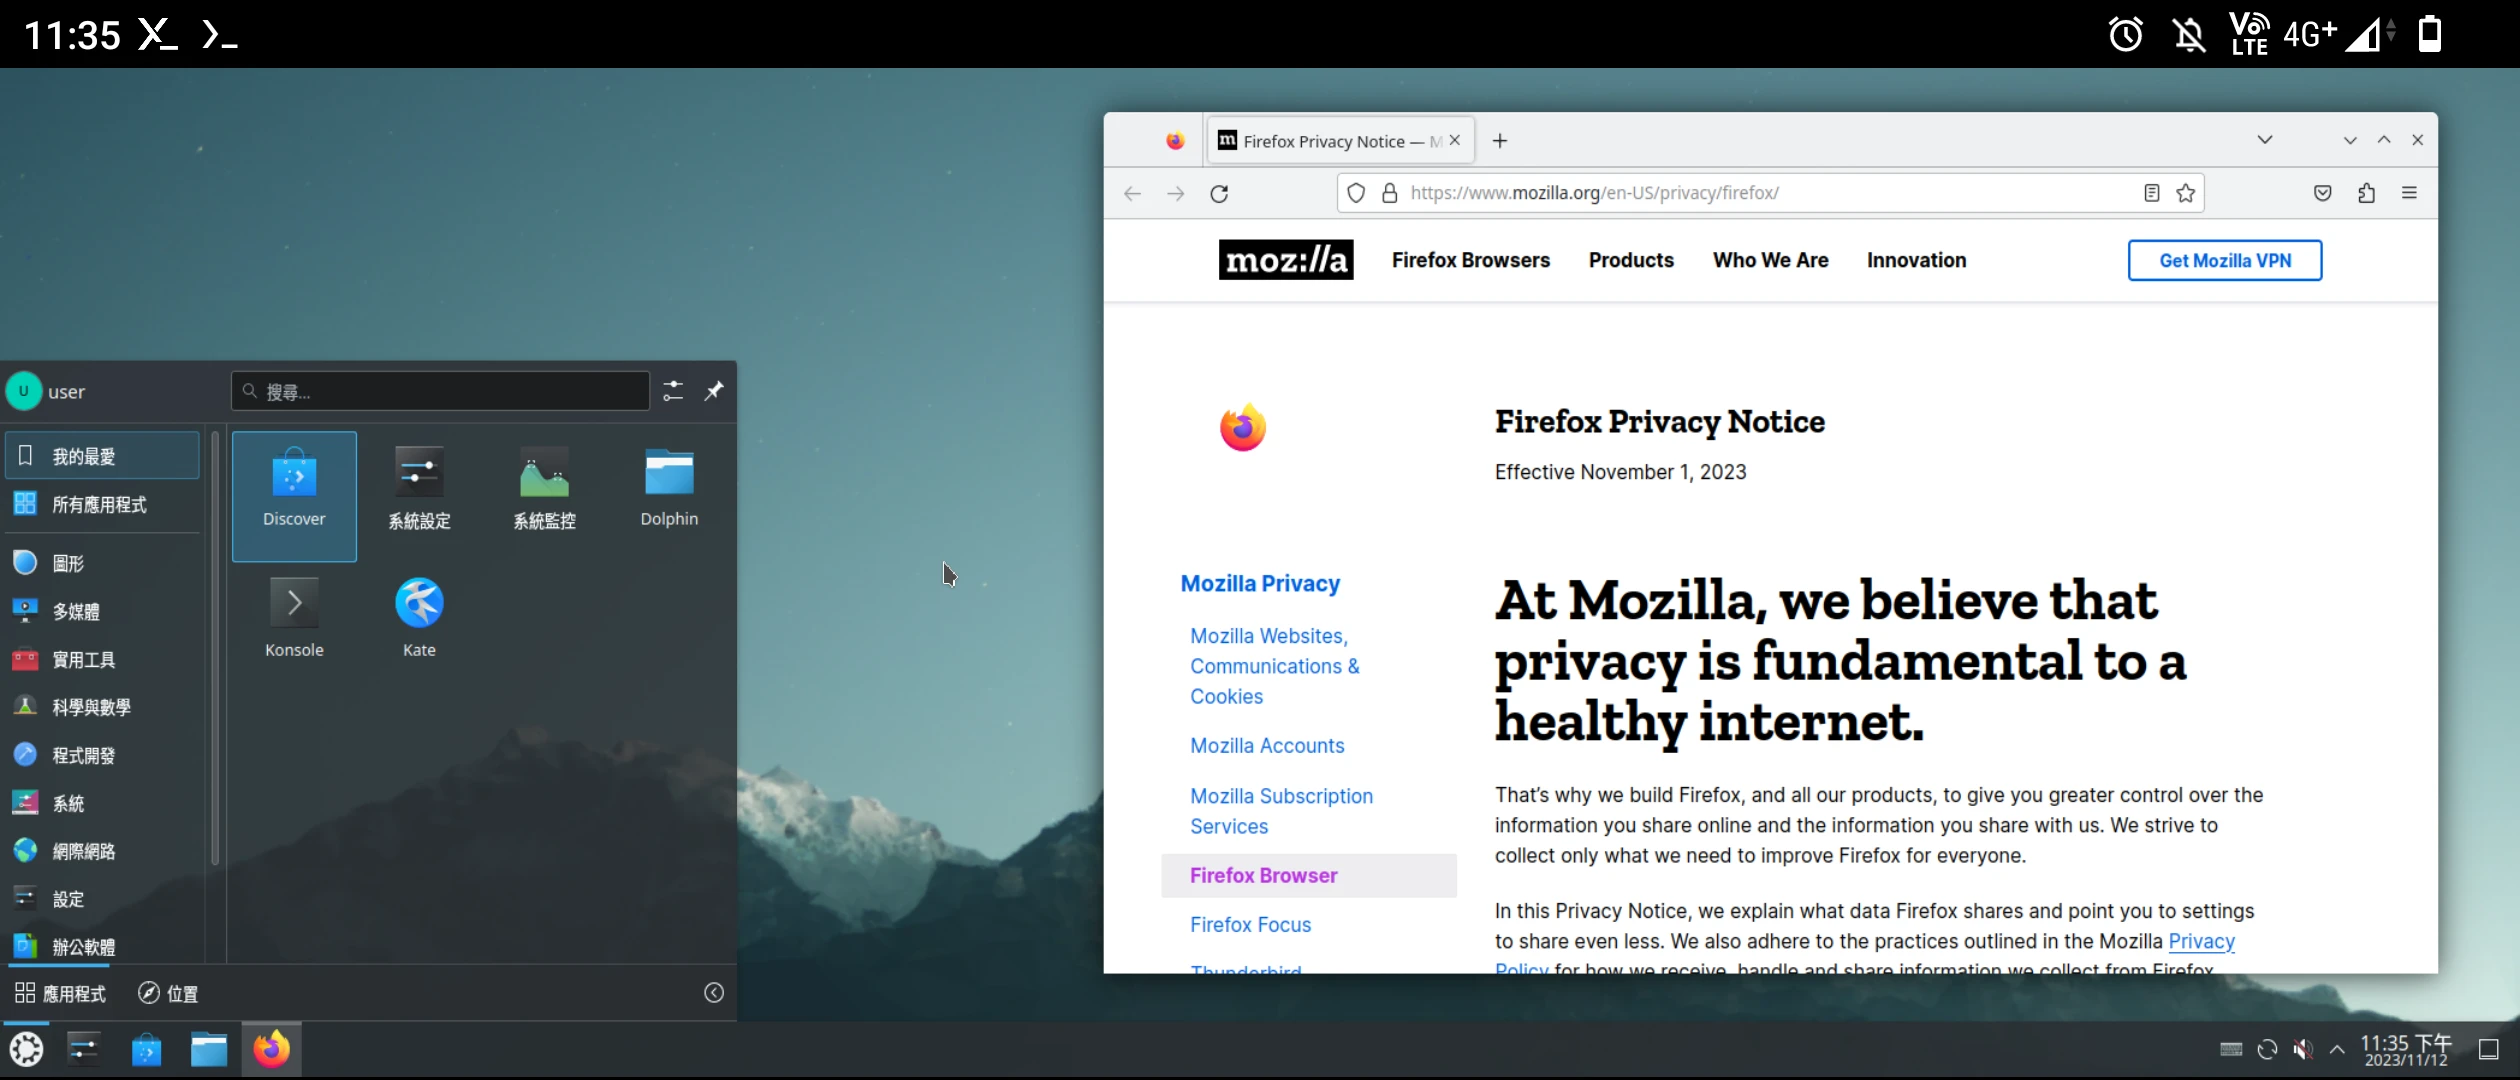
KDE #
- Install KDE (Kubuntu configuration)
sudo apt install kubuntu-desktop- Set the default terminal emulator and enter the number of
konsole
sudo update-alternatives --config x-terminal-emulatorThe command to start KDE with dbus is startplasma-x11. This will be discussed below.
GNOME (experimental) #
Install GNOME
sudo apt install ubuntu-desktopThe command to start GNOME is export XDG_CURRENT_DIR=GNOME && service dbus start && gnome-shell --x11
6. Set time zone, language, input method #
- Set the time zone, for exmaple, to Taipei, Taiwan
sudo ln -sf /usr/share/zoneinfo/Asia/Taipei /etc/localtime- Install locales
sudo apt install locales fonts-noto-cjk- Edit:
vim /etc/locale.gen, find your language, and remove the previous annotation (#):
en_US.UTF-8 UTF-8- Generate the language
locale-gen
echo "LANG=en_US.UTF-8 UTF-8" > /etc/locale.conf- Use VIM to edit
.profile
vim ~/.profile- Add the following content at the end of the file, set the language to
en_US.UTF-8
LANG=en_US.UTF-8
LC_CTYPE=en_US.UTF-8
LC_NUMERIC=en_US.UTF-8
LC_TIME=en_US.UTF-8
LC_COLLATE=en_US.UTF-8
LC_MONETARY=en_US.UTF-8
LC_MESSAGES=en_US.UTF-8
LC_PAPER=en_US.UTF-8
LC_NAME=en_US.UTF-8
LC_ADDRESS=en_US.UTF-8
LC_TELEPHONE=en_US.UTF-8
LC_MEASUREMENT=en_US.UTF-8
LC_IDENTIFICATION=en_US.UTF-8
LC_ALL=
7. Set up a one-click startup desktop environment script #
Here we will set up shortcuts to start Termux, Termux X11, virglserver with one click to automatically start the desktop environment.
- Exit the proot environment and exit Termux
exit
exit
exit-
Install Termux Widget
-
Open the phone system settings and enable the “Allow display on top of other applications” permission for Termux.
-
Restart Termux and enter the following command to create a shortcut
mkdir .shortcuts
vim .shortcuts/startproot_ubuntu.sh- Fill in the following content
#!/bin/bash

# Kill all old processes
killall -9 termux-x11 pulseaudio virgl_test_server_android termux-wake-lock

# Start Termux X11
am start --user 0 -n com.termux.x11/com.termux.x11.MainActivity
XDG_RUNTIME_DIR=${TMPDIR}
termux-x11 :0 -ac &
sleep 3

# Start PulseAudio
pulseaudio --start --exit-idle-time=-1
pacmd load-module module-native-protocol-tcp auth-ip-acl=127.0.0.1 auth-anonymous=1

# Start GPU accelerated virglserver
virgl_test_server_android &

# Log in to proot Ubuntu and start the desktop environment. Note that startxfce4 at the end is used to start the XFCE4 desktop.
proot-distro login ubuntu --user user --shared-tmp -- bash -c "export DISPLAY=:0 PULSE_SERVER=tcp:127.0.0.1; dbus-launch --exit-with-session startxfce4"- Grant execution permissions
chmod +x .shortcuts/startproot_ubuntu.sh-
Go to your phone’s desktop, add a new widget → select Termux Widget, and you will see the shortcut you just wrote appear in the list.
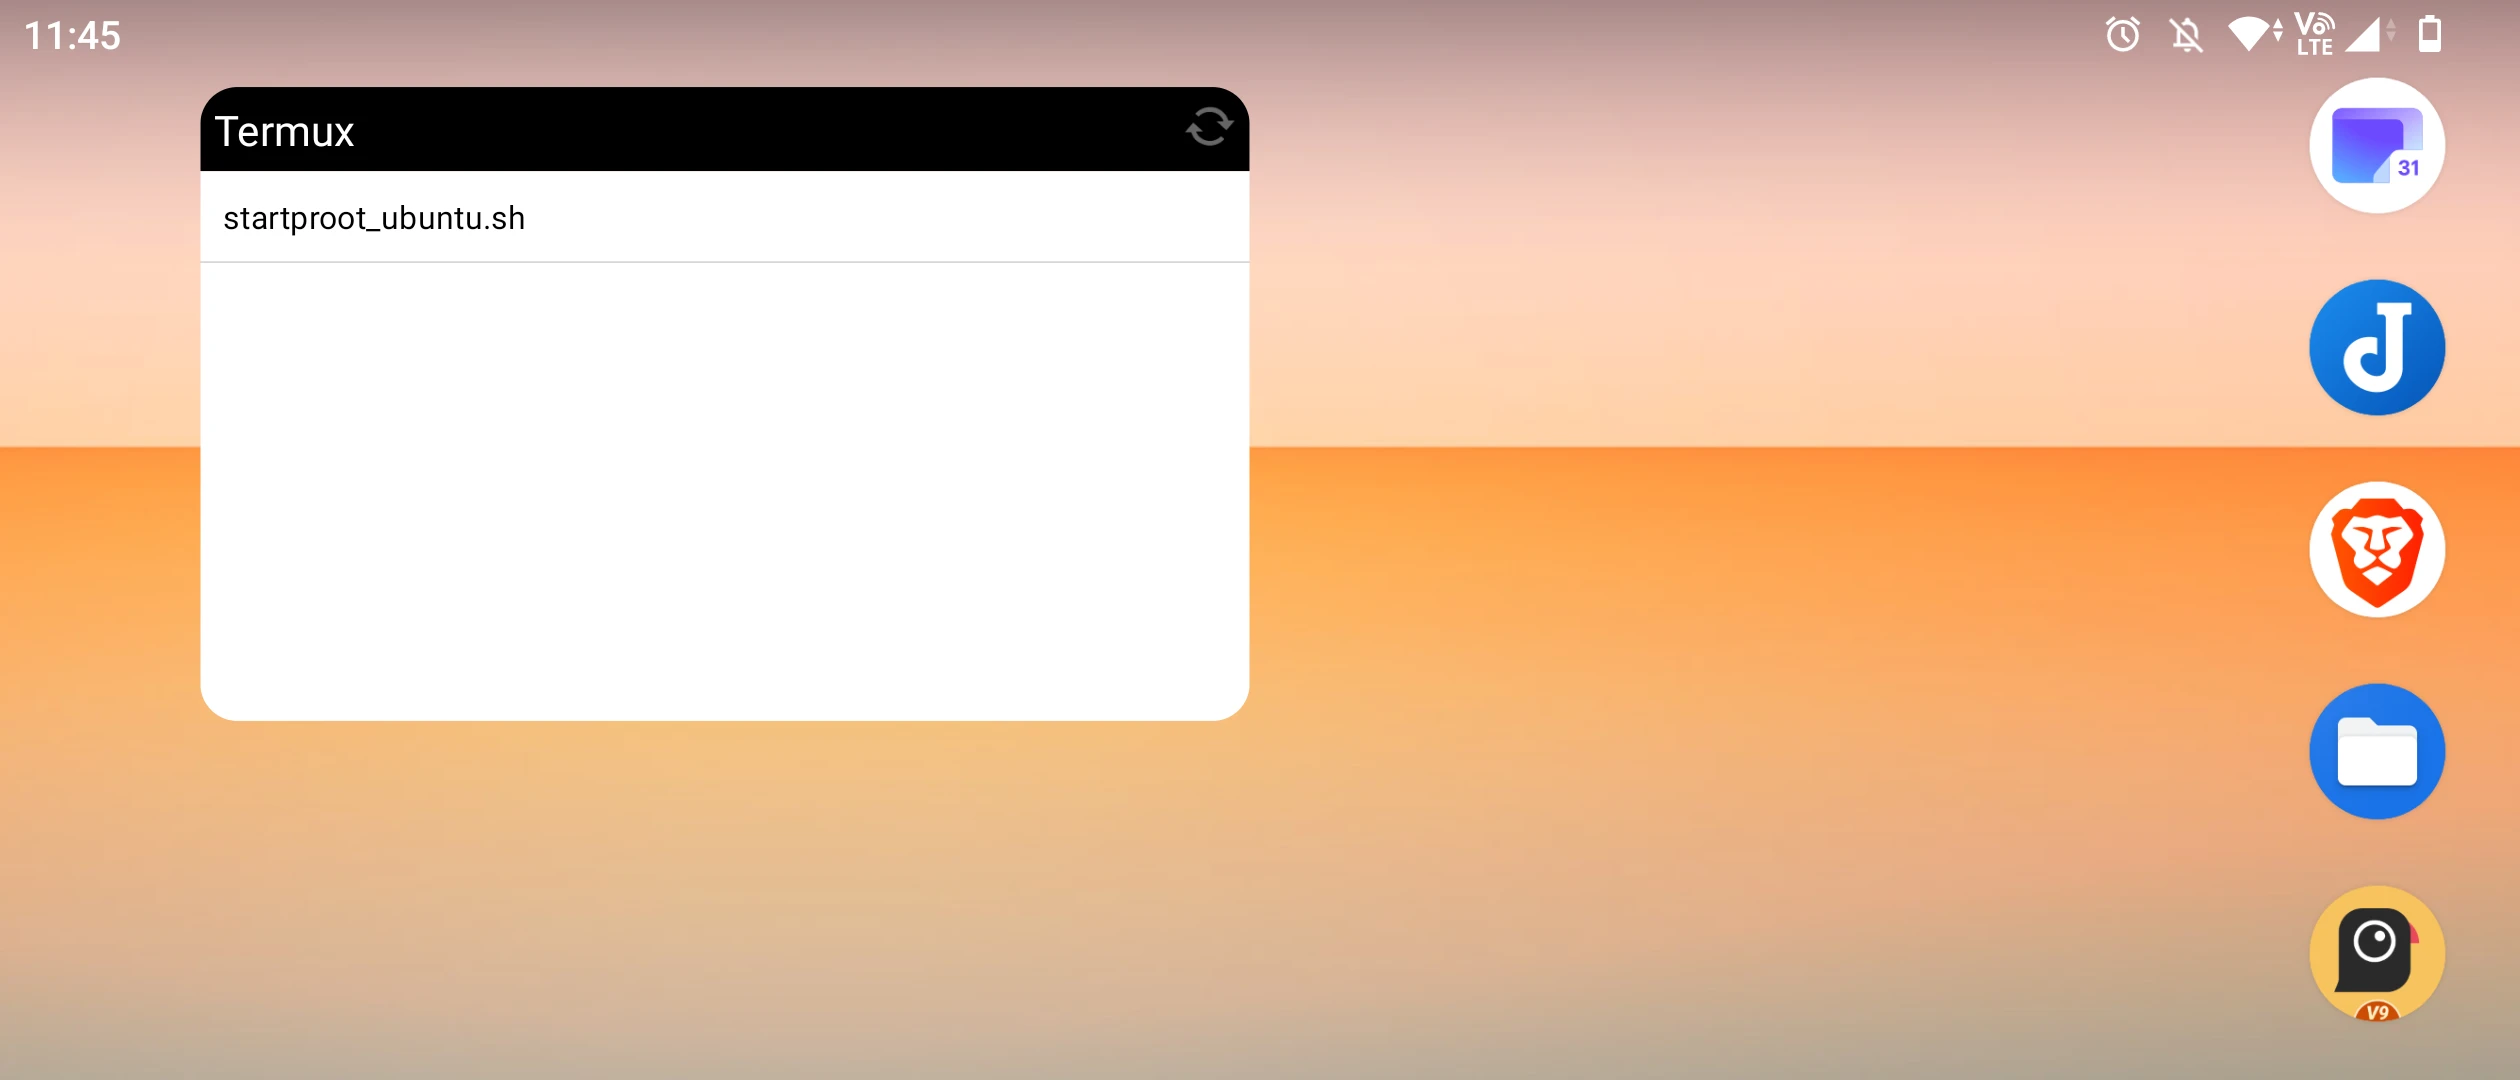
-
Click the button and Termux will automatically open the login desktop.
-
Pressing the back button in the Termux X11 interface will wake up the mobile phone keyboard. Here I recommend using Hacker’s Keyboard for easy operation of Ubuntu.
-
Slide down the notification bar of your phone and click
Preferencesof Termux X11 to change the touch control to simulate a trackpad, so that you can use the emulated mouse to interact with the desktop.
-
The desktop icon may be a bit too small. Change the Display resolution mode to
Scaledand scale it according to your preference.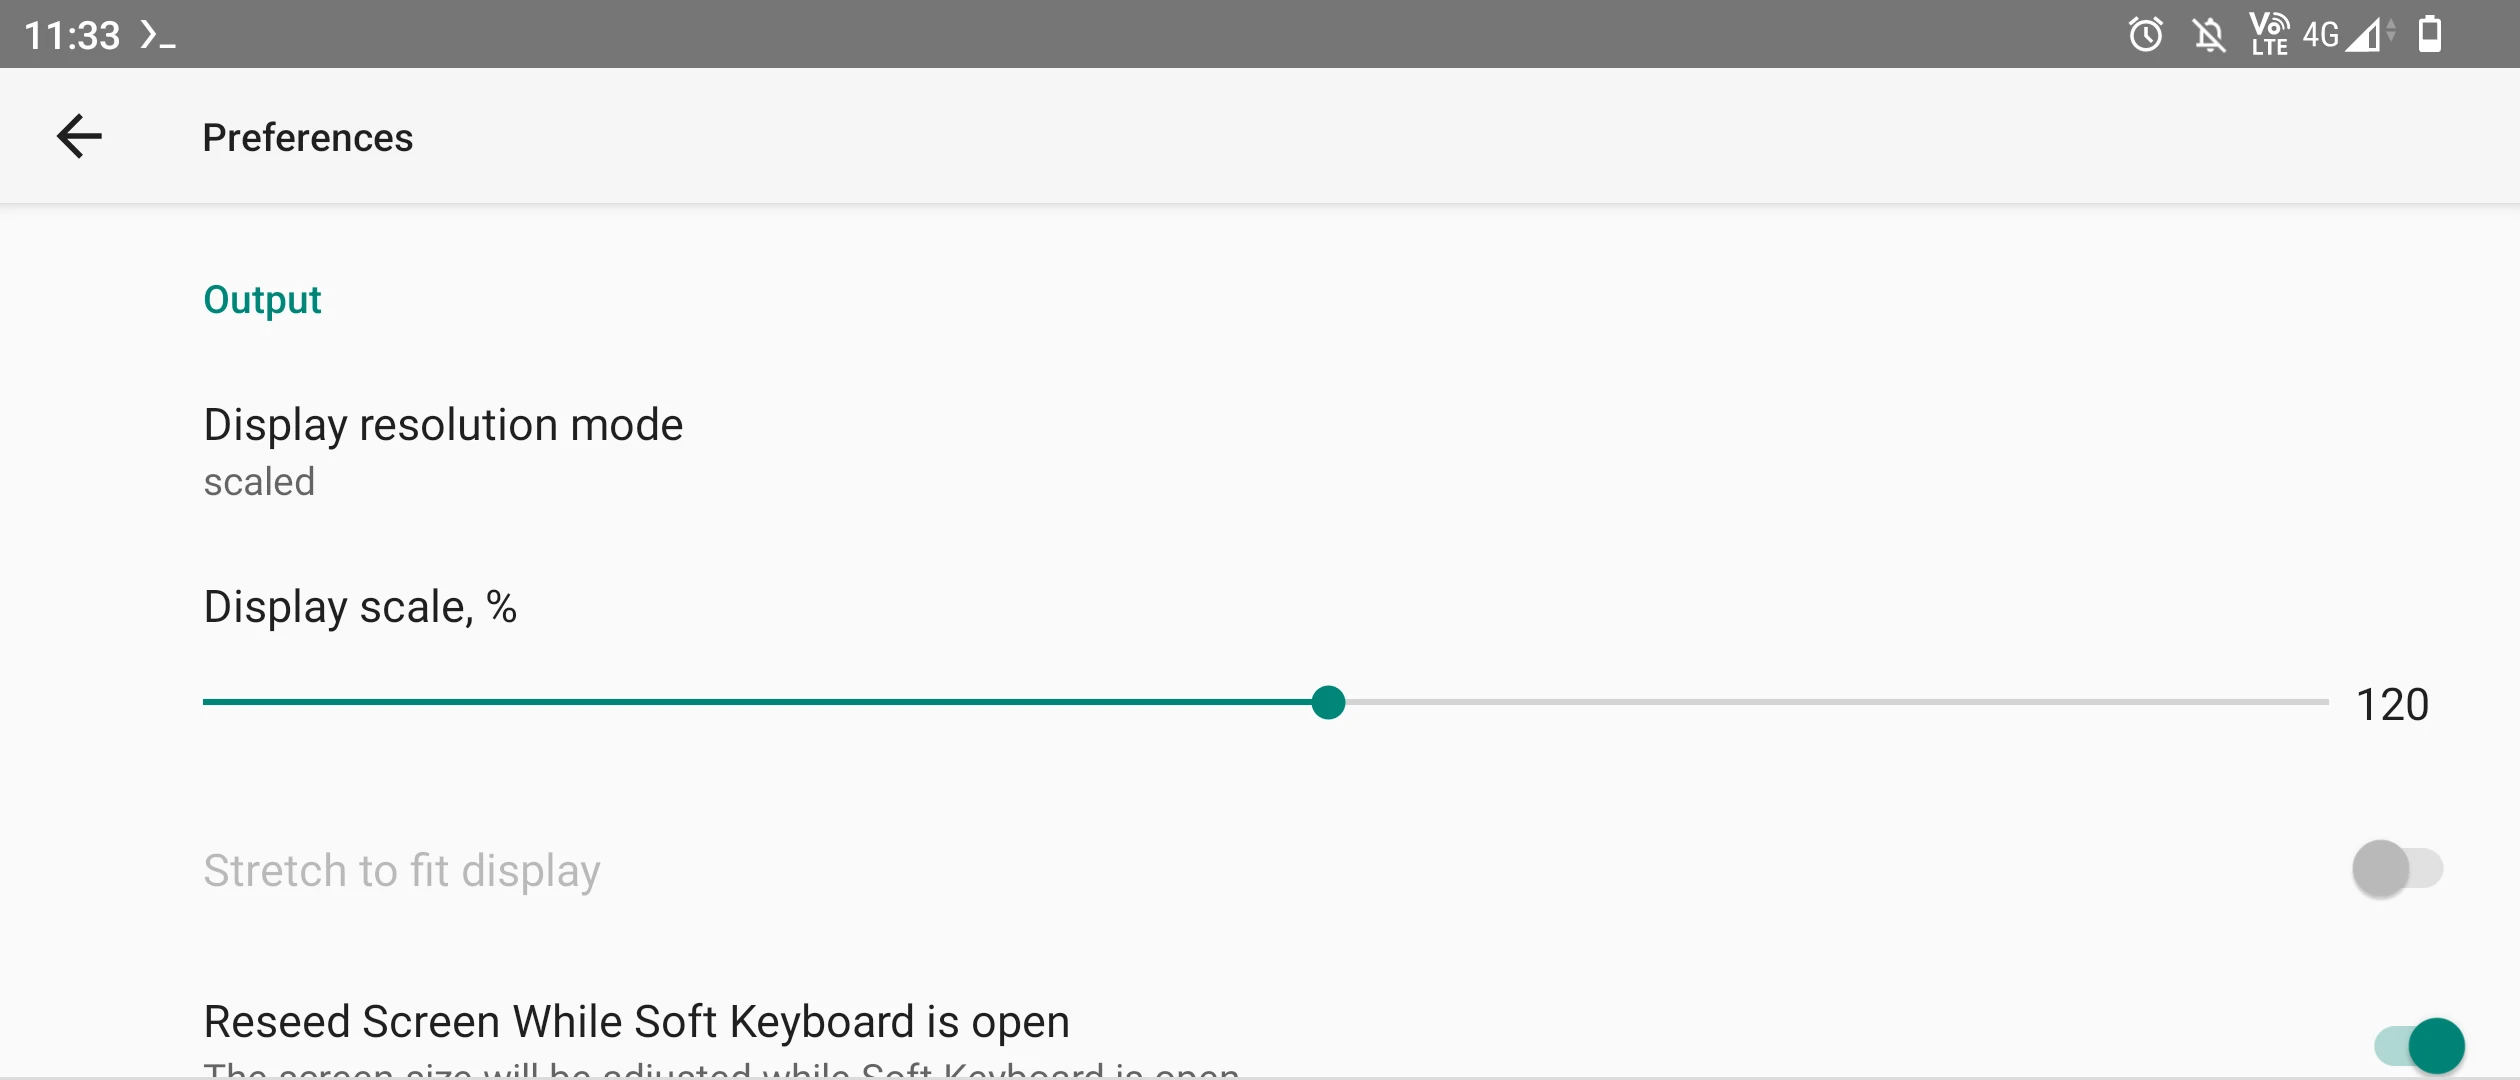
-
It is also recommended to disable the screen lock and screen saver in the Linux system settings, because in proot it cannot unlock the screen saver.
-
To terminate the execution of Ubuntu, press Exit on the notification bar of your phone to exit. Then force stop Termux and Termux X11 apps.