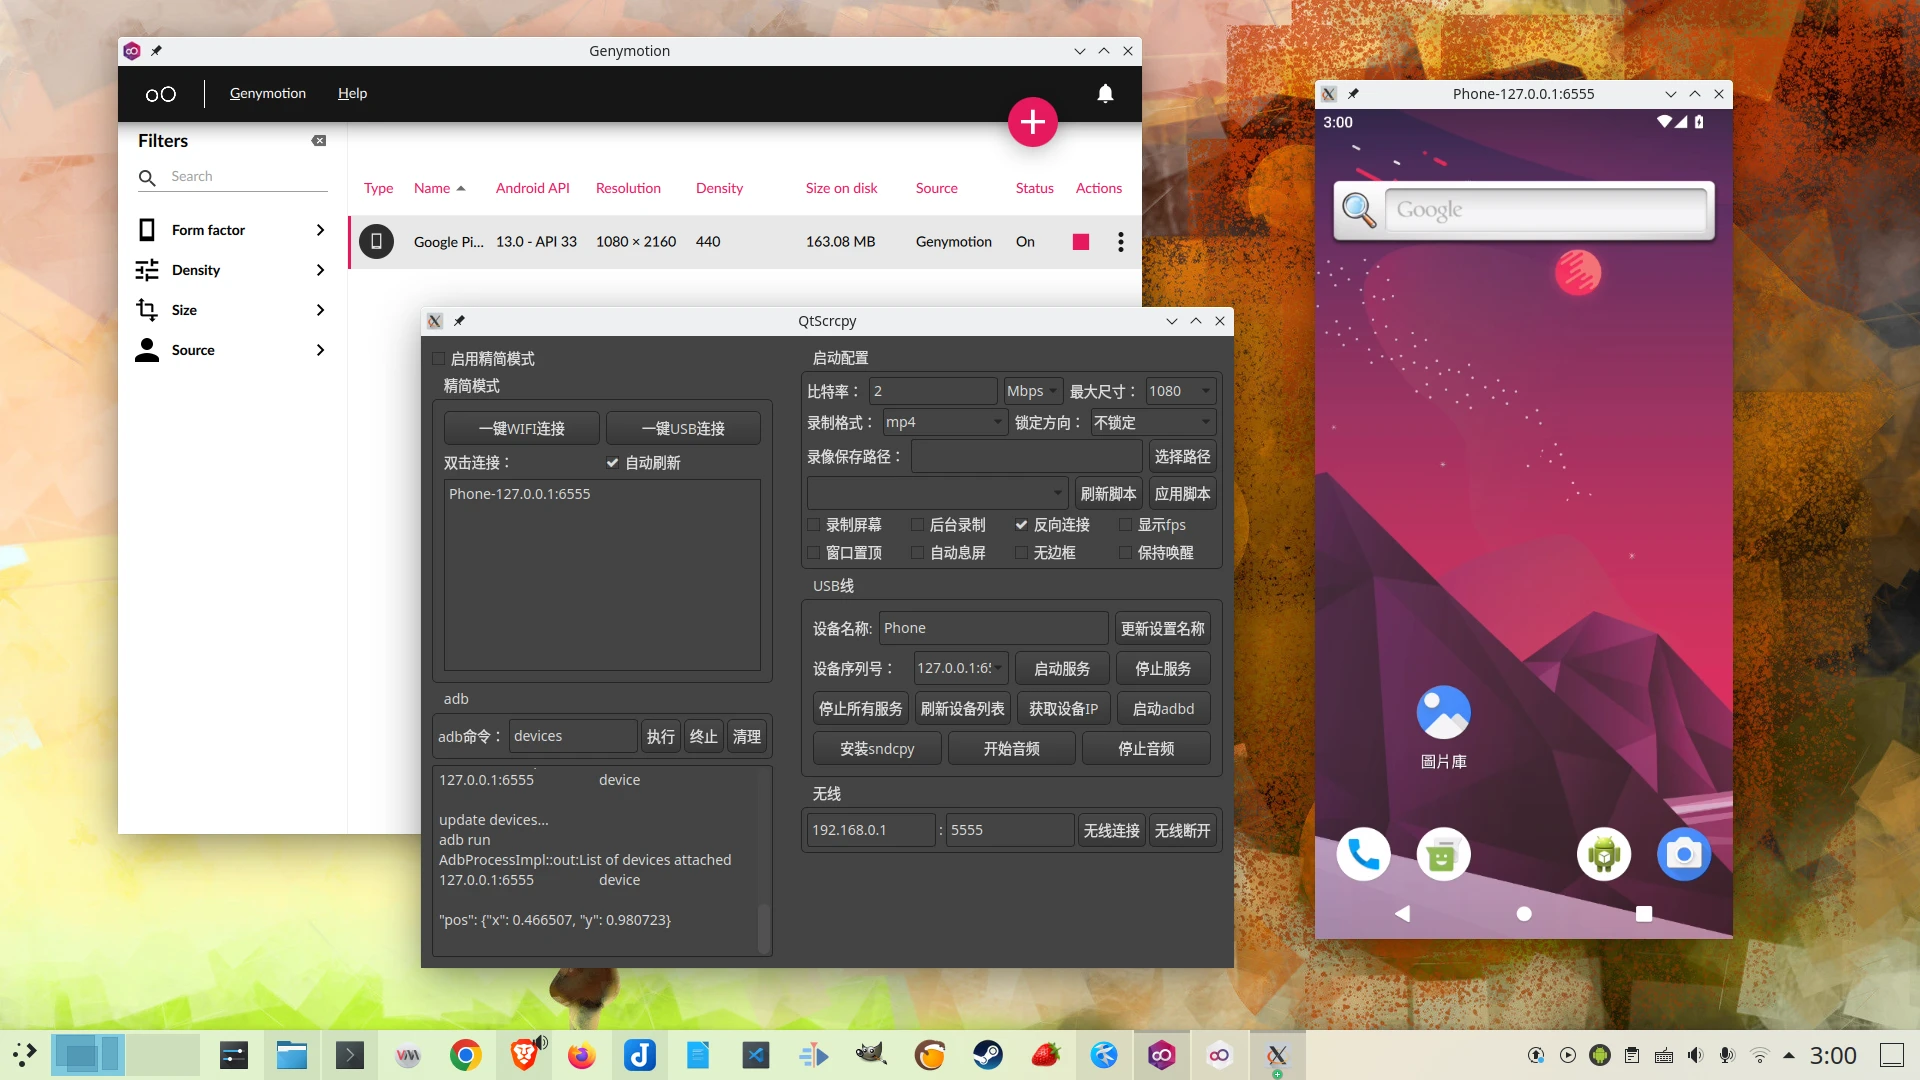
“Genymotion Android Emulator”, developed by Genymobile, is a cross-platform Android emulator with rich features. It can play games, and it is currently the only commercial Android emulator that supports Linux.
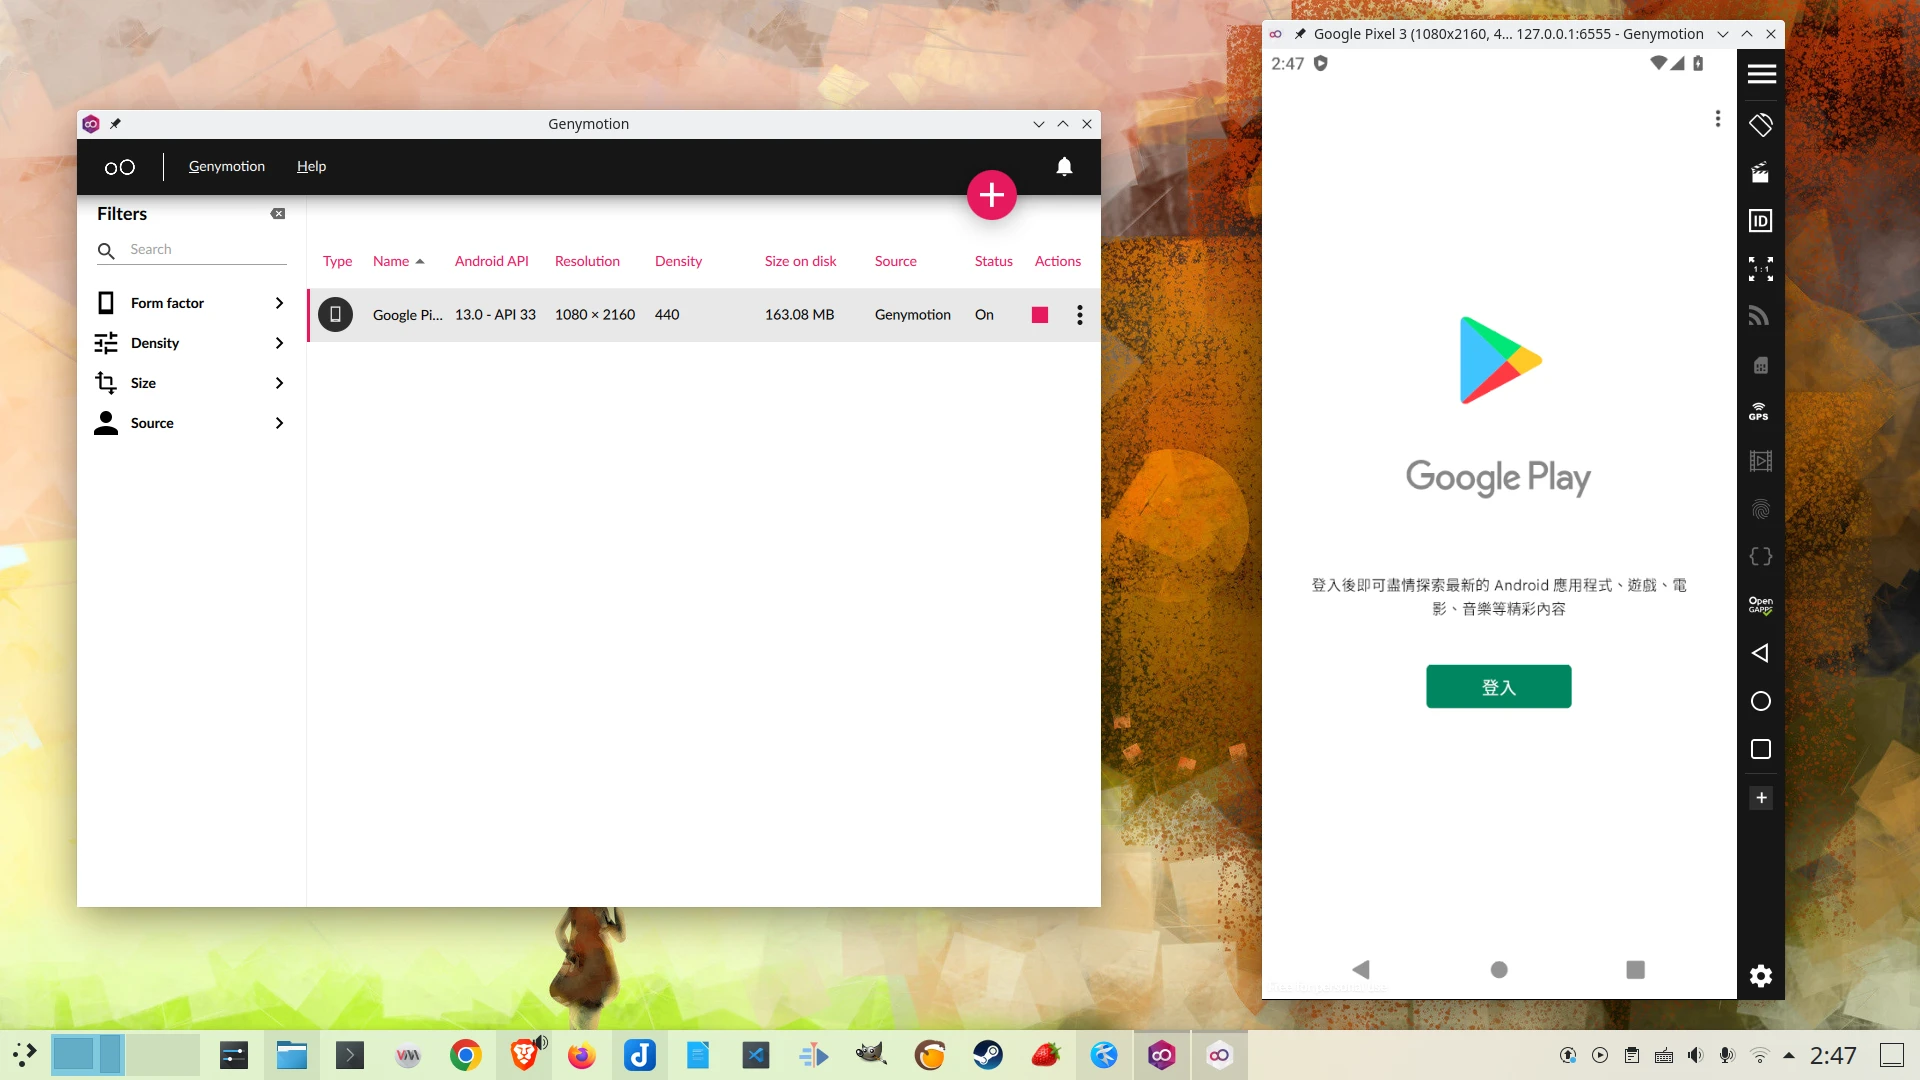
Among the many Linux Android Emulators solutions, Genymotion’s features are on par with Android Studio’s AVD. It likewise supports GPU acceleration and ARM translation, and can emulate many Android devices.
And Genymotion does not consume as many resources as Android Studio when running, so gaming is not a burden.
However, rather than saying Genymotion is for playing games, Genymotion is more of an emulator developed for enterprise customers for large-scale testing and development. They also provide a cloud phone service.
By the way: Genymobile is the developer of the famous phone remote control program “Scrcpy”.
Genymotion is closed source software under a mixed open source license. Ordinary users need to register an account to use it, and its features are limited. You need to pay for a subscription license to unlock all features.
1. Install Genymotion Desktop #
Test system: Ubuntu 22.04 LTS
-
The Linux version of Genymotion can choose KVM or VirtualBox as the virtualization backend. I use the former. Therefore, first install the QMEU/KVM on Ubuntu
-
Go to the Genymotion official website to register an account. It does not matter what you fill in for company name.
-
Go to the Genymotion Desktop page to download the Linux installer
-
Genymotion’s bin file is essentially an archive containing the main program. I move it to the
~/Applicationsdirectory and then extract it
cd ~/Downloads

mkdir ~/Applications

mv genymotion-3.6.0-linux_x64.bin  ~/Applications

cd ~/Applications

./genymotion-3.6.0-linux_x64.bin- Add the genymotion binary path to PATH
echo "PATH=$PATH:~/Applications/genymotion/genymotion" >> ~/.bashrc

source ~/.bashrc-
Run the
genymotioncommand, or go to~/Applications/genymotion/and double-click the genymotion executable to open the main program. -
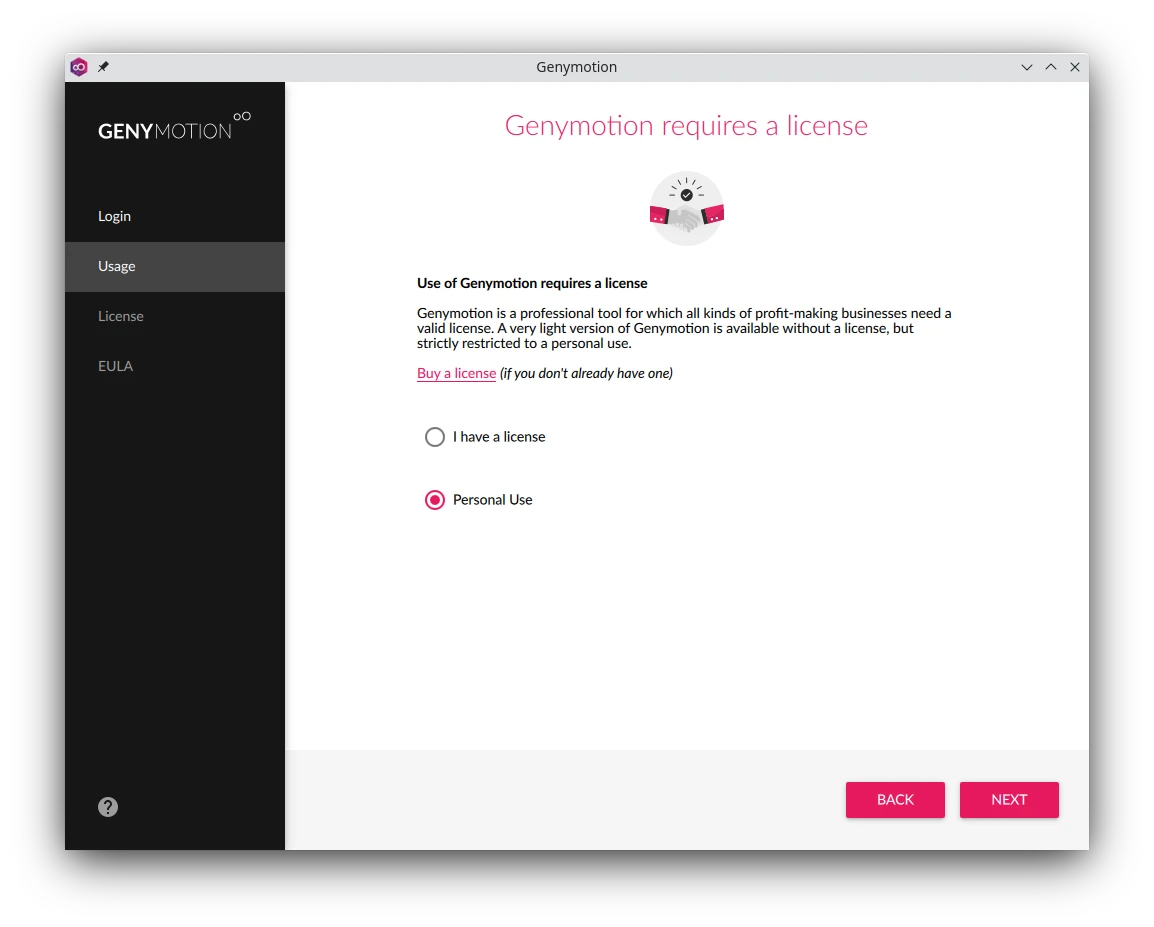
After startup, log in to your Genymotion account and select Personal Use
-
After installation, Genymotion will automatically be added to the application list.
2. Add an Android Emulator #
-
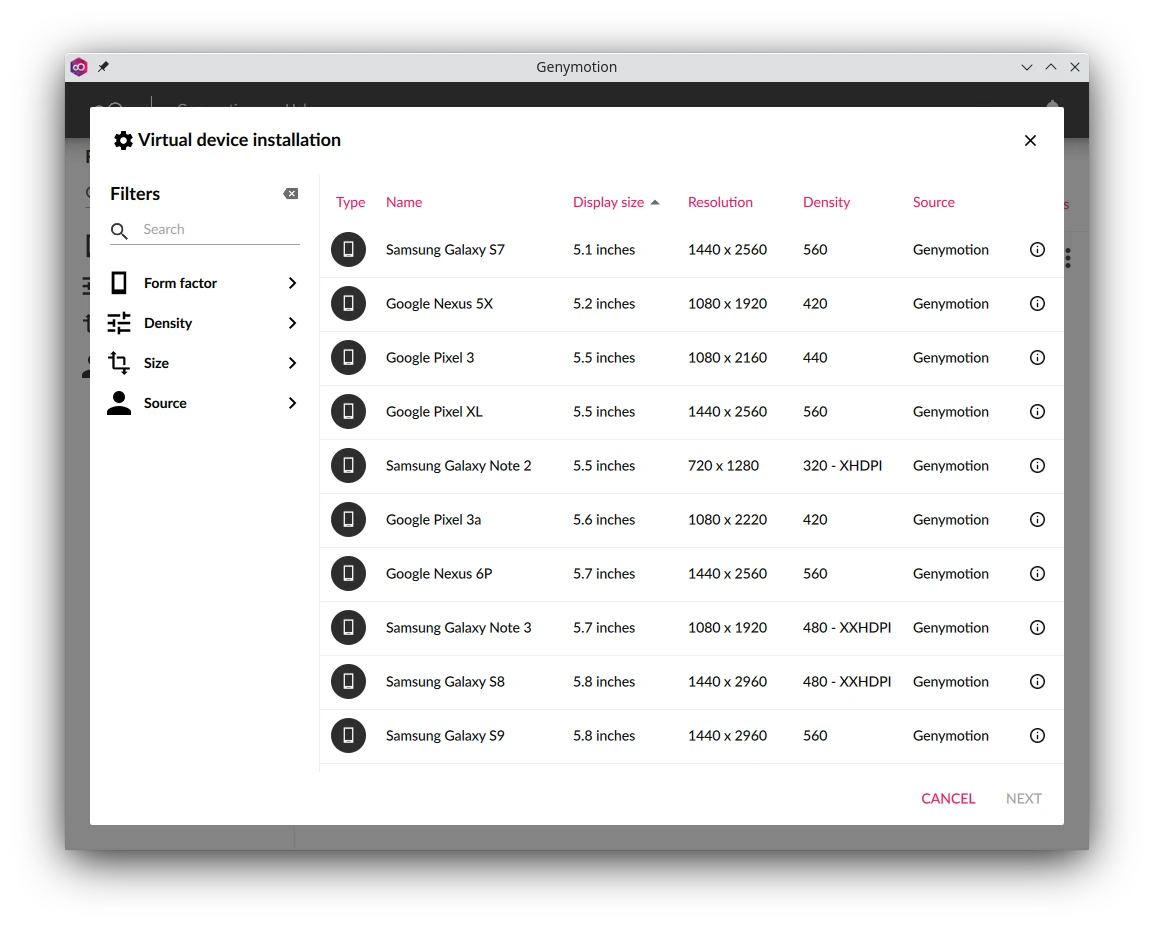
Genymotion’s interface is very intuitive. Select the phone model you want to emulate, download the image, and install it. Although these phone models are all very old, the Android versions do keep up with the latest releases.
-
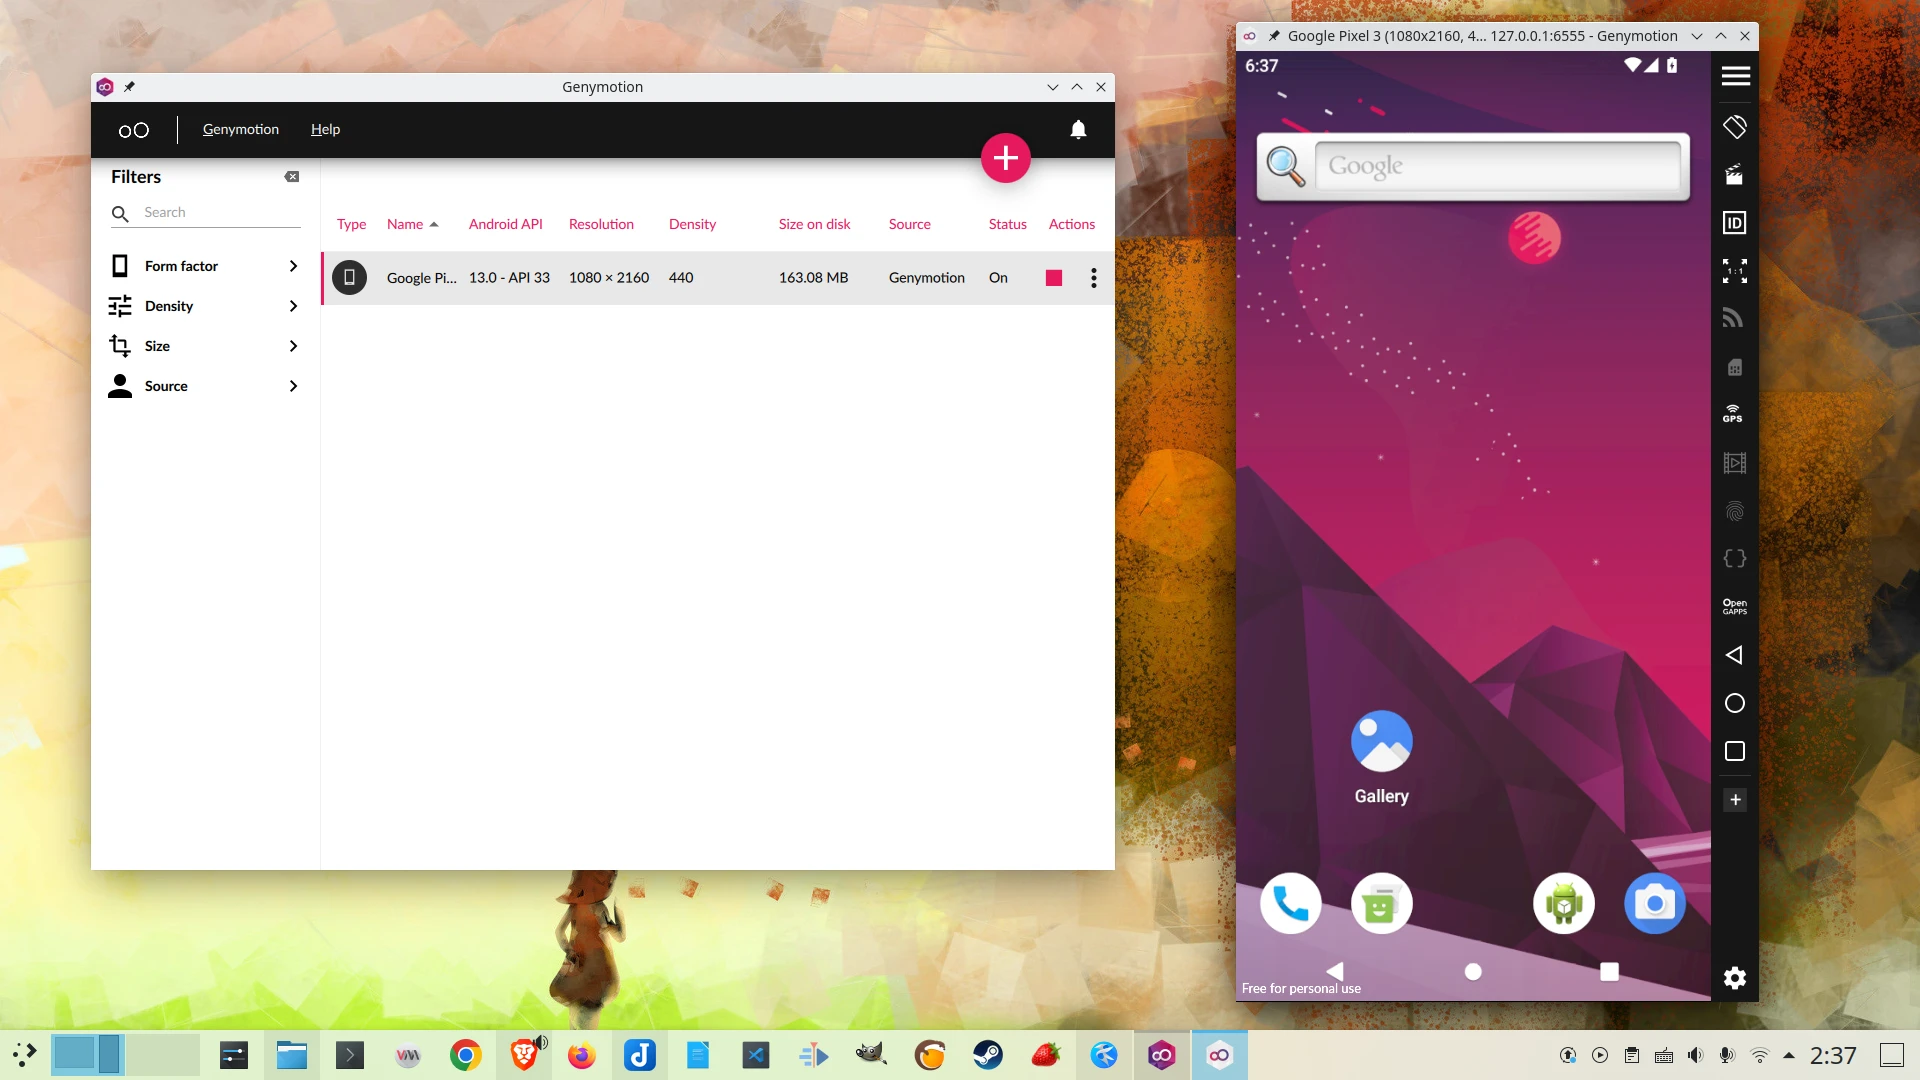
After booting into Android, you will see a watermark in the lower-left corner. You need to pay to remove it. Later I will tell everyone a little trick to bypass it. You can operate the phone directly with the keyboard, and the clipboards on both sides will sync automatically.
-
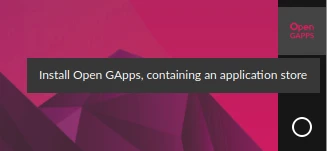
Users who need the Play Store should click this button on the right to install GApps
-
You can drag APKs directly from Linux’s file manager into the Genymotion window to install them. When installing, I recommend prioritizing x86_64 or Universal APKs. If those are unavailable, then install the ARM version. The reason is that Genymotion’s built-in ARM translator may not necessarily run ARM apps correctly.
3. Enable ADB Debugging for the Genymotion Emulator #
Genymotion can be used with Android Studio, replacing AVD as the Android emulator.
-
Install Platform Tools on Linux
-
Enable USB debugging in “Developer options” in the Android virtual machine settings
-
Open a terminal and use the ADB command to list devices
adb devices- Connect
adb connect 127.0.0.1:6555- After setting up ADB debugging, you can run QTScrcpy to bypass Genymotion’s watermark restriction. Use your magic against them!