Turning PinePhone into a Linux server like Raspberry Pi.
Turn the Linux phone “PinePhone” into a sort-of Raspberry Pi Linux server.
This is not a Taiwanese mini egg roll. This is a big American phone.

The original PinePhone, announced in 2019, has been sitting around for two years since I bought and unboxed it. After I actually used it for a few months, I put it in a drawer because the Wi-Fi chip cooked itself. A phone that casually hits 50°C with 4G enabled is not exactly pocket-friendly.
These days, the PinePhone kernel has moved from the custom kernel-megi to mainline linux-sunxi. Looks like the developers unified this board family so devices using the same board can run the mainline Linux kernel.
Thanks to the developers’ work, both postmarketOS and Mobian use the linux-sunxi kernel, so PinePhone hardware support is probably “done” now. Despite the painful development process, postmarketOS, Mobian, and Ubuntu Touch still support the PinePhone. Arch Linux ARM has already given up updating it.
Since I already bought a PineTab 2 as my new main device, the PinePhone has not been very useful. The PineTab 2’s RK3566 processor is also slow, but at least the PineTab 2 has a big screen for reading ebooks.
Dust to dust, dev board to dev board. I once thought about buying a Raspberry Pi 5 to replace the self-hosting services currently running on my x86 machine, but let me reuse this thing first: turn the PinePhone, which was already basically a dev board made into a phone, back into a dev board.
The difference between a PinePhone and a normal ARM dev board is that the PinePhone has a battery, cameras, and sensors, but lacks I/O ports, GPIO pins, and so on. Without someone writing an Android TV system for it, it is not likely to become a TV box. That leaves one path for the PinePhone: server duty.
Why not use some other higher-performance old Android phone that can run postmarketOS? Because none of them has hardware drivers as fully supported by Linux as the PinePhone does, especially for USB.
According to online data, the PinePhone’s Allwinner A64 processor has only about half the performance of the Raspberry Pi 4’s Broadcom BCM2711, but at least it is a bit better than the Raspberry Pi 3’s Broadcom BCM2837. Still useful.
What can it run?
Running a Nextcloud file server, Immich photo cloud, or Sonarr BT download service with Docker is acceptable. Poor man’s NAS. But Jellyfin video streaming is not happening. The PinePhone is very slow at server-side 1080p decoding. For video playback, you can only stream through a SAMBA server and let the playback device do the decoding.
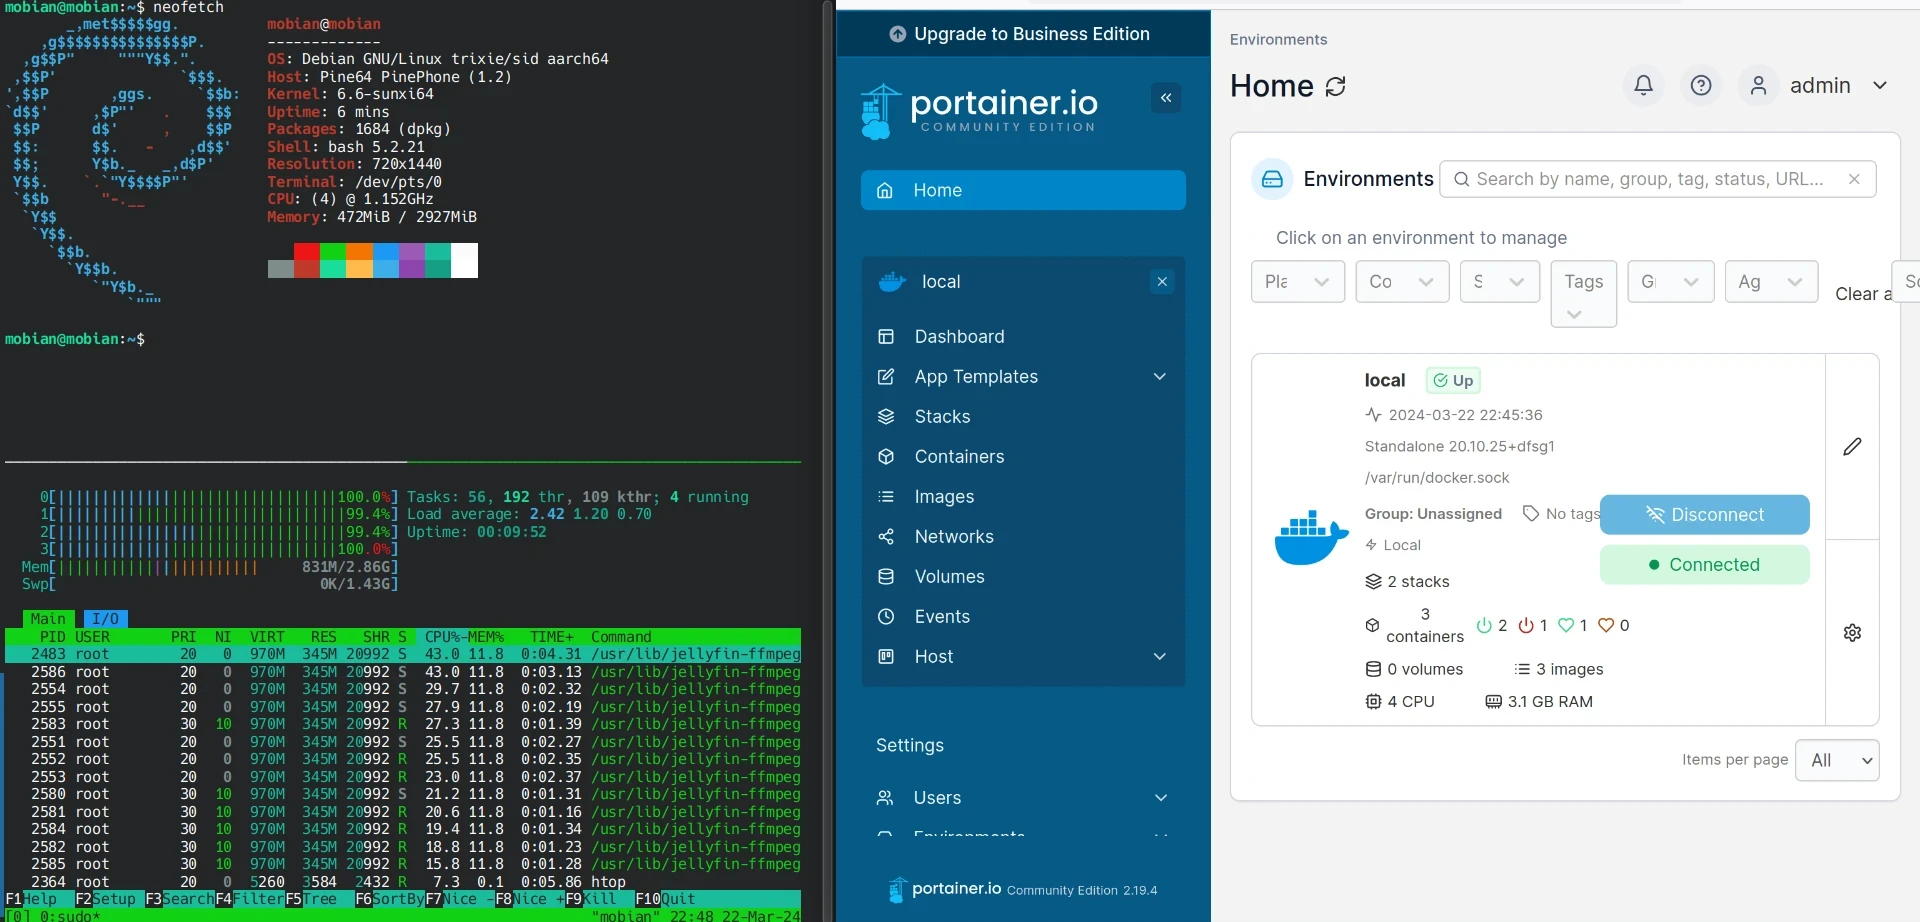
The PinePhone can also run Pi-hole for ad blocking. With two network adapters, it can work as a simple router too. Or it can serve as a VPN entry point, though I usually use Tailscale or ZeroTier, so a home VPN is not really necessary. The PinePhone is, after all, a dev board modified into a phone. Power draw is low, so leaving it on 24/7 should be fine.
1. Environment #
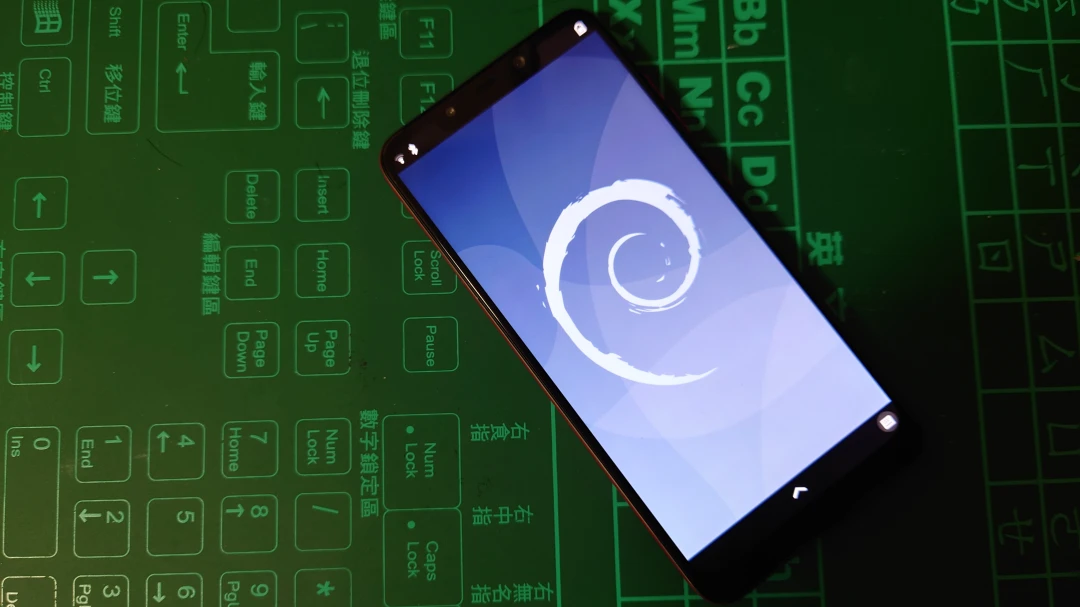
- System: Mobian (Debian Trixie)
- Phone: Pine64 PinePhone
- Accessories: USB hub, external drive enclosure x1, hard drive x1, microSD card x1, USB Wi-Fi/Bluetooth adapter x1, one metal box
This is the final form. The whole setup sits inside a metal box. That way, even if it catches fire, it will not take the surroundings with it. Probably.
As shown, the external hard drive sits under the PinePhone and connects through USB. The PinePhone then connects through the USB hub to Wi-Fi, Ethernet, and the charging cable.
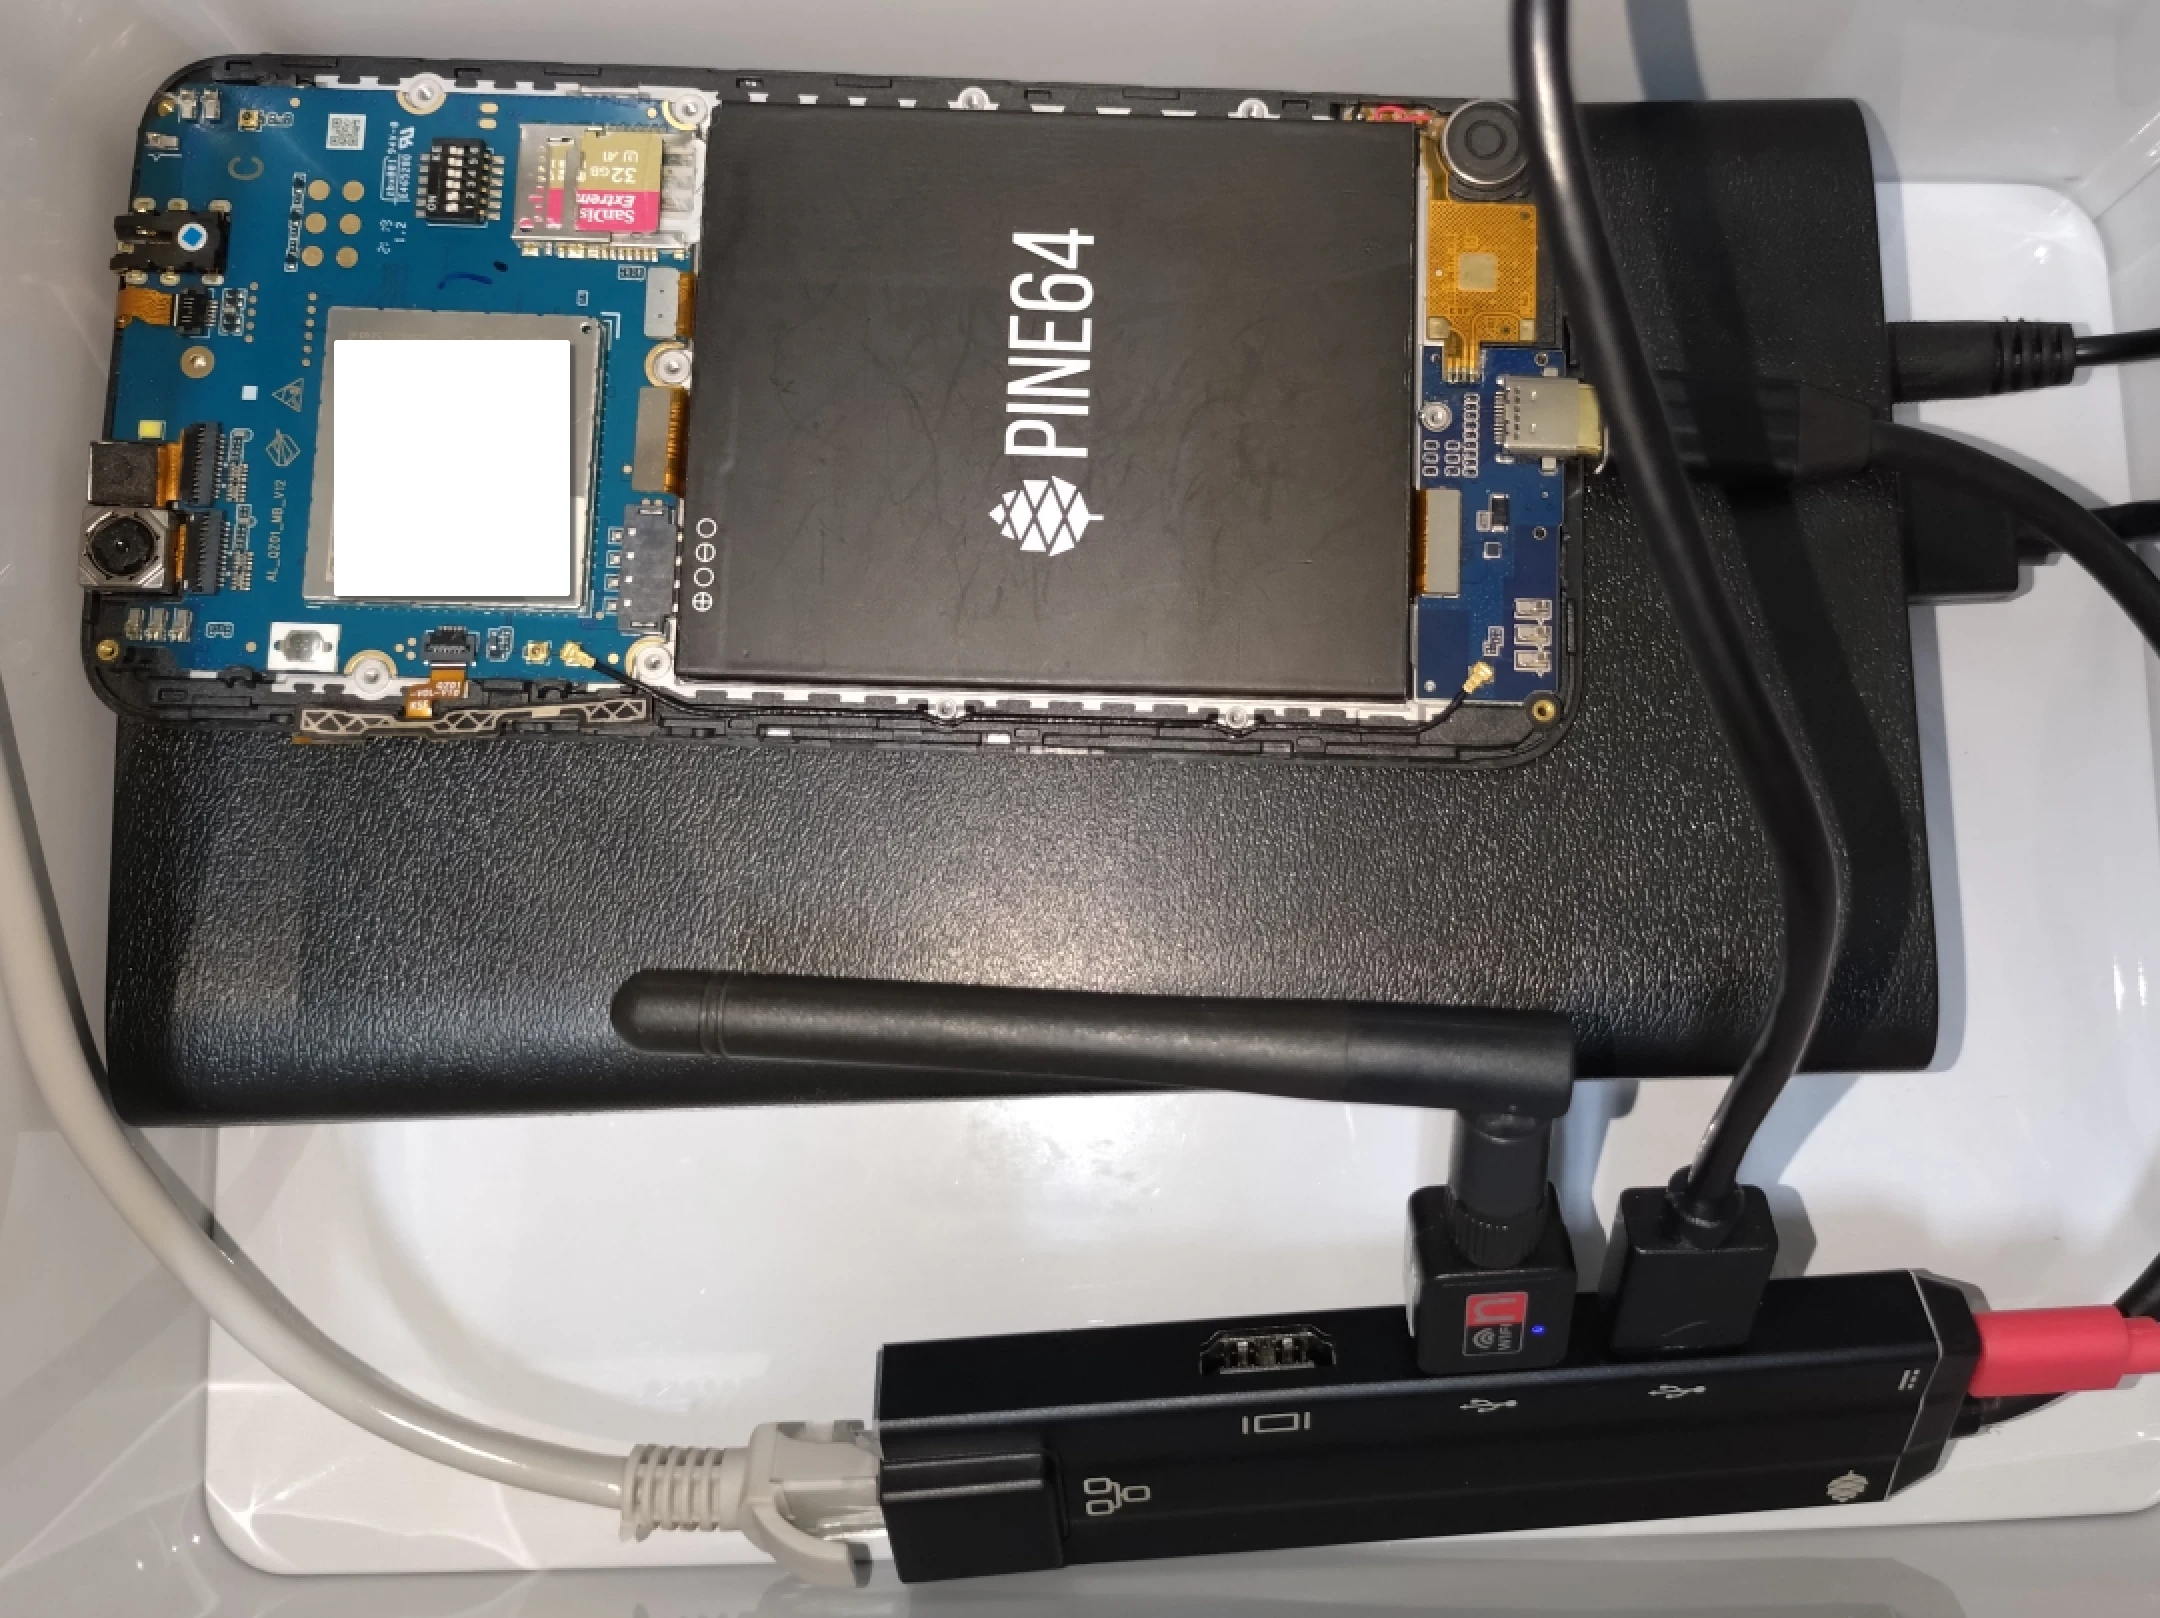
The PinePhone’s built-in eMMC seems to have bad blocks, so I had to install the system to an SD card and put important data on the external hard drive.
This structure still needs improvement. I might buy a Xiaomi cube-style power strip to manage power for the stuff inside, then add an extension switch so power can be turned on and off more easily.
2. Reinstall the System First #
The point of installing the system is to confirm whether the hardware works.
I chose Mobian, developed on the Debian Testing branch. At the moment, that is Trixie.
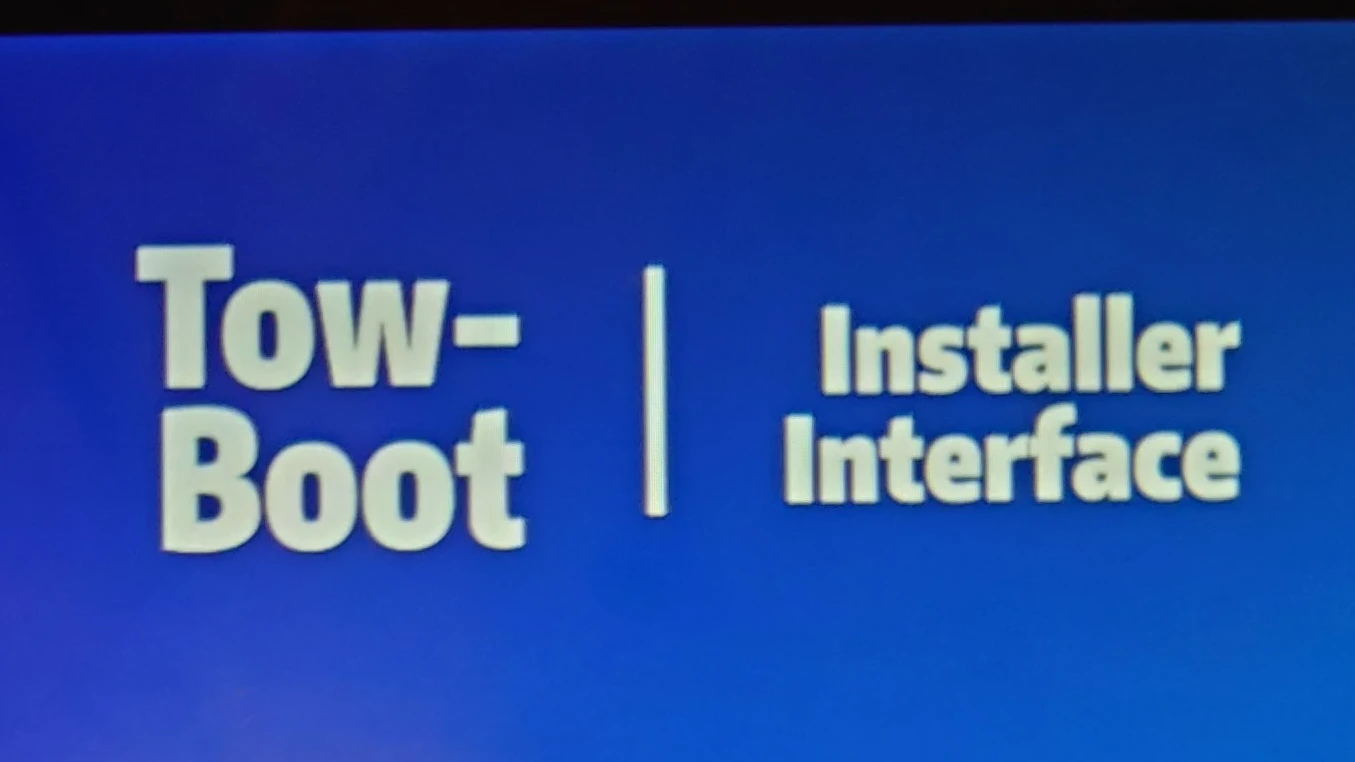
Follow the PinePhone system installation guide: install Tow-Boot first, then write the Mobian image to the SD card.
I configured the system by logging in remotely over SSH while using the Phosh graphical environment. UART also works, but you need to buy an adapter. The PinePhone UART is in the phone’s headphone jack area.
- After booting, enter the Phosh graphical interface and disable automatic suspend in system settings. Then add this to
~/.bashrcto prevent suspend:
if [[ -n $SSH_CONNECTION ]]; then
  sh -c "gnome-session-inhibit --inhibit suspend --reason \"SSH connection active\" --inhibit-only > /dev/null 2>&1 &"
fi-
Most of the time I access it remotely over SSH, so use
nmclito set a static IP. -
Because Debian is a free software distribution, the MT7601 Wi-Fi driver supported by the mainline Linux kernel requires the
linux-firmware-nonfreepackage before it can load. For other unsupported Wi-Fi adapters, compile and install drivers yourself with DKMS. -
Use
ip addrto list Wi-Fi devices. -
Configure Wi-Fi and automatic connection at boot.
sudo nmcli dev wifi connect "SSID"  password "password"
sudo nmcli device set wlan0 autoconnect yes- Configure the firewall and SSH service.
sudo apt install openssh-server ufw
sudo systemctl enable ssh
sudo ufw enable
sudo ufw allow ssh
sudo ufw reload- After installing the system, shut down the PinePhone and start modifying the hardware.
sudo shutdown now3. Hardware Mods for Server Use #
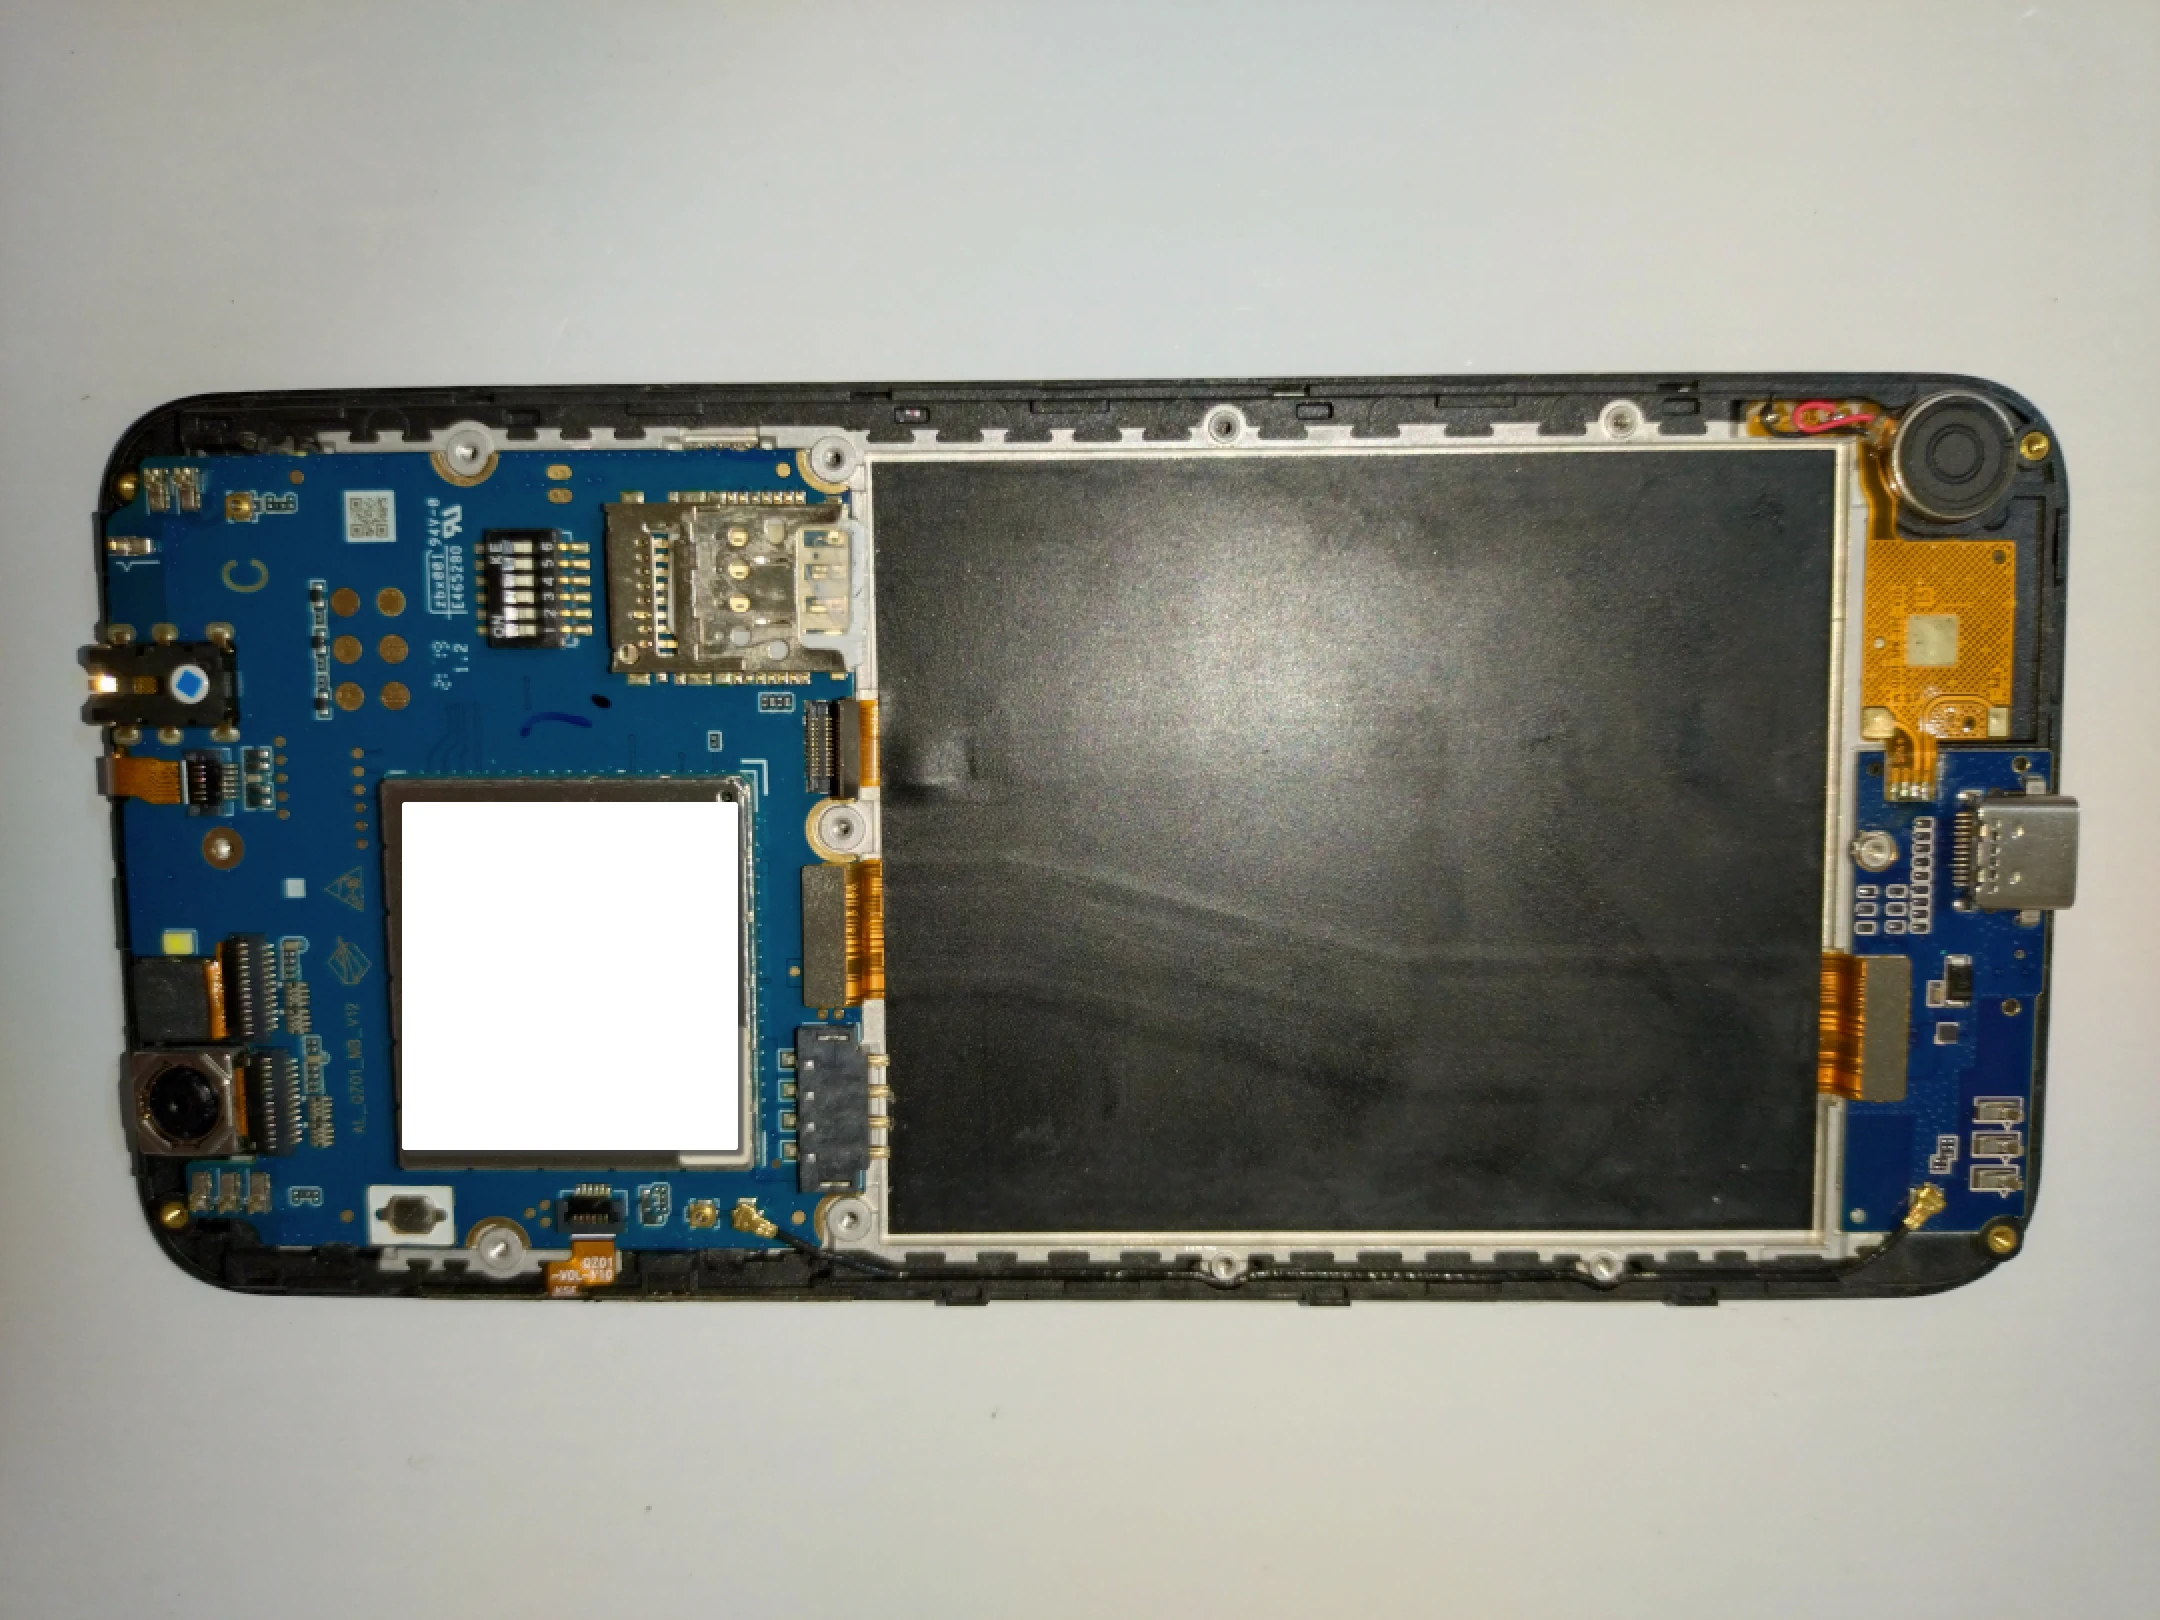
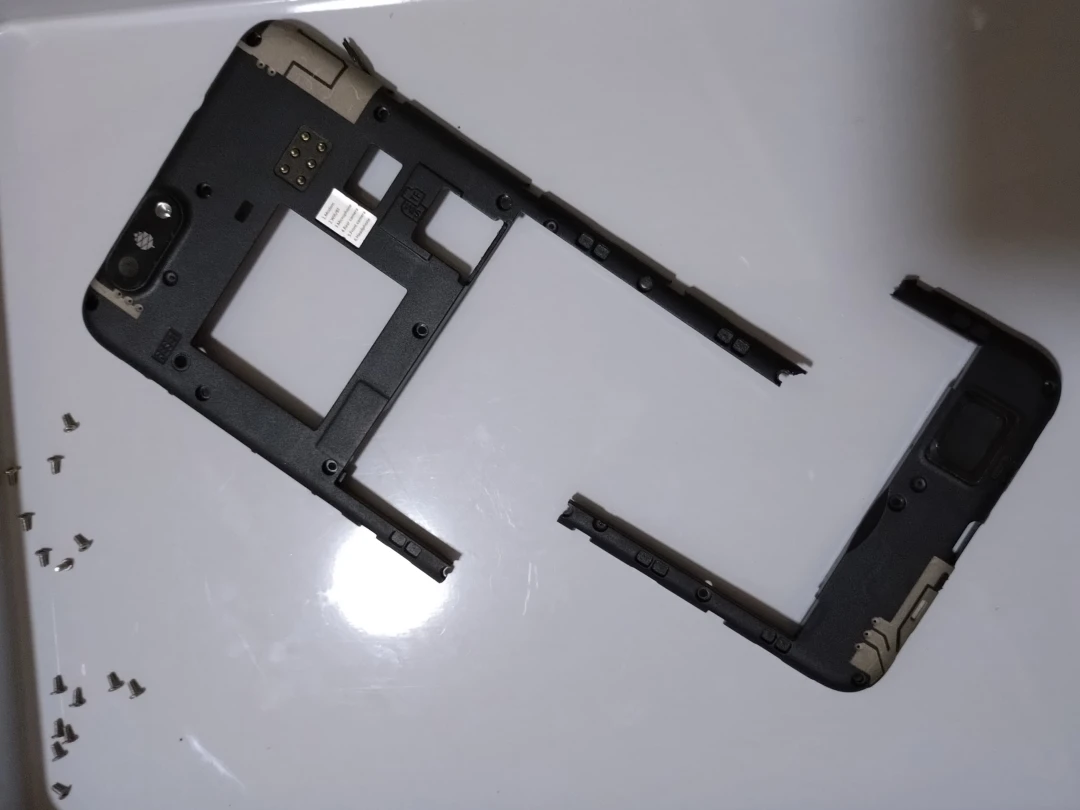
The PinePhone case can be disassembled with a screwdriver. In theory, I could remove the screen and shell, expose the board, and find my own box for it, but my hands are too clumsy, so I do not want to do that for now.
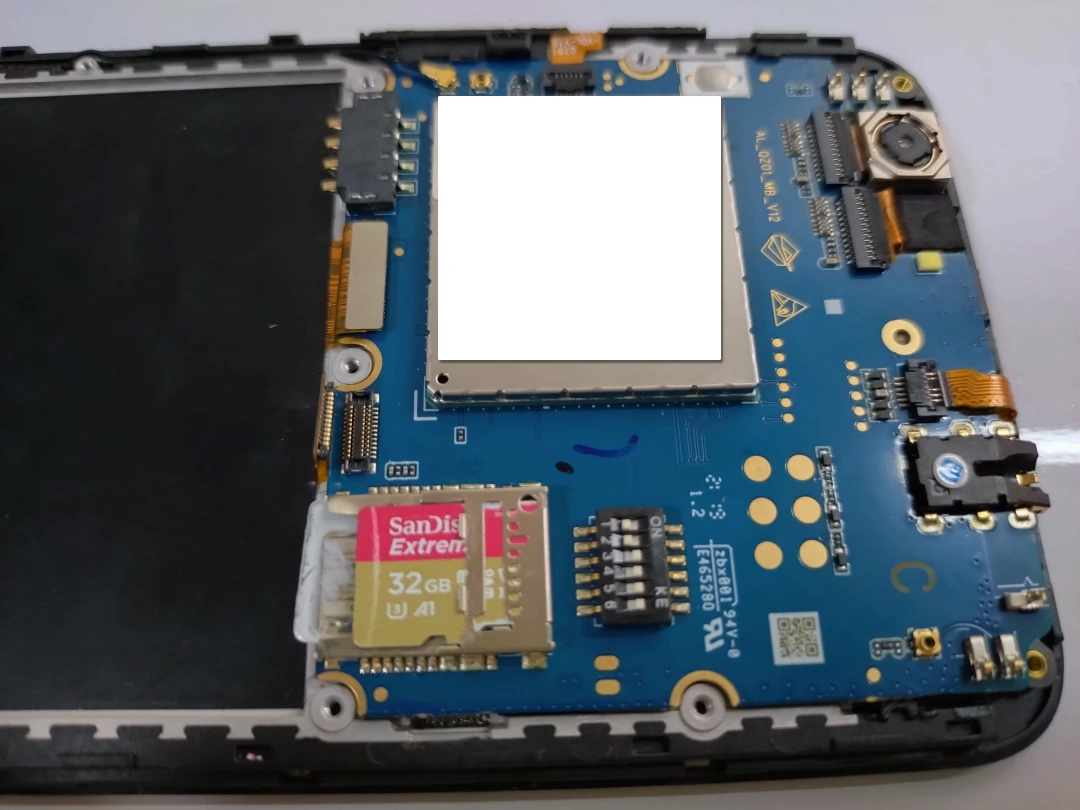
I only removed the plastic back cover, kept the screen as a base, and exposed the entire motherboard. After removing the back cover, remember to reinstall the speaker parts stuck to the plastic shell.
While I was taking the frame apart, the plastic shell had become brittle and… snapped.
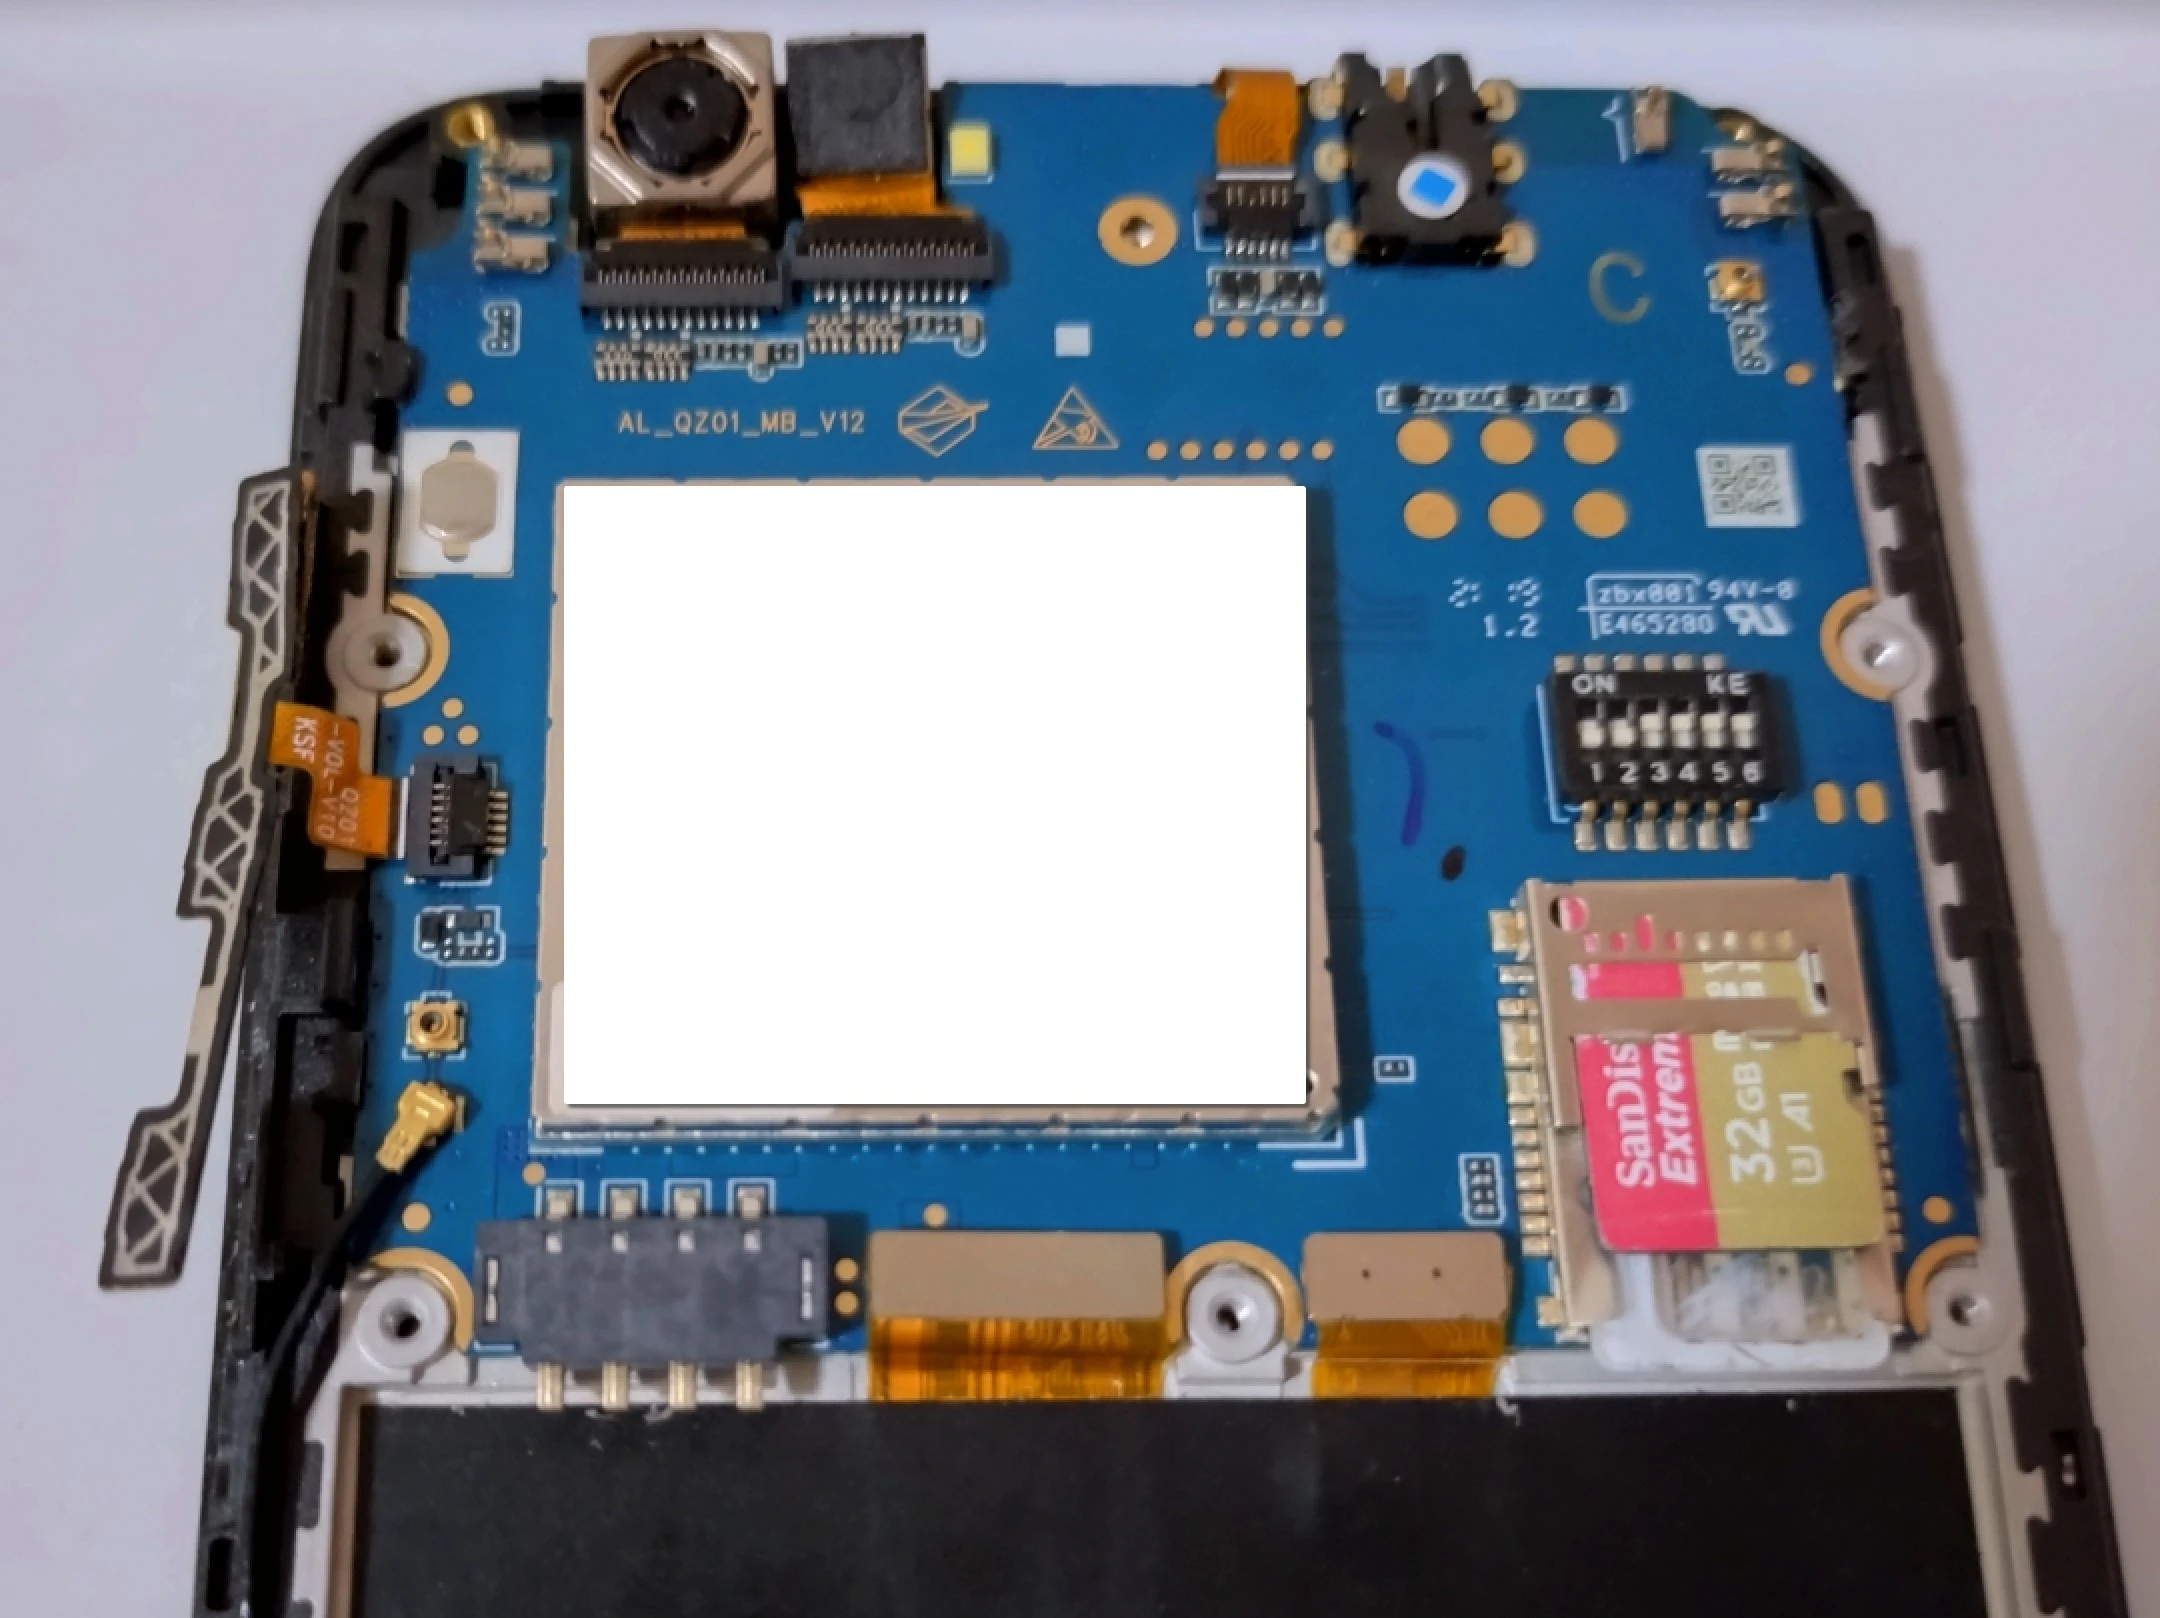
To make the boot button easier to press, since Tow-Boot needs the volume key pressed manually to boot from the SD card, I pried open the volume key module and laid it flat.
The PinePhone needs a battery to boot. Nothing to do about that unless you build your own capacitor setup. Here the battery can act as a cheap UPS, with the charge limit controlled in software.
Next is the 4G module. When it is not being used as a phone, this thing is basically useless, so I used the PinePhone’s built-in kill switch to turn it off. Leave the metal part in place as a heatsink.
The PinePhone generates extra heat whenever the screen is on, and a server does not need a screen, so I disconnected the screen. As shown below, remove the cable above the battery and it will stop outputting a signal to the display.
The PinePhone idles at around 40-50°C and reaches about 60°C under load. If the temperature cannot be kept down, I will need to buy a USB fan.
4. Follow-Up Service Installation #
- Based on testing, the PinePhone heats up whenever the screen is on, so after installing the system, disable the Phosh desktop environment service.
sudo systemctl disable phosh- Set the battery charge limit to 80%.
echo 80 > /sys/class/power_supply/axp20x-battery
/charge_control_end_threshold- Docker on Debian Testing has no official repository support, so install it from Debian’s own repositories.
sudo apt install docker.io docker-compose- Without a screen, you can only tell whether the system booted normally from the LED and hard drive activity lights. For that, create a boot service that turns the PinePhone LED blue after system services start.
cat <<EOF > /etc/systemd/system/bootled.service
[Unit]
Description=Booting LED service

[Service]
ExecStart=/bin/bash -c "/usr/bin/echo 1 > /sys/class/leds/blue:indicator/brightness"

[Install]
WantedBy=multi-user.target
EOF

echo 1 > '/sys/class/leds/blue:indicator/brightness'

sudo systemctl daemon-reload

sudo systemctl enable bootled.service-
If you temporarily need a graphical interface without plugging in a physical display, set up a TigerVNC server and then start a desktop environment.
-
Format the external hard drive as EXT4 and configure automatic mounting at boot.
# Find the hard drive device name
lsblk

# Partition the hard drive and create a GPT partition
sudo fdisk /dev/sdb
g
n
w
q

mkfs.ext4 /dev/sdb1

sudo mkdir /run/media
sudo mkdir /run/media/mobian/HDD

# List the hard drive UUID
sudo blkid

su

echo 'UUID="uuid" /run/media/mobian/HDD ext4 defaults,rw  0  1' >> /etc/fstab