This article explains how to set up a VNC server so that we can access the Linux system desktop in Termux. It applies to Linux systems installed through proot or chroot.
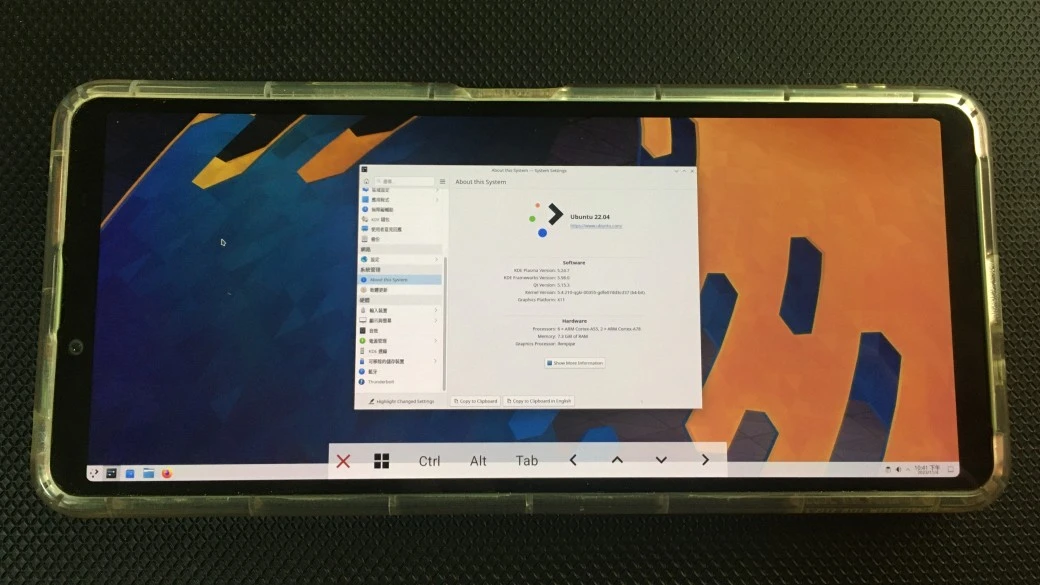
Termux can run Linux on an Android phone. After setting up the environment, the next concern is how to connect to the desktop (graphical environment). To connect to Termux’s Linux system desktop, there are three methods: Termux X11, XSDL, and VNC.
The first two run an X server on the phone. The latter is the remote desktop concept: run a VNC server on the phone, start a virtual Xvnc server, then connect with a VNC client. This VNC client can be local or a client on another computer.
In terms of graphics performance, an X server is better than VNC, and it is easier to achieve 3D hardware acceleration.
When I first learned Termux, I saw many people using VNC, but as Termux X11 gradually matured, I gradually abandoned VNC.
If all three run on the same phone, since they are all localhost, there is no latency issue, and VNC really has no performance advantage over an X server.
VNC’s strength is remote access from other computers! Compared with SSH X server forwarding, VNC can lower image quality to reduce bandwidth, and can even start headlessly. Its performance advantages appear when viewing remotely.
So VNC is suitable for the scenario of “using a computer to connect to the phone’s Termux desktop”. You do not like staring at a tiny screen and typing commands like crazy, right? Then, besides text-only SSH access, graphical VNC is a good choice.
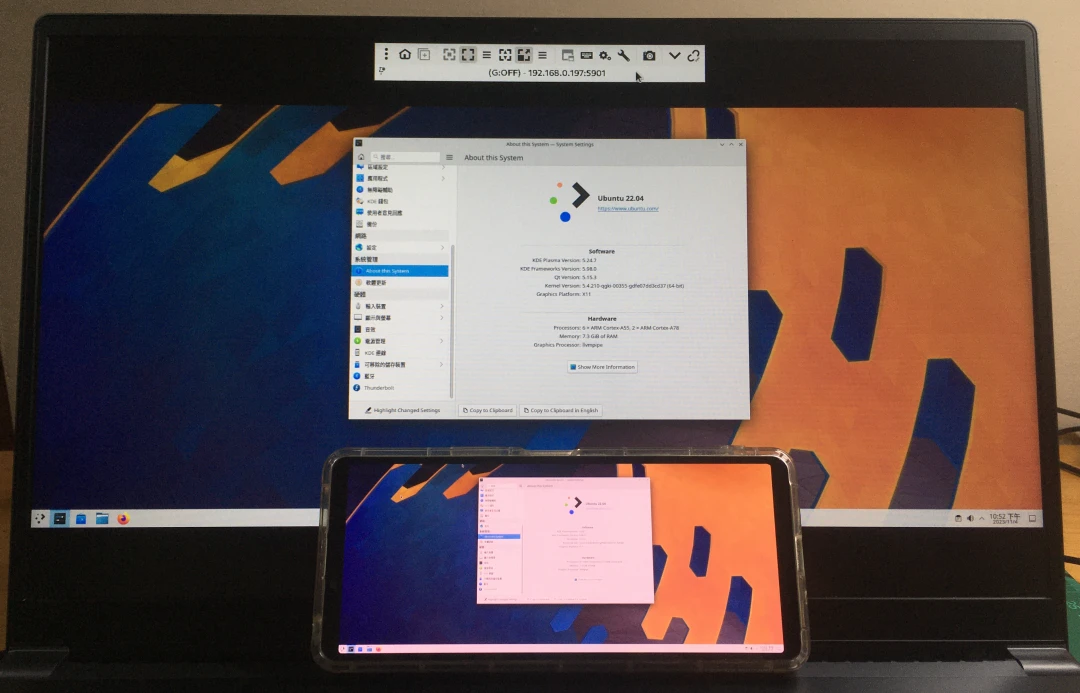
VNC and Termux X11 can coexist and should not affect each other.
1. Choose a VNC client #
On phones, I recommend AVNC or RealVNC Viewer. The latter has more features, but it is proprietary software.
On computers, I recommend Remmina
2. Configure the VNC server #
Choose one of the two.
Run the VNC server directly in Termux #
In fact, proot-distro is not required. Termux itself provides a native VNC server package. But if you want to open the desktop of a Linux distribution inside proot-distro, do not use this method.
Also, the desktop environment packages included in Termux are not as rich as those in proot-distro. The most complete one at present is XFCE.
-
Install the XFCE desktop for Termux, but do not install Termux X11.
-
Install the TigerVNC package. The current version is 1.13.0.
pkg install tigervnc- Set the VNC server password
vncpasswd- Add the program to execute after the VNC server starts by editing
~/.vnc/xstartup
mkdir ~/.vnc/

vim ~/.vnc/xstartup- Fill in the following content
#!/bin/bash
unset SESSION_MANAGER
unset DBUS_SESSION_BUS_ADRESS

# Start the PulseAudio sound server; audio will come out from Termux
pulseaudio --start --exit-idle-time=-1
pacmd load-module module-native-protocol-tcp auth-ip-acl=127.0.0.1 auth-anonymous=1

# Run the desktop environment, XFCE here
exec startxfce4- Grant execute permission to xstartup
chmod +x ~/.vnc/xstartup- Define the VNC server configuration file. Edit
~/.vnc/tigervnc.conf
vim ~/.vnc/tigervnc.conf- Fill in the following content:
# Current session XFCE
$session="xfce-session";
# Resolution; higher values use more bandwidth
$geometry="1920x1080";
# Bit depth, values are 8/16/24/32; larger numbers look better but use more bandwidth
$depth="32";
# Allow external networks to connect
$localhost="no";
Run the VNC server inside proot-distro #
First install Termux proot-distro, such as Debian. Then install a desktop environment inside proot-distro. XFCE uses the fewest resources, but KDE Plasma is also worth trying.
- Log in to proot-distro and make sure you are currently a normal user, not root
whoami

# If it is root, type su "username" to switch to a normal user- Install the TigerVNC package. The current version is 1.13.0
sudo apt install tigervnc-standalone-server tigervnc-xorg-extension- Set the VNC server password
vncpasswd- Add the program to execute after the VNC server starts by editing
~/.vnc/xstartup
mkdir ~/.vnc/

vim ~/.vnc/xstartup- Fill in the following content
#!/bin/bash
unset SESSION_MANAGER
unset DBUS_SESSION_BUS_ADRESS

# Start the PulseAudio sound server; audio will come out from Termux
export PULSE_SERVER=127.0.0.1 && pulseaudio --start --disable-shm=1 --exit-idle-time=-1

# Run the desktop environment, XFCE here
exec startxfce4- Grant execute permission to xstartup
chmod +x ~/.vnc/xstartup- Define the VNC server configuration file. Edit
~/.vnc/tigervnc.conf
vim ~/.vnc/tigervnc.conf- Fill in the following content:
# Current session XFCE
$session="xfce-session";
# Resolution; higher values use more bandwidth
$geometry="1920x1080";
# Bit depth, values are 8/16/24/32; larger numbers look better but use more bandwidth
$depth="32";
# Allow external networks to connect
$localhost="no";
3. Connect to the VNC server #
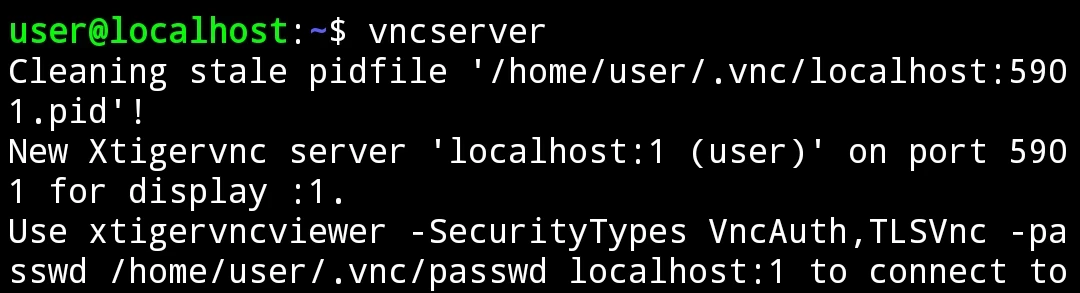
Enter the tigervncserver or vncserver command in Termux to start the VNC server. Observe the port number output on the screen; it usually starts from 1. Since VNC server ports count from 5900, the port here is 5901
Local connection #
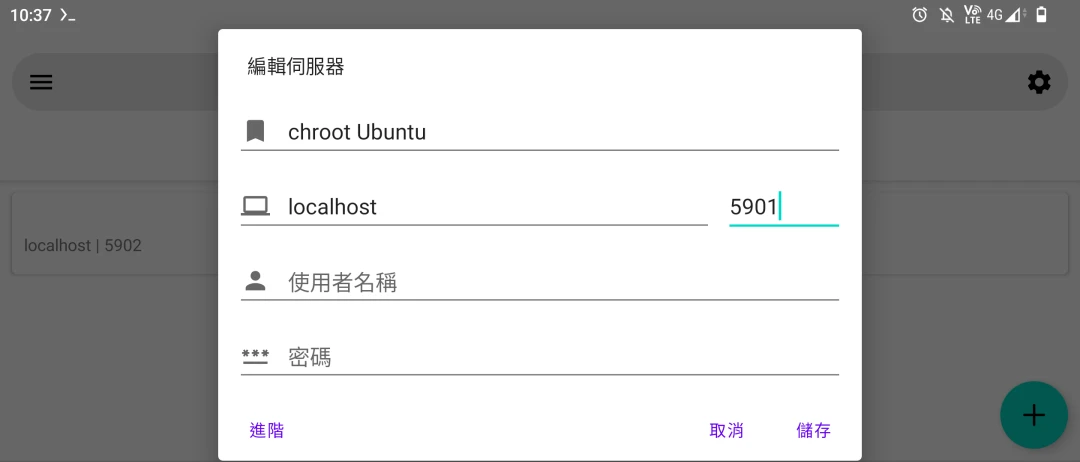
For a local connection: open the AVNC app on the phone, add a host connection, enter localhost for the address, and 5901 for the port
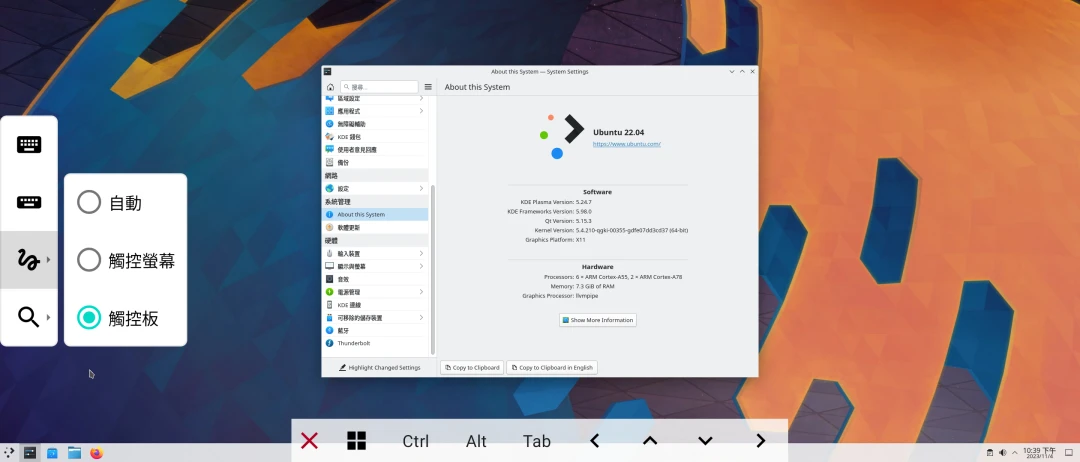
For AVNC operation, I recommend tapping the left button to switch to touchpad mode. If the Linux desktop font is too small, lower the resolution or adjust DPI in that desktop environment’s settings.
Remember that after exiting the VNC server connection, you need to return to Termux and stop the server; otherwise, the next start will run on a new port.
vncserver -kill :1Remote connection from a computer #
First put the phone and computer on the same Wi-Fi network
In Termux, run sudo apt install net-tools & ifconfig to get the phone’s local IP, and look at the Wlan line
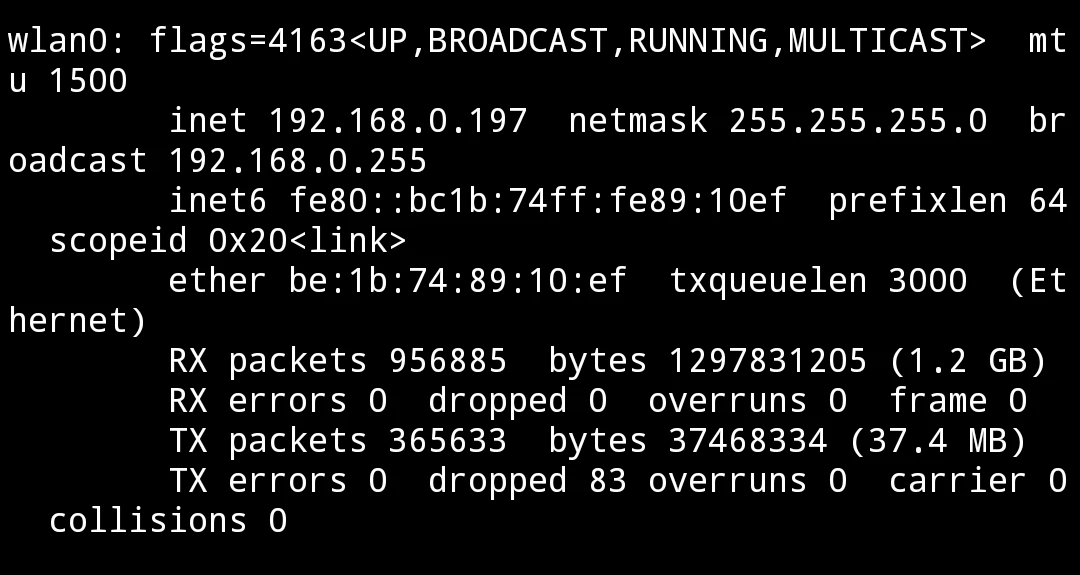
Then in the Reminna address field on the computer, switch to VNC and enter phone IP:5901 to connect.
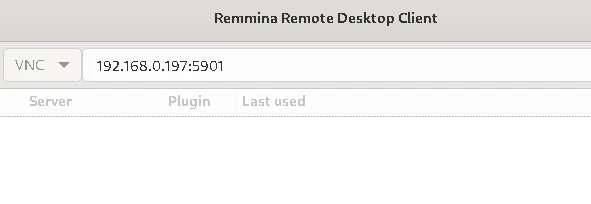
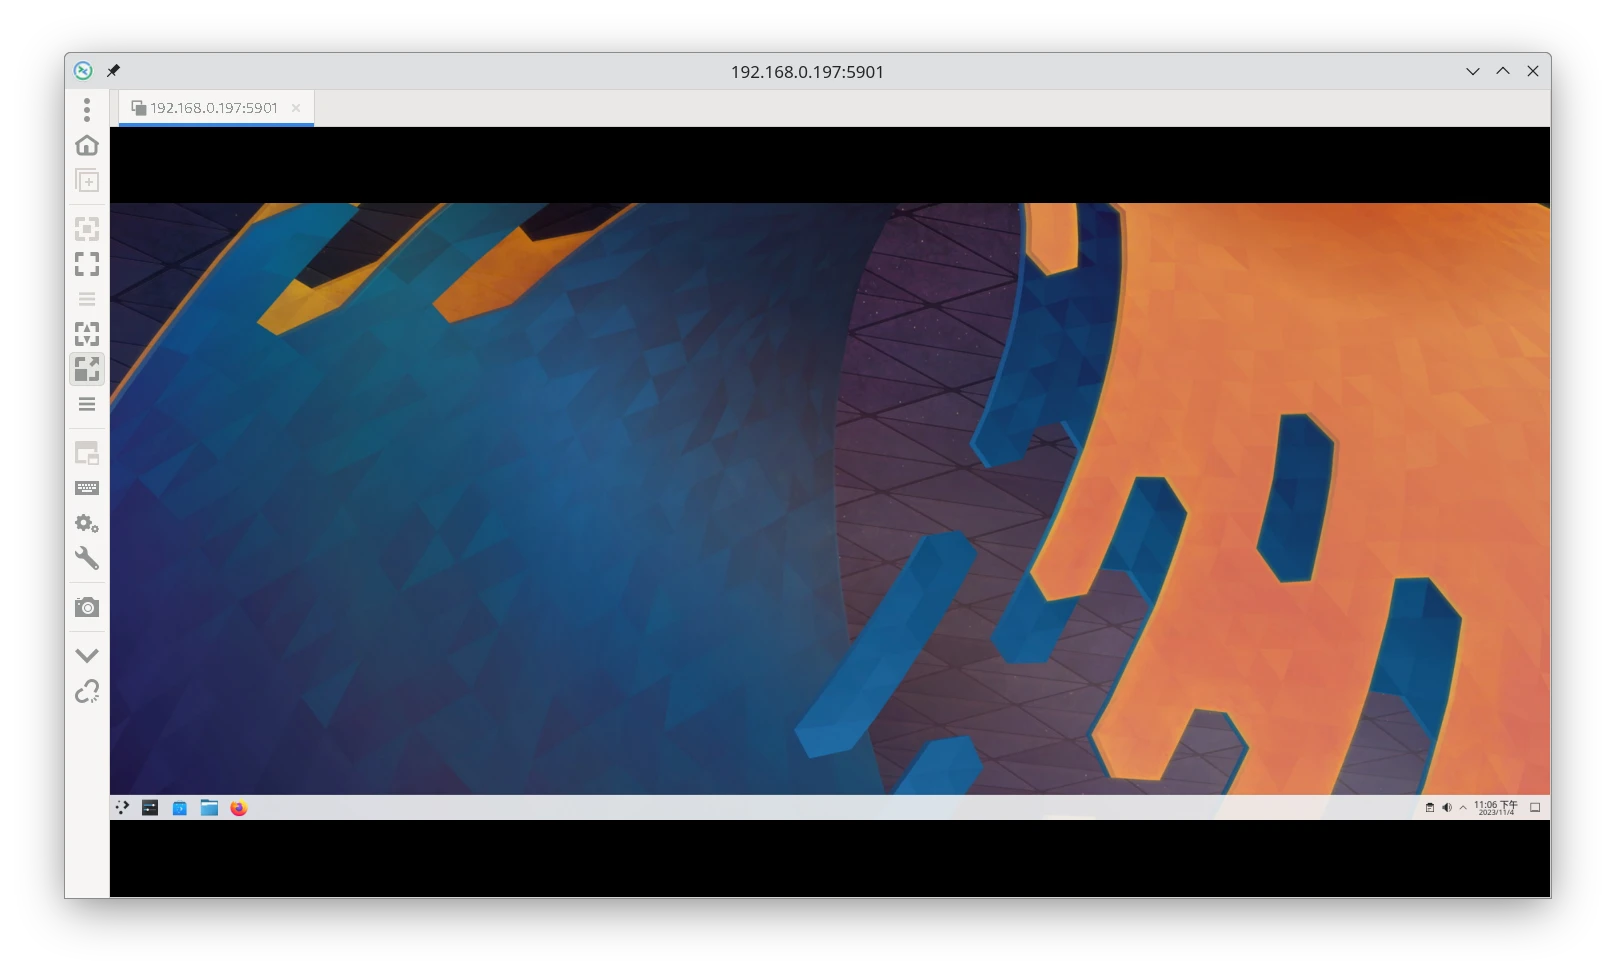
In Reminna, you can press the left button to fit the remote desktop size. Although typing can only use the remote input method, the clipboards on both sides synchronize automatically.
Remember that after exiting the VNC server connection, you need to return to Termux and stop the server; otherwise, the next start will run on a new port.
vncserver -kill :1